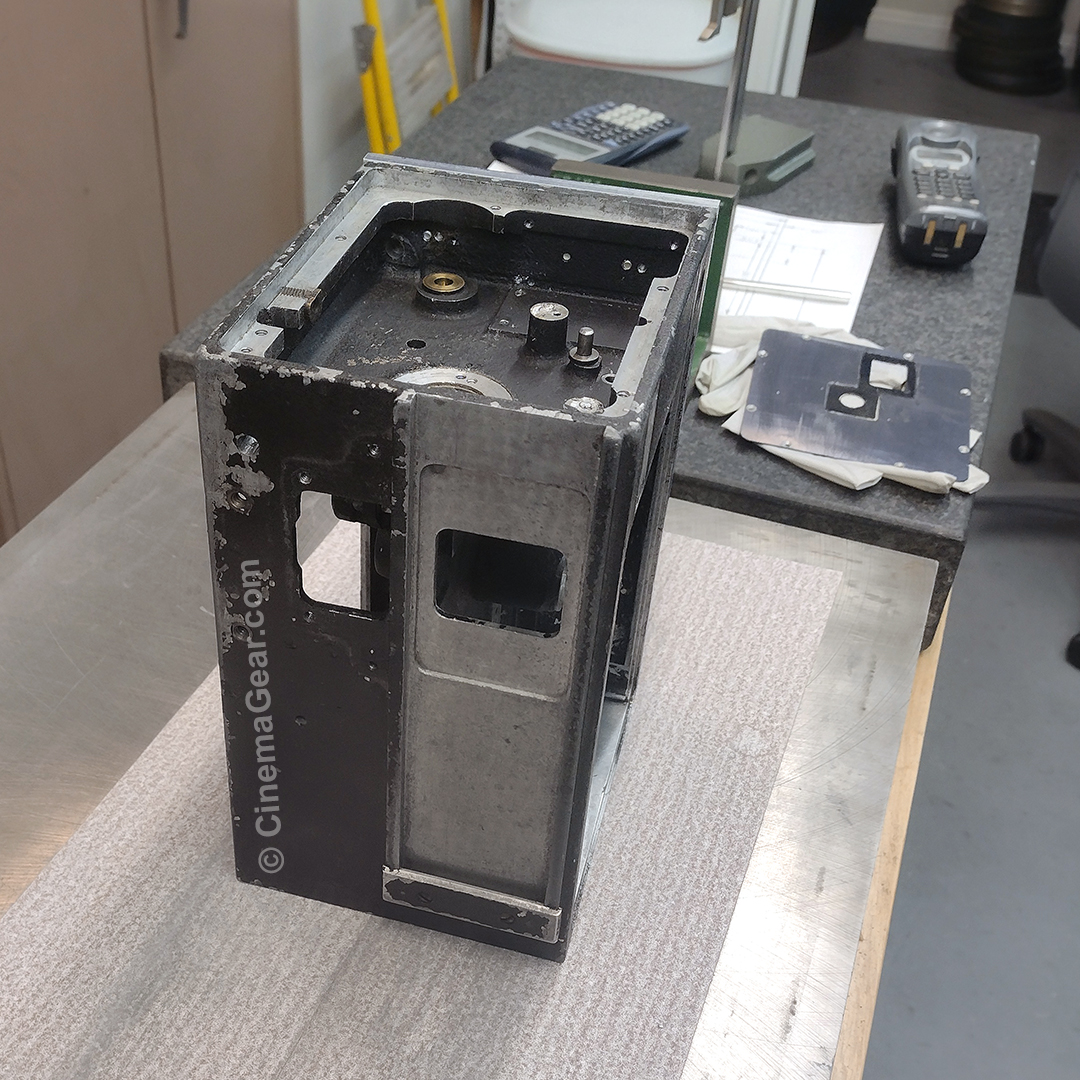
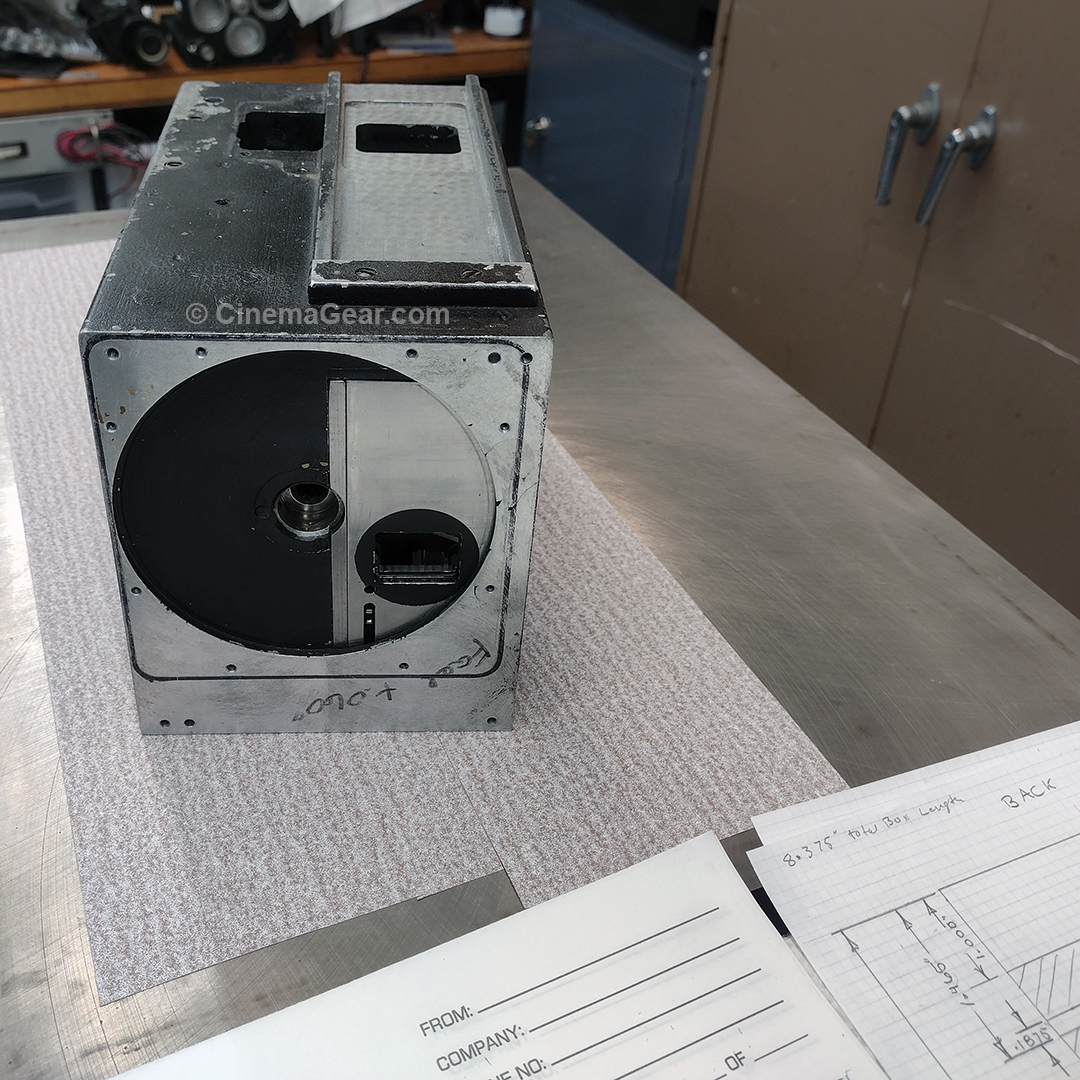
The task at hand with Mitchell Standard #46 is now to put metal back where it was unceremoniously removed. This problem is compounded by the fact that so much material was removed from the bottom of the camera casting, that some areas are perilously thin. After three days of contemplating the next steps, and a couple of days of researching adhesives, I came up with the following solution: I will make a replacement bottom plate that is slightly thicker than needed to bring the camera back to factory dimensions. Then I will drill some holes through the bottom of the camera casting and into the camera’s midrib so there will be sufficient material for dowel pins or screws to align the replacement bottom plate with the casting while the adhesive is curing.
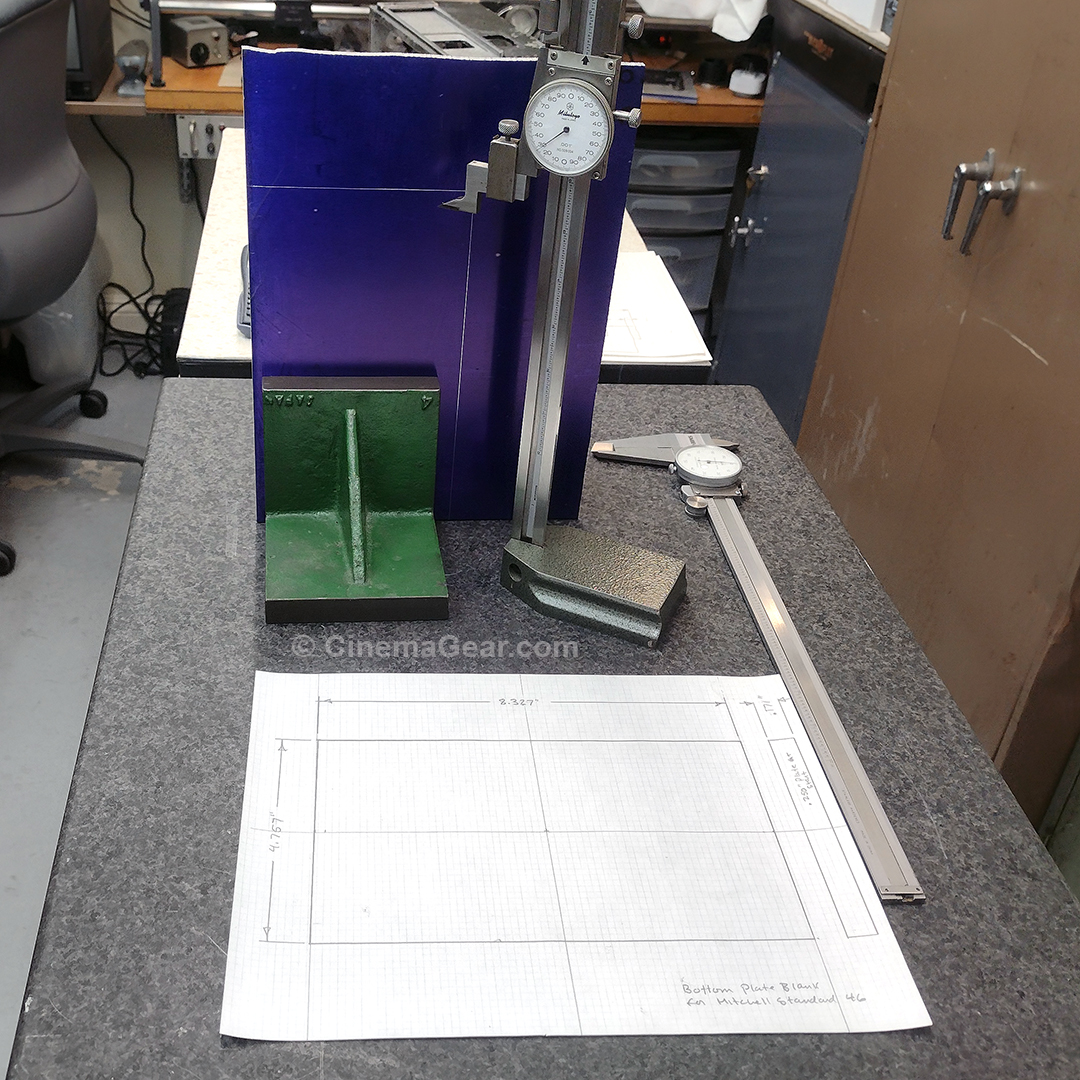
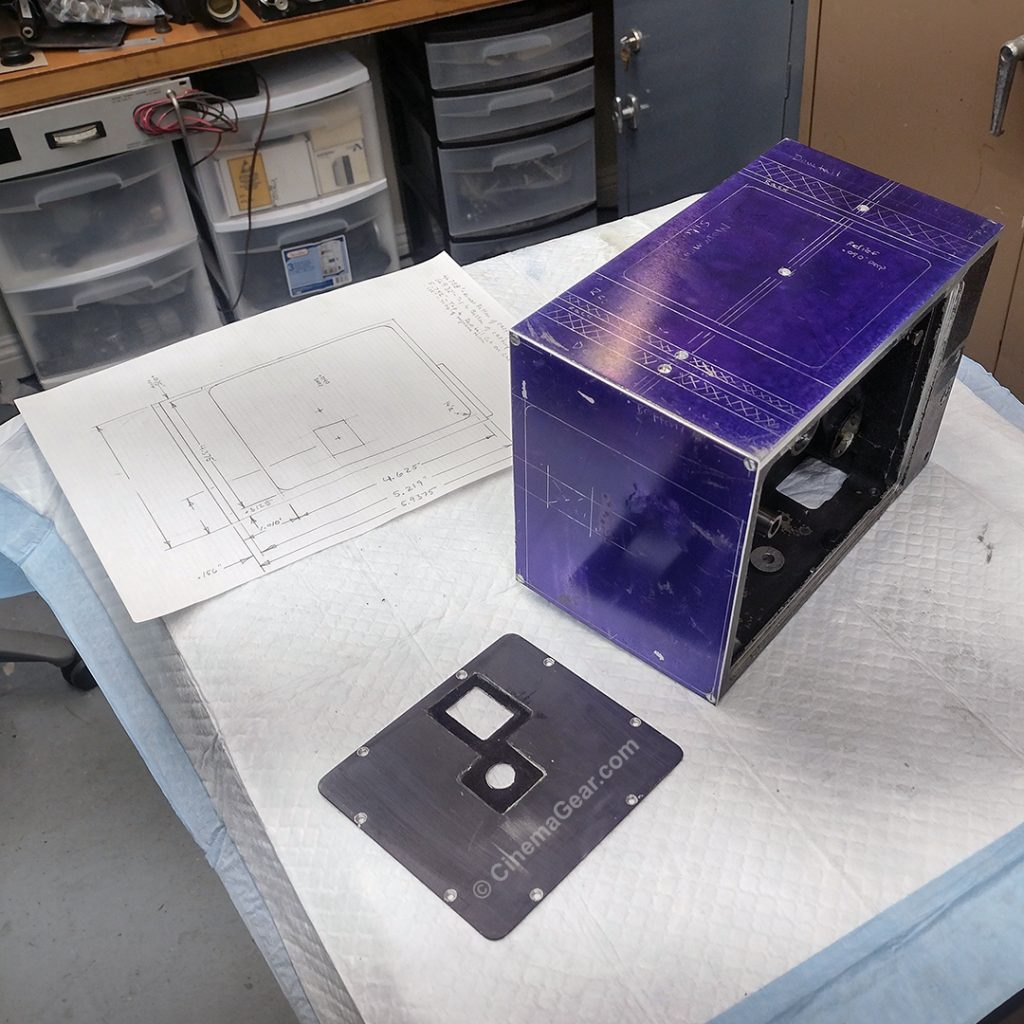
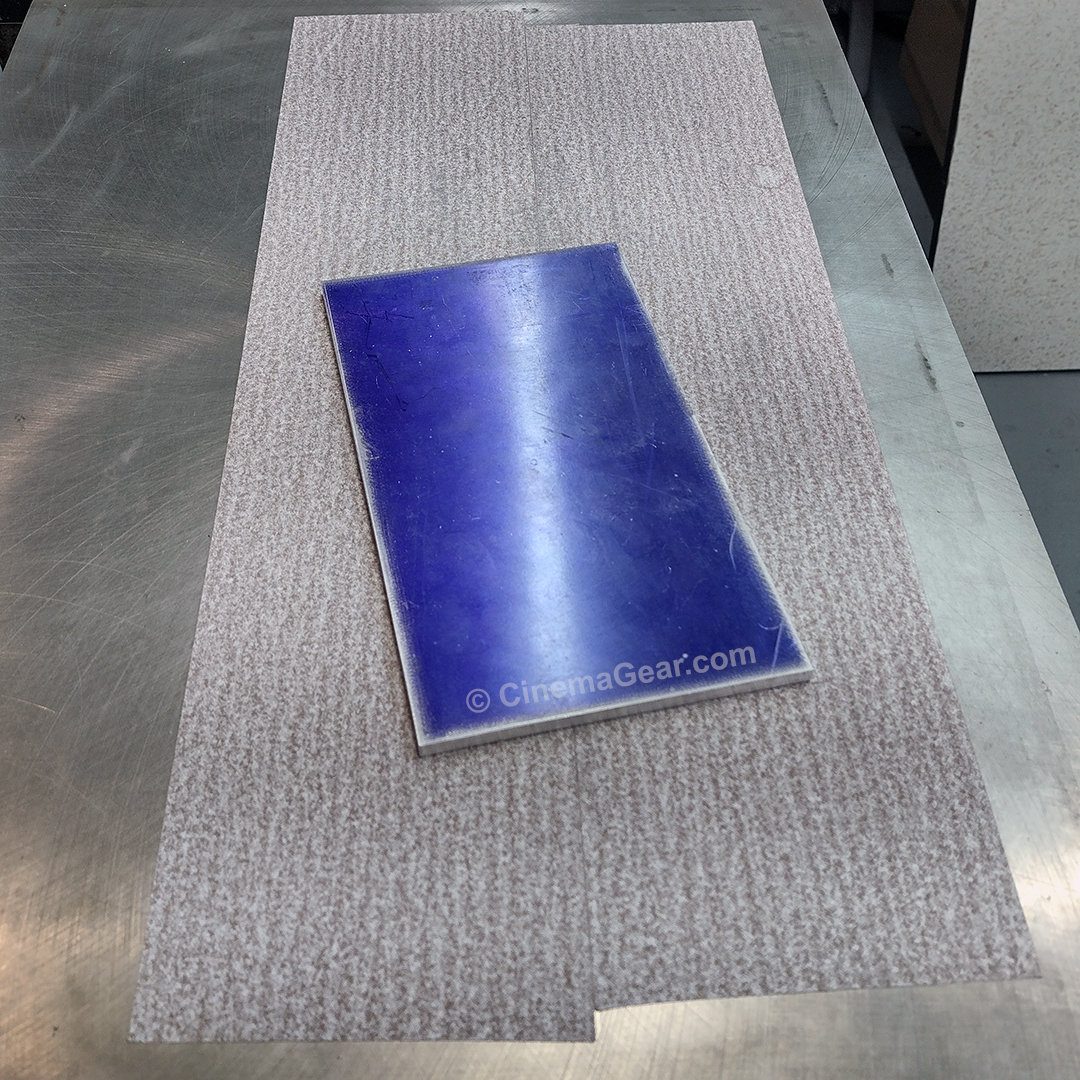
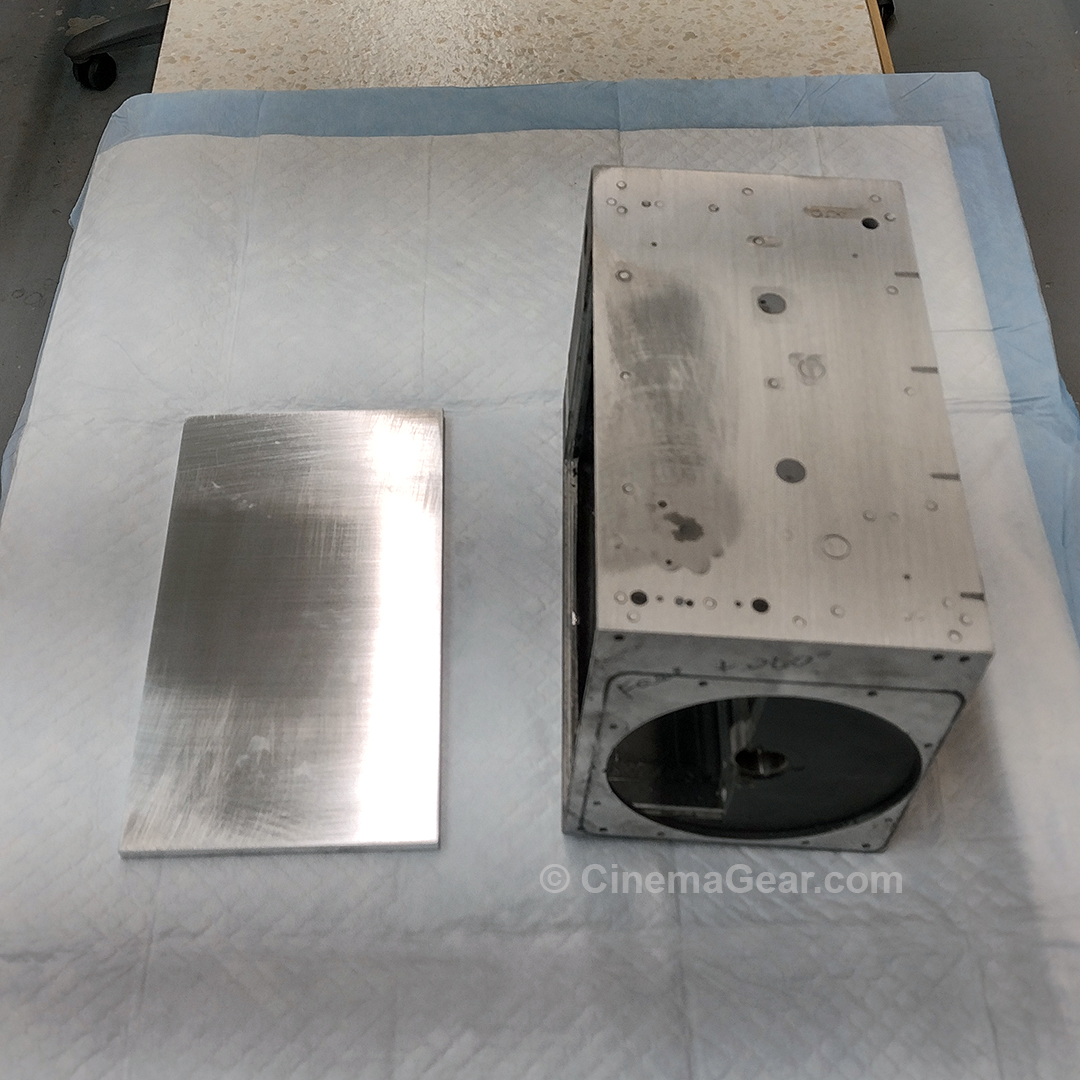
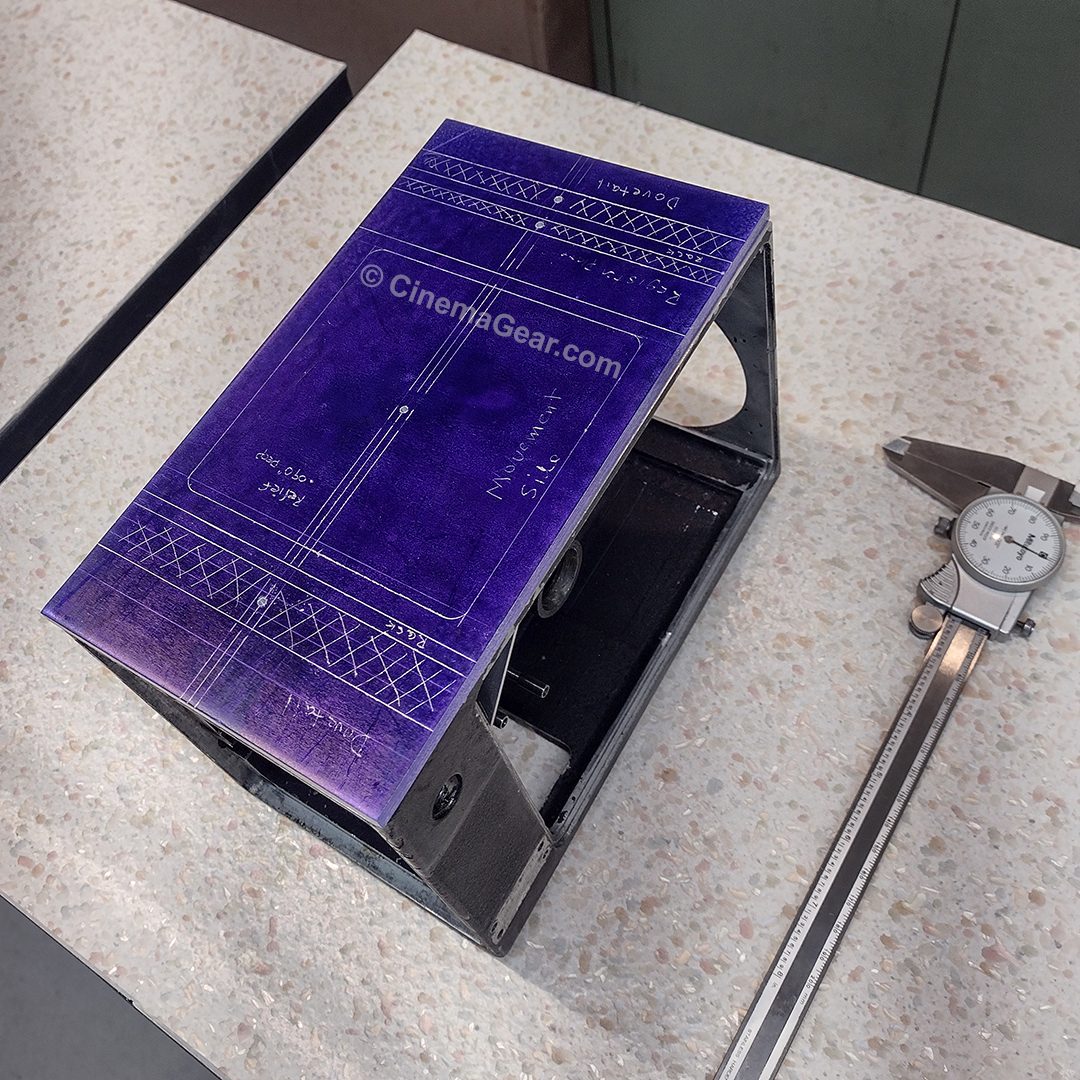
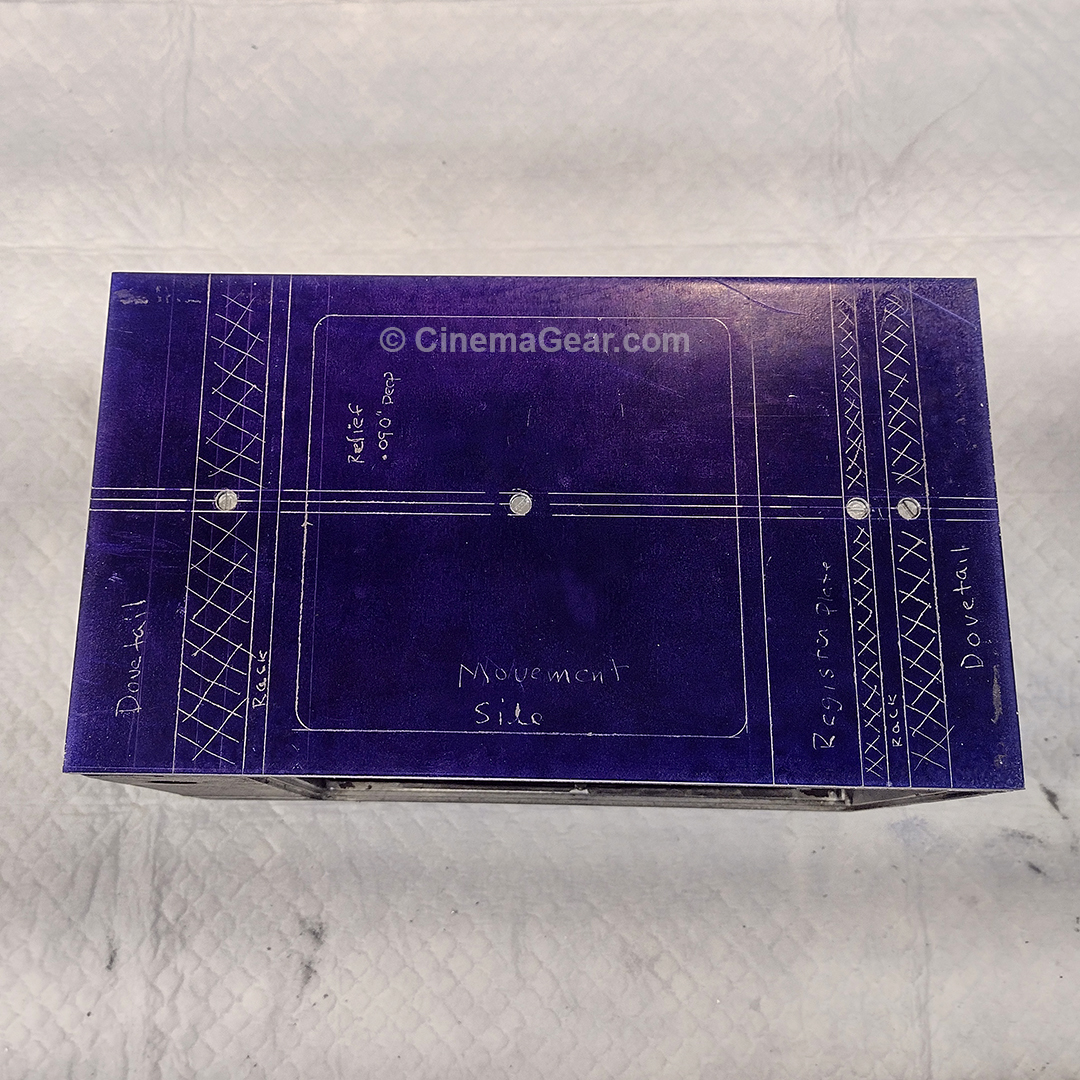
Head scratching done, I machined an aluminum plate to match the outside dimensions of the camera casting. Then the camera casting was setup on the surface plate so I could measure the exact center of the camera’s midrib. Once the midrib was located, those dimensions were transferred to the replacement bottom plate. The camera and bottom plate were then fixtured on the surface plate so all the features on a stock Mitchell camera could be transferred to the replacement bottom plate. This was done so that, further down the restoration line, the dowel pin or screw holes will not interfere with the working parts of the rackover mechanism that will be re-machined into the bottom of the camera. Next came the task of lining up the replacement bottom plate so it was true to the camera casting, and double-sided taping the two pieces together. At this point, I decided to use screws rather than dowel pins so that, not only would there be a chemical bond, but also a mechanical bond between camera casting and the replacement bottom plate when all was completed.
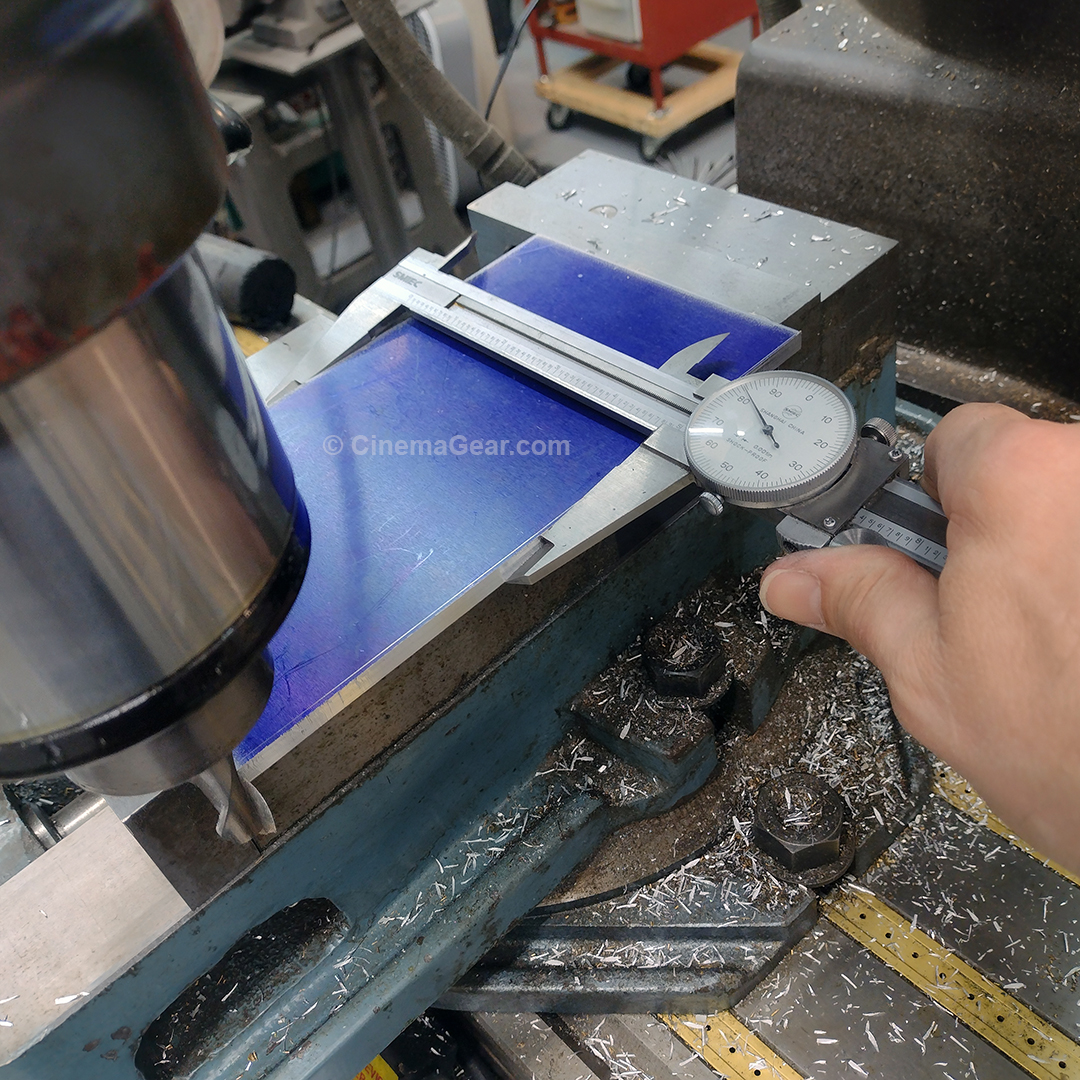
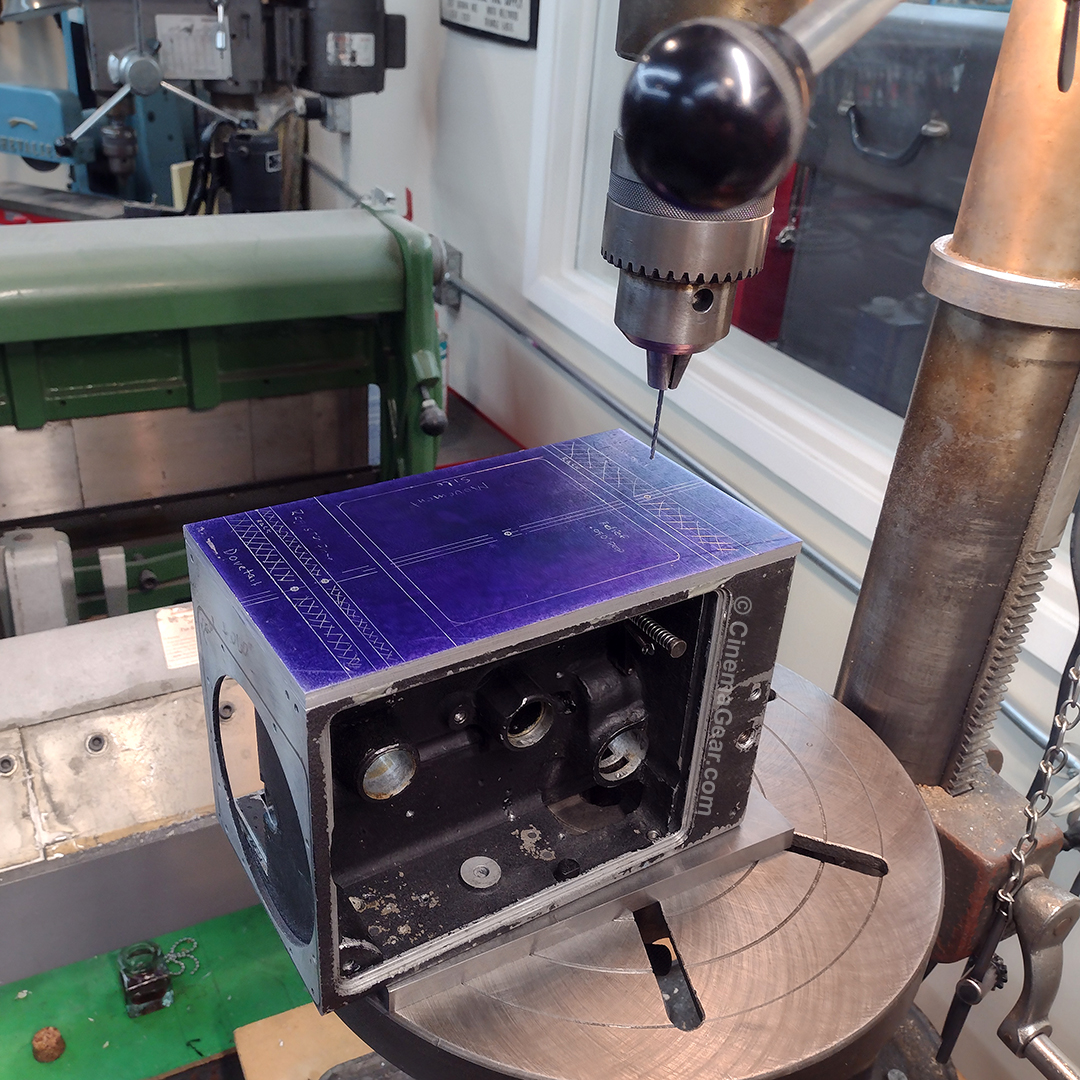
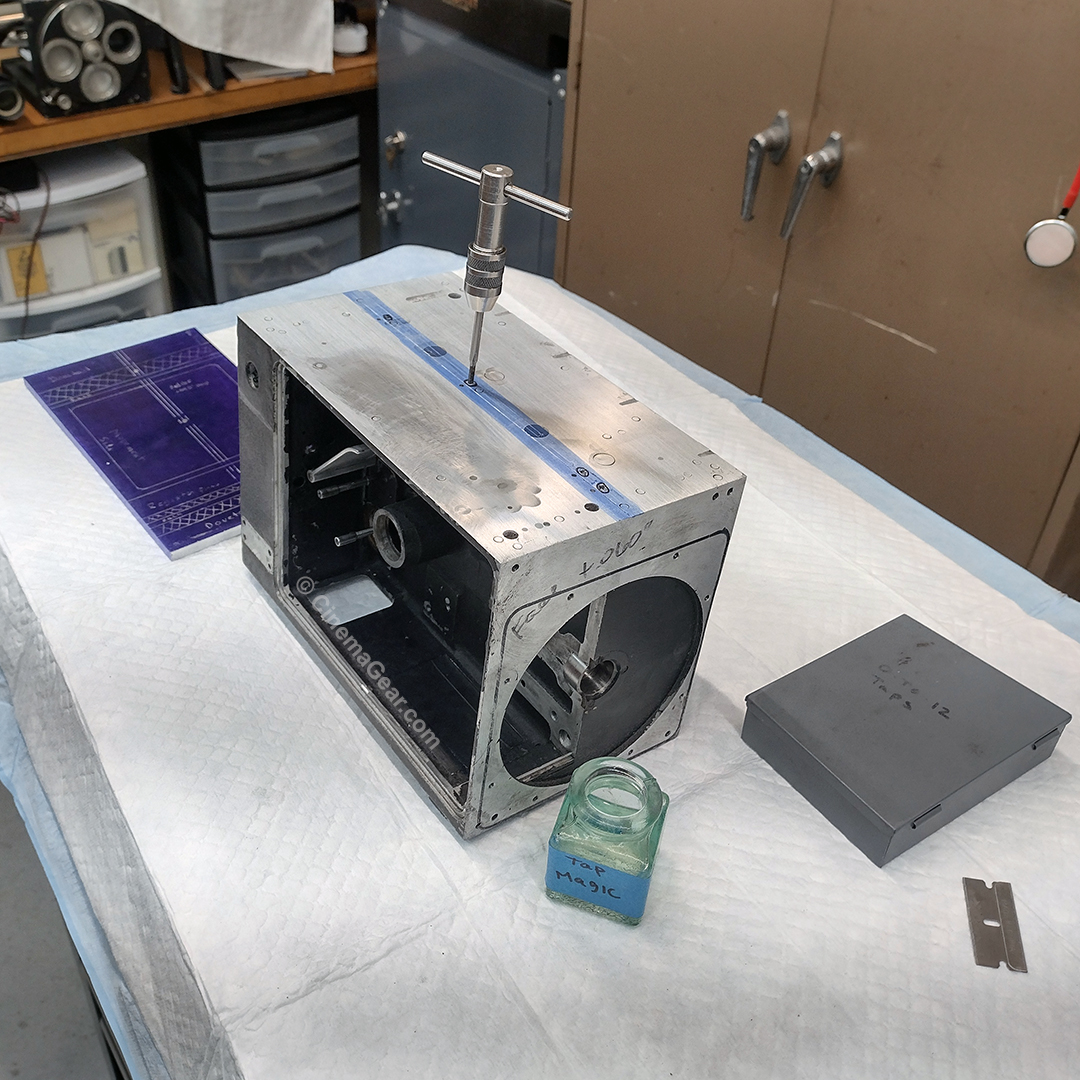
With the two pieces temporarily attached to one another, locations for the screws were center punched into the replacement bottom plate. Then a short journey over to the drill press where I drilled through both the bottom plate and casting with the tap-sized drill bit. This was to ensure that the hole locations would remain accurate. A heat gun was then used to weaken and remove the double-sided tape, and the two pieces were separated. The replacement bottom plate was now drilled with a clearance-sized drill bit, and the holes were counter-sunk deep enough to that I can later machine the bottom of this plate to the correct size without cutting off the screws. I then used a recommended Loctite two-part adhesive to attach the replacement bottom plate to the camera casting. This was a total failure, and the adhesive was removed with solvents. Now I am awaiting a different adhesive manufactured by 3M that is supposed to be able to permanently and structurally bond aluminum substrates together at room temperature. Fingers crossed!
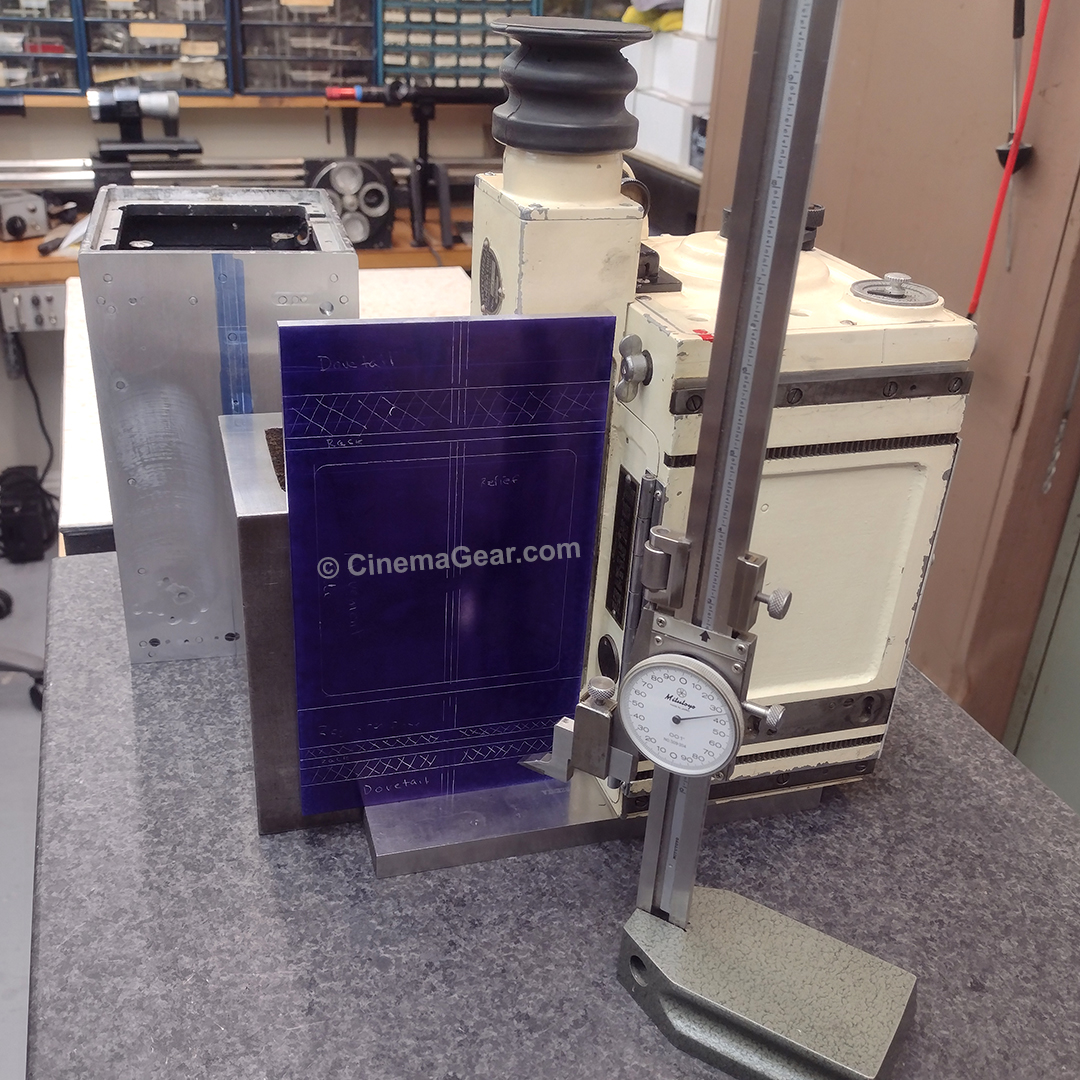
While still waiting for this new adhesive, I repeated this process to create a replacement front plate that will be used to restore the shutter housing light trap. For now, the two replacement plates were dry-fit and screwed into place on the camera casting. The adventure continues!