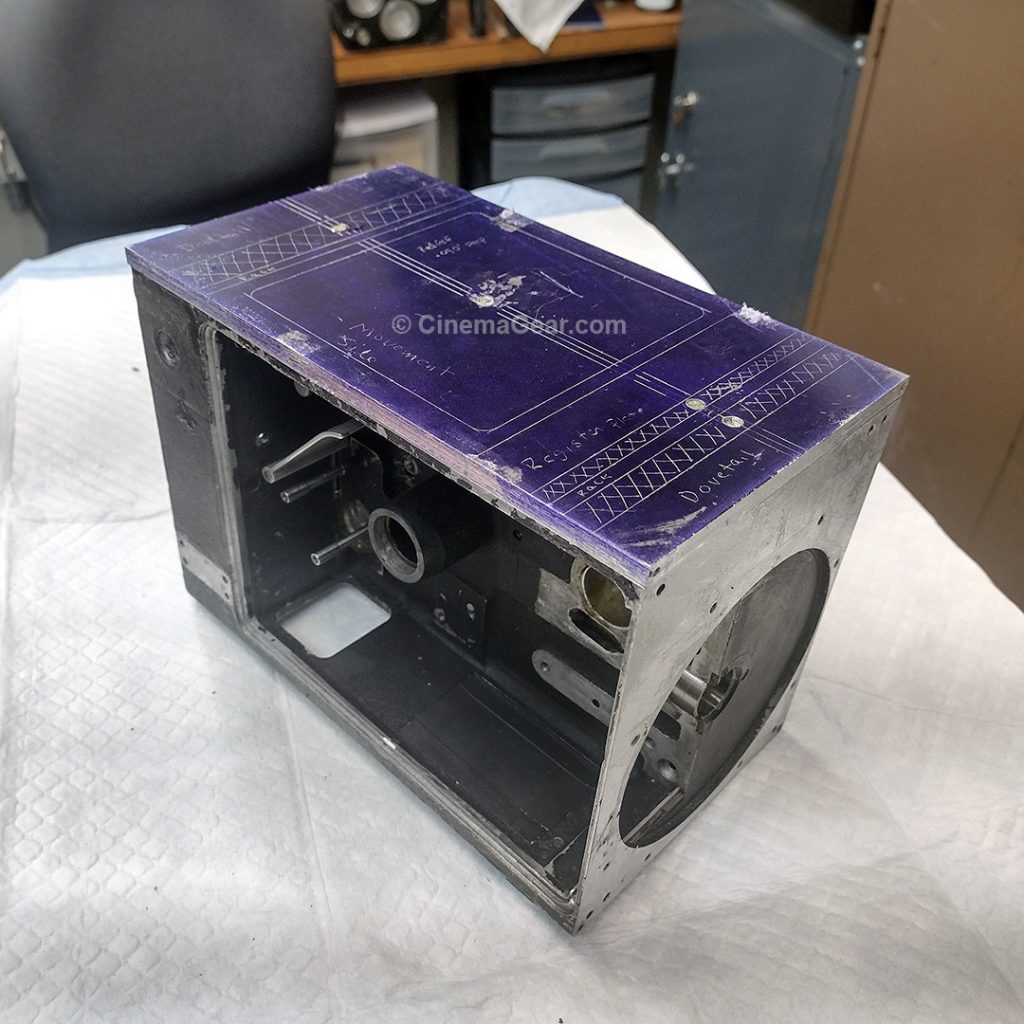
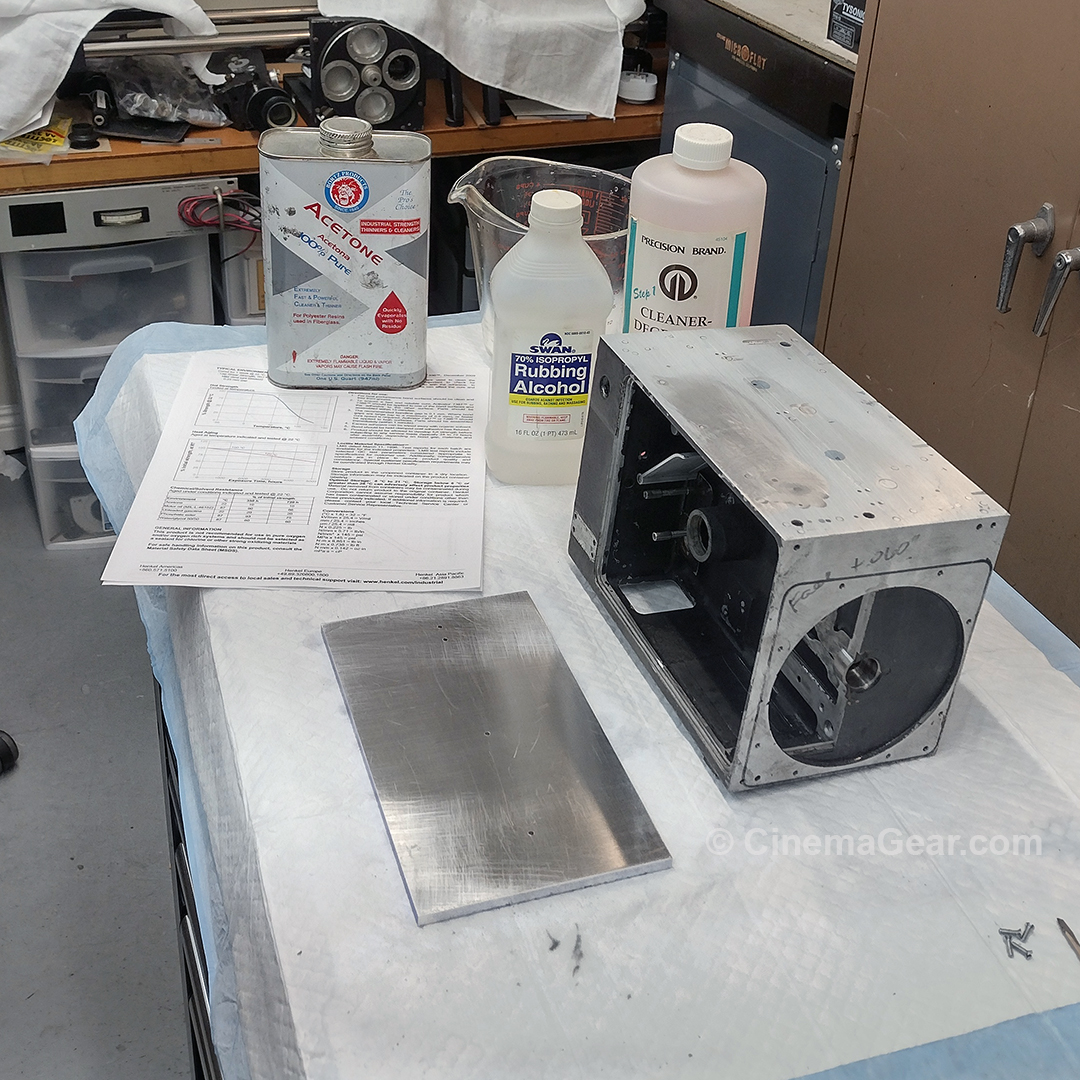
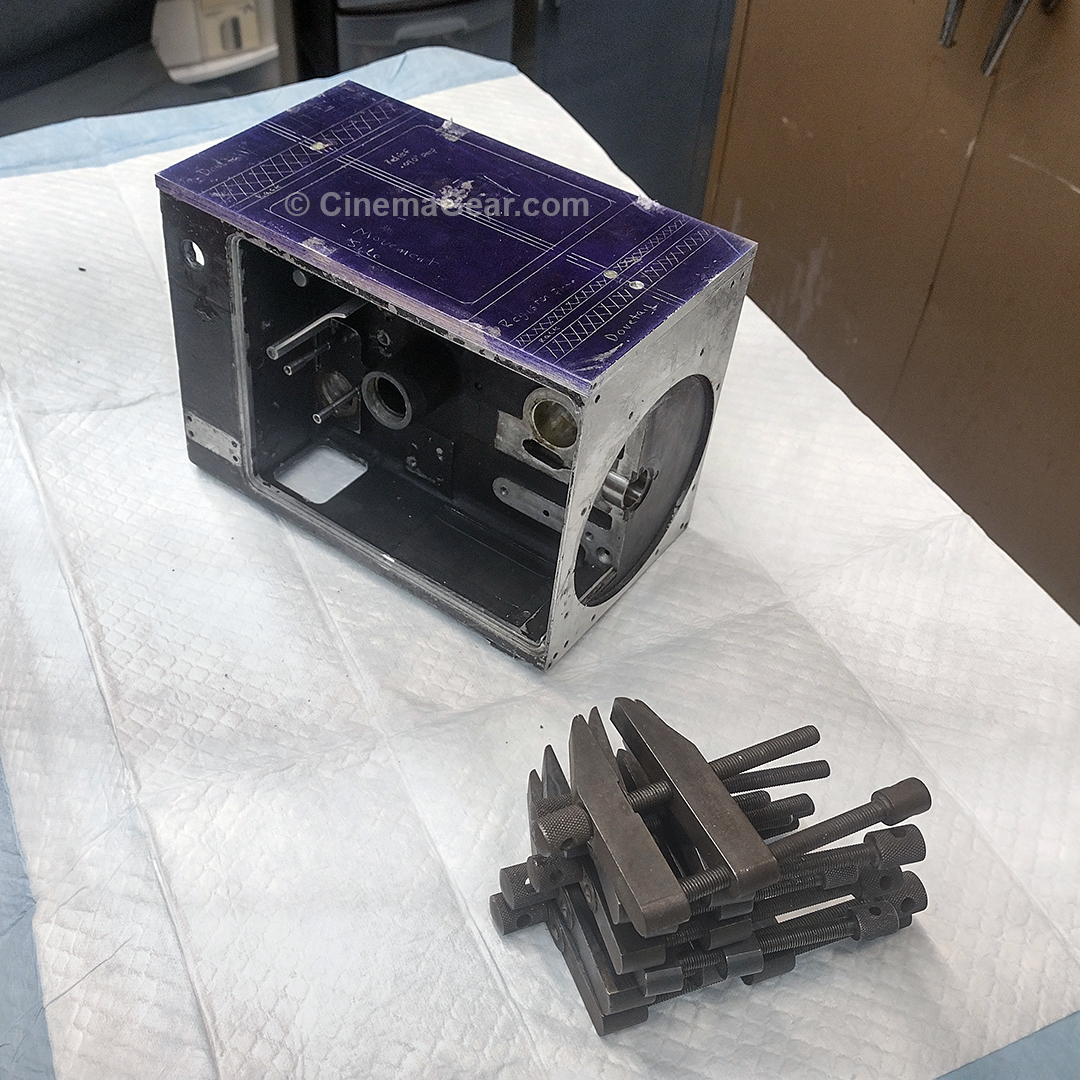
After the puzzling and disappointing failure of the Loctite adhesive last week (Loctite has never failed me before!) I went through a process of cleaning and degreasing the camera casting and the replacement bottom plate. I spoke to an adhesive expert, and he recommended 3M’s Scotch Weld 2216 2-part epoxy. The process required 4 arms and 3 hands, but I made it work. The first step was to fill the screw holes with toothpicks so the holes didn’t become filled with glue. Then I made sure that the replacement bottom plate would fit over the toothpicks to guide it into place.
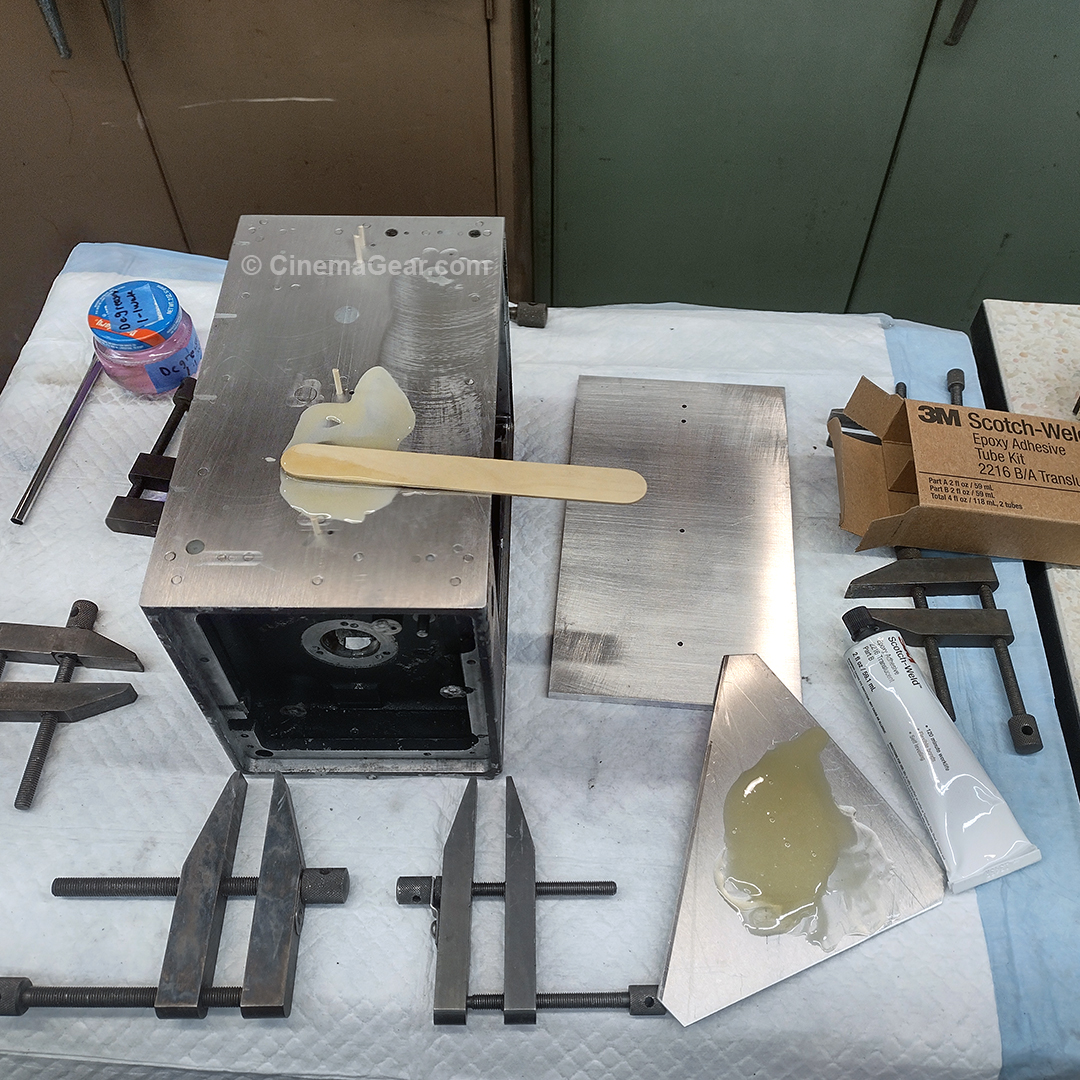

Next up, I donned some gloves, then measured out equal parts from each tube of the 2-part epoxy adhesive, and mixed them together for 30 seconds to one minute as instructed, until there was a color change. I spread the epoxy on the camera casting because I felt that it had the most voids that the epoxy would have to fill. Once I had a relatively even coat of epoxy, I carefully worked the replacement bottom plate over the toothpicks so the casting and the plate were roughly aligned. Then I removed the toothpicks one at a time and replaced them with the screws as the first part of the clamping process.
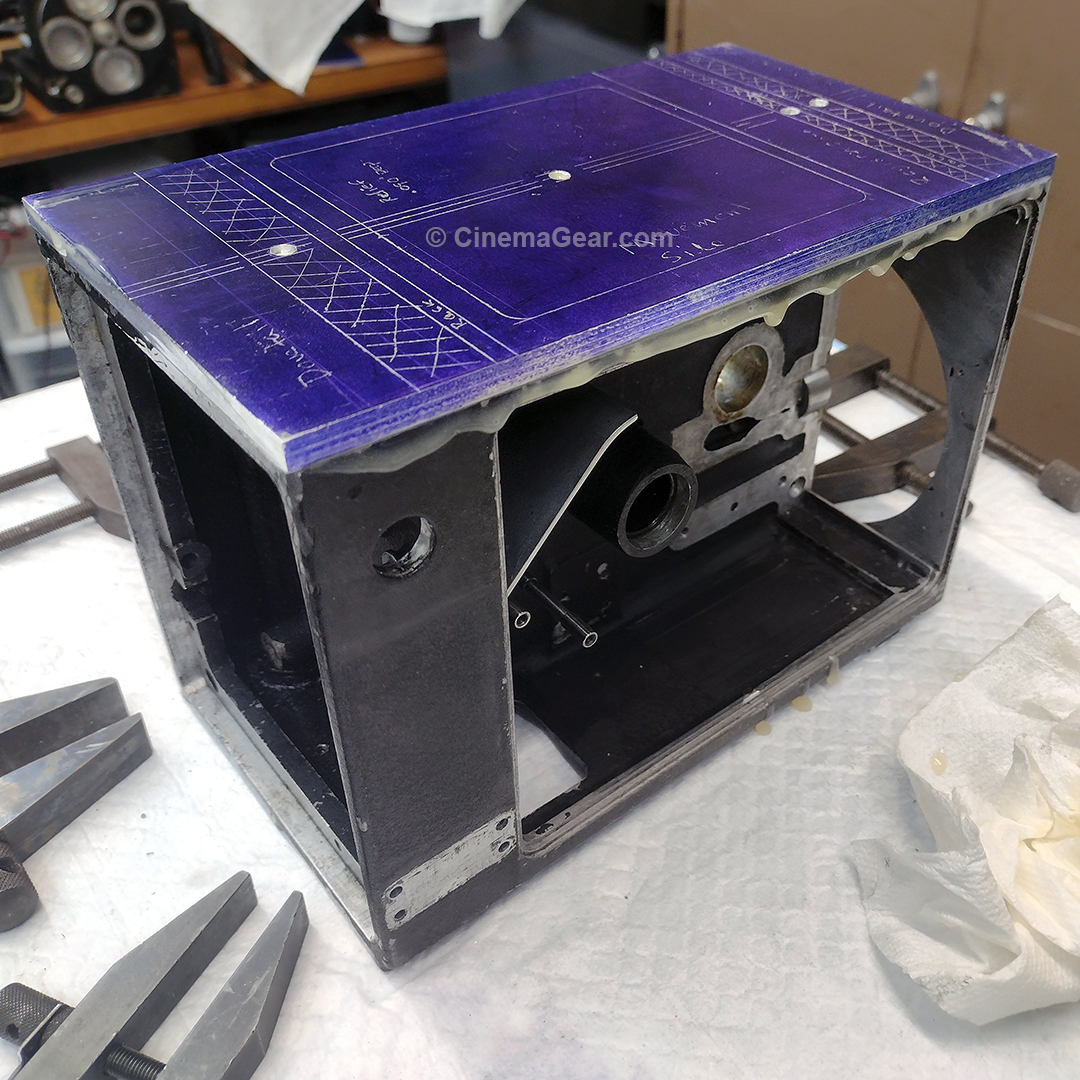
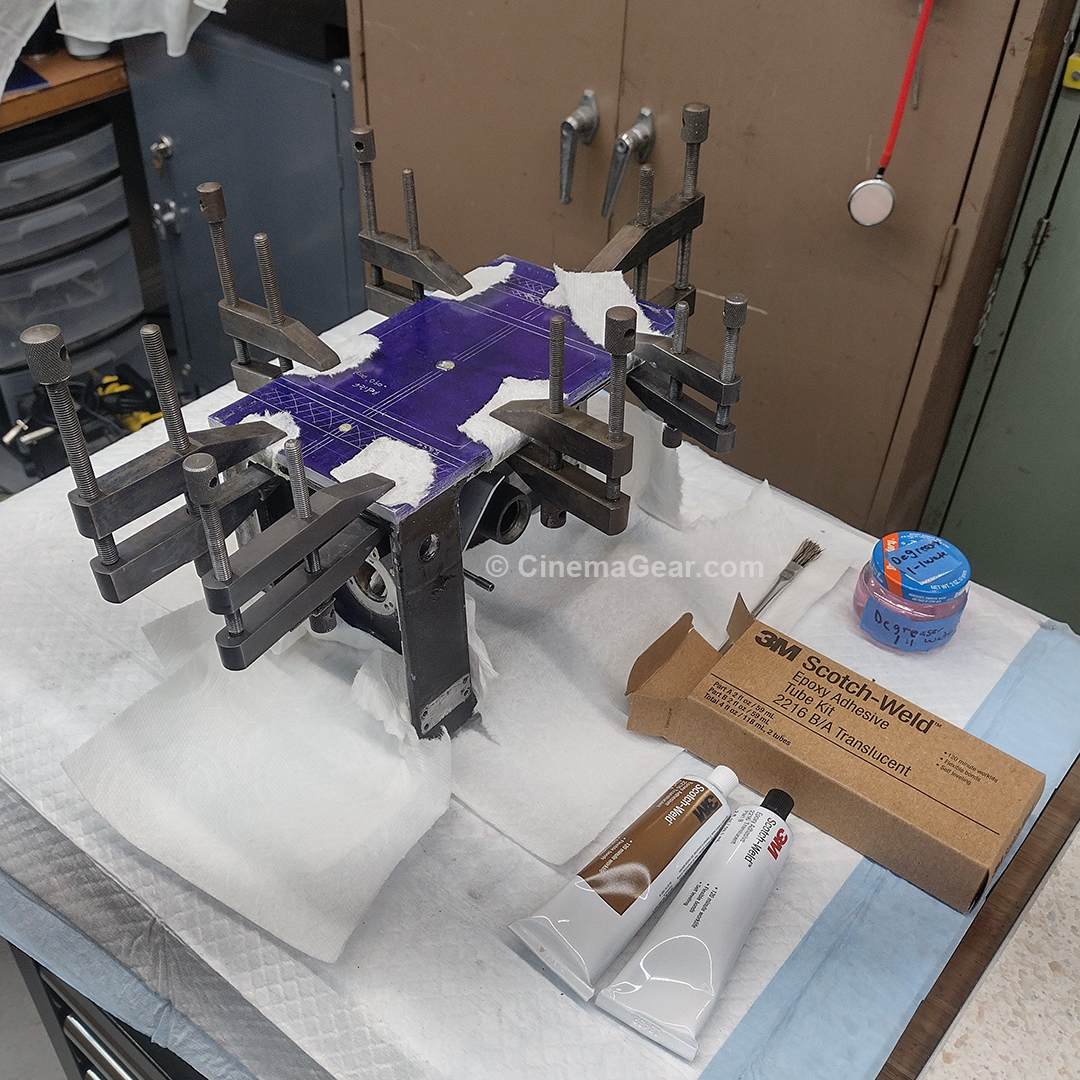

The glue squeeze-out was cleaned up as much as possible. Worrying that the clamps would get stuck to the casting forever, I put strips of paper towel between the clamp jaws and the casting and bottom plate. The instructions say it takes between 13 and 24 hours for the epoxy to cure. Oddly, at 24 hours, the epoxy was still pliable, but mostly cured. Now, after 72 hours of curing, the epoxy seems solid but oddly sticky. We will give it another 48 hours to make sure it is fully cured, but I cleaned up as much of the squeeze-out as I could. Here’s hoping we have achieved success on this second try!