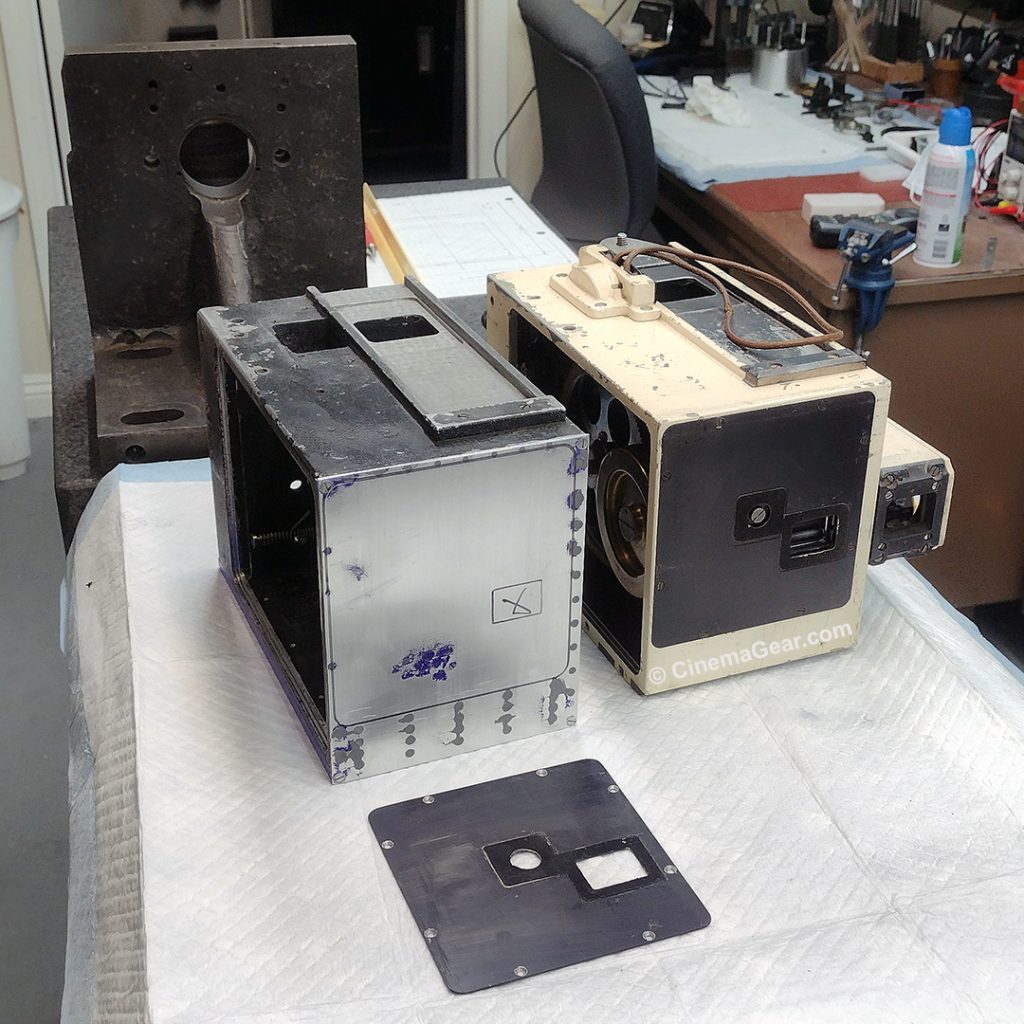
In order to move forward with the machine work on the replacement bottom plate for Mitchell 46, the front plate had to be installed so that three important things could be established: First, the proper thickness of the front plate so that the camera will slide freely on the rackover L-base and still light trap. Second, to create a datum surface so I can measure where the front dovetail needs to go. And third, to indicate the precise location of the film aperture so that I can determine how much material needs to be machined away from the replacement front and bottom plates so that, when the dovetail is reinstalled, it holds the camera body so that the aperture centers horizontally to the lens mount on the rackover L-base.
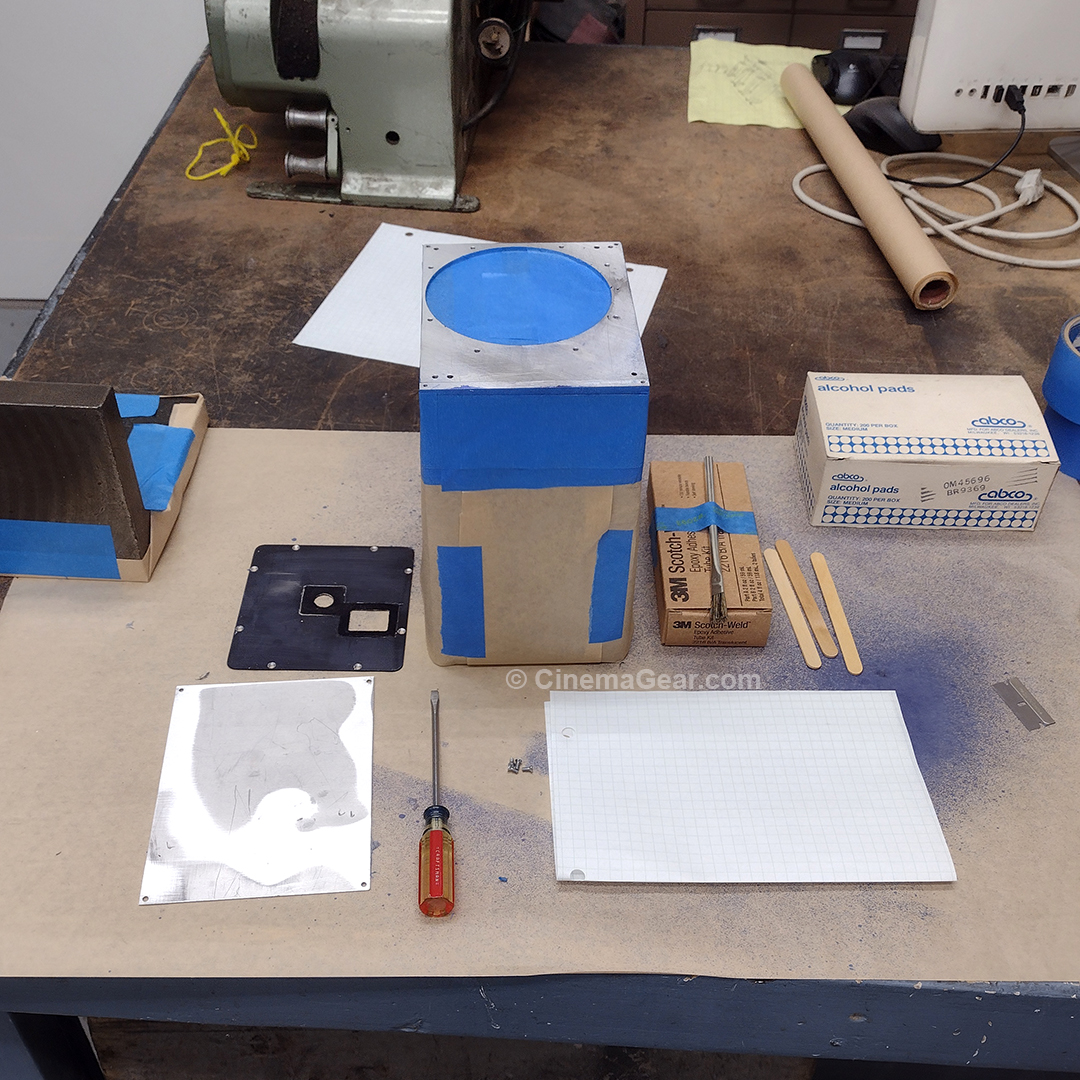
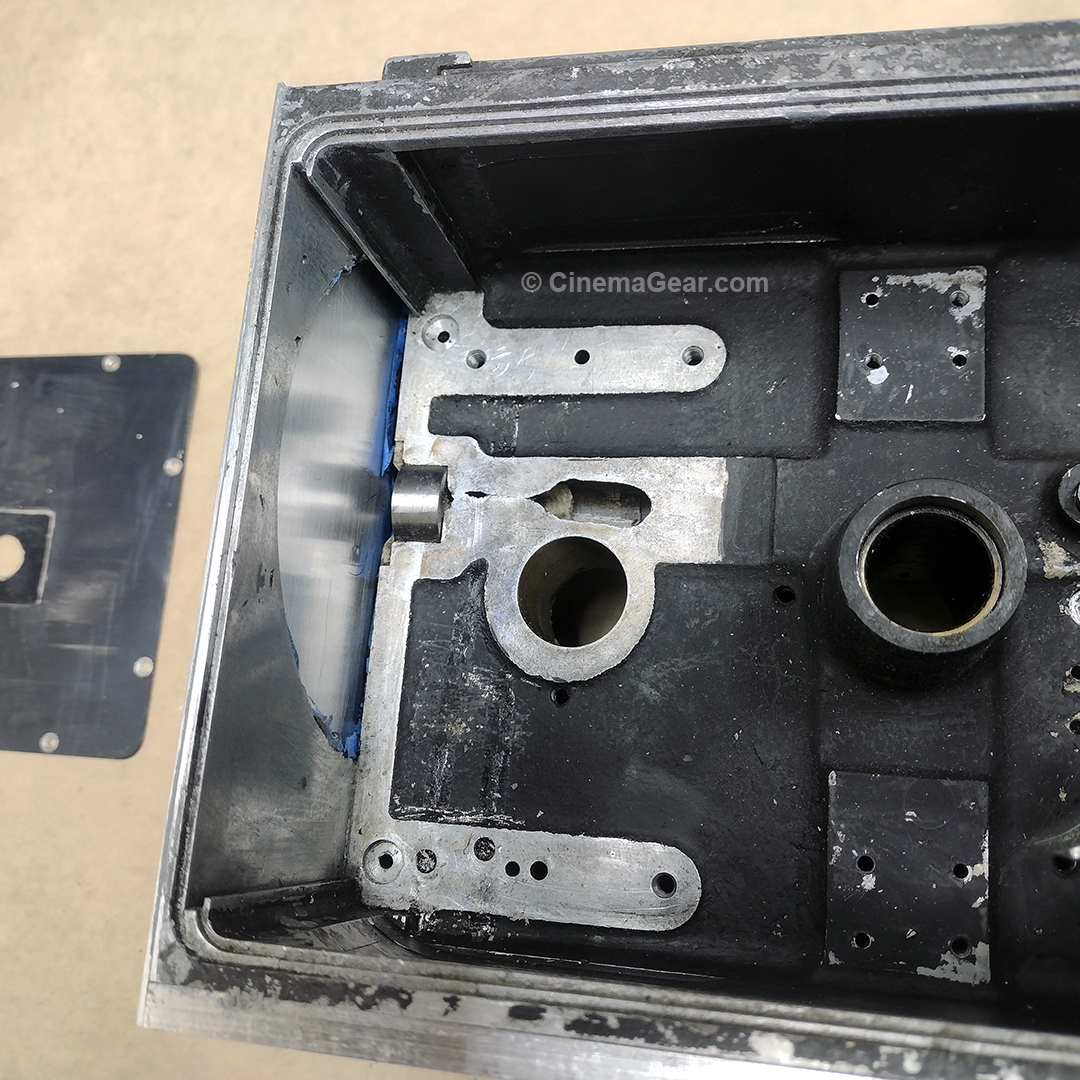
As this work progressed, I noticed that, when fully cured, the 3M Scotch Weld 2216 2-part epoxy remained a little more flexible than I was happy with. Most of the front plate will be machined away to form a pocket where the shutter light trap cover will be mounted. I was concerned that a slightly flexible adhesive would not be stable enough for the machining process that was yet to come. I am not sure it was the correct solution for the replacement bottom plate, but we are committed to that product now. I won’t be machining quite as much away from the bottom plate as I will have to do on the front plate, but still a significant amount of material will be machined away from the bottom plate to mount the two dovetails, the rackover register plate, and the rackover rack gear. After much thought, I decided to go back to the old faithful JB Weld steel-filled epoxy for the front plate. I based this decision on past experience machining parts that were bonded together with JB Weld. Again, my concern was, I am machining away so much of the front plate, that I had visions of it flying off the camera while I machine the pocket. I went back to an old trick I used long ago, of drilling and countersinking many holes in the plate to be attached to the camera. The idea is, by sanding and roughing up the two mating surfaces, and drilling enough holes through the replacement front plate, that the JD Weld will not only bond the two surfaces, but also squeeze through all of the holes and act sort of like rivets to hold everything in place.
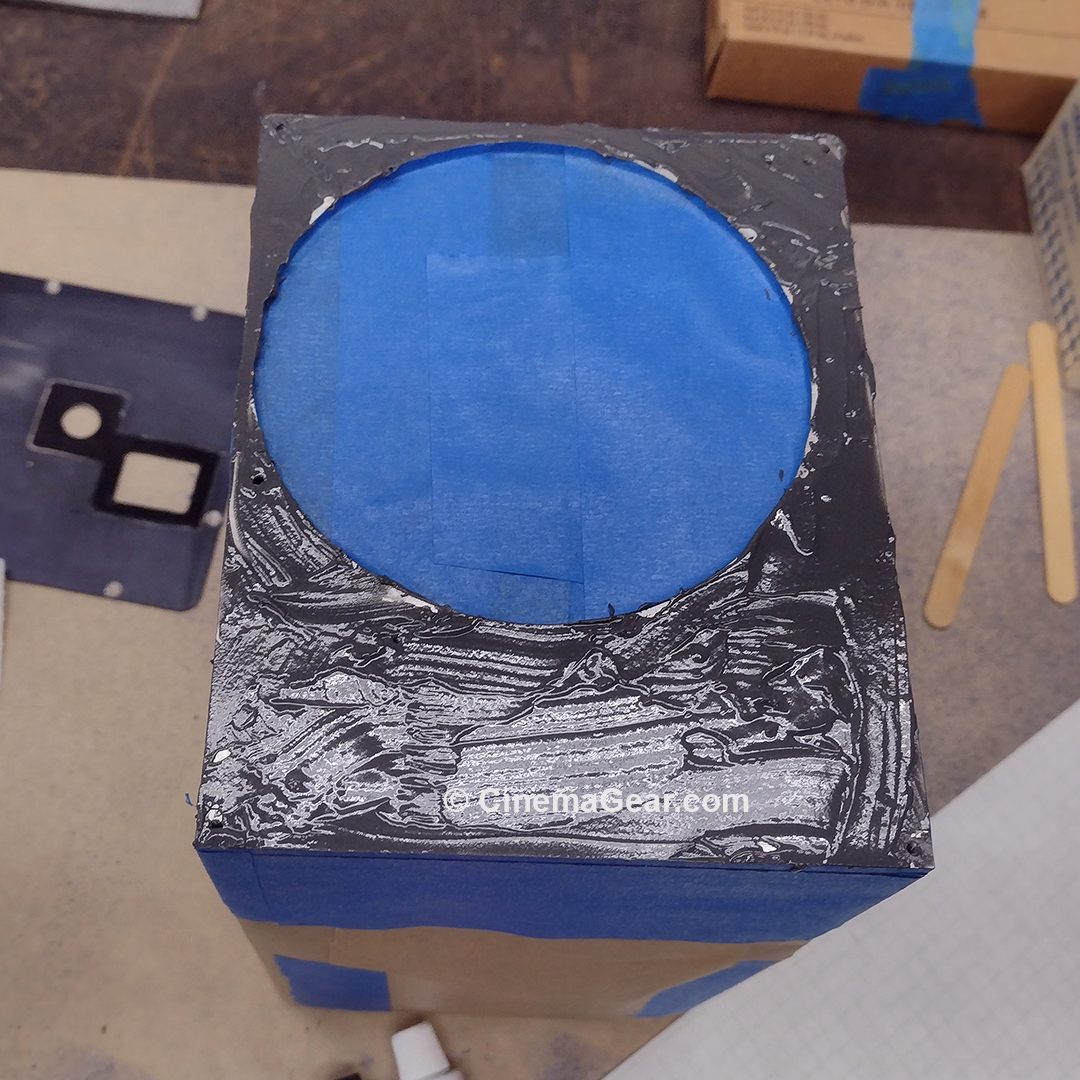
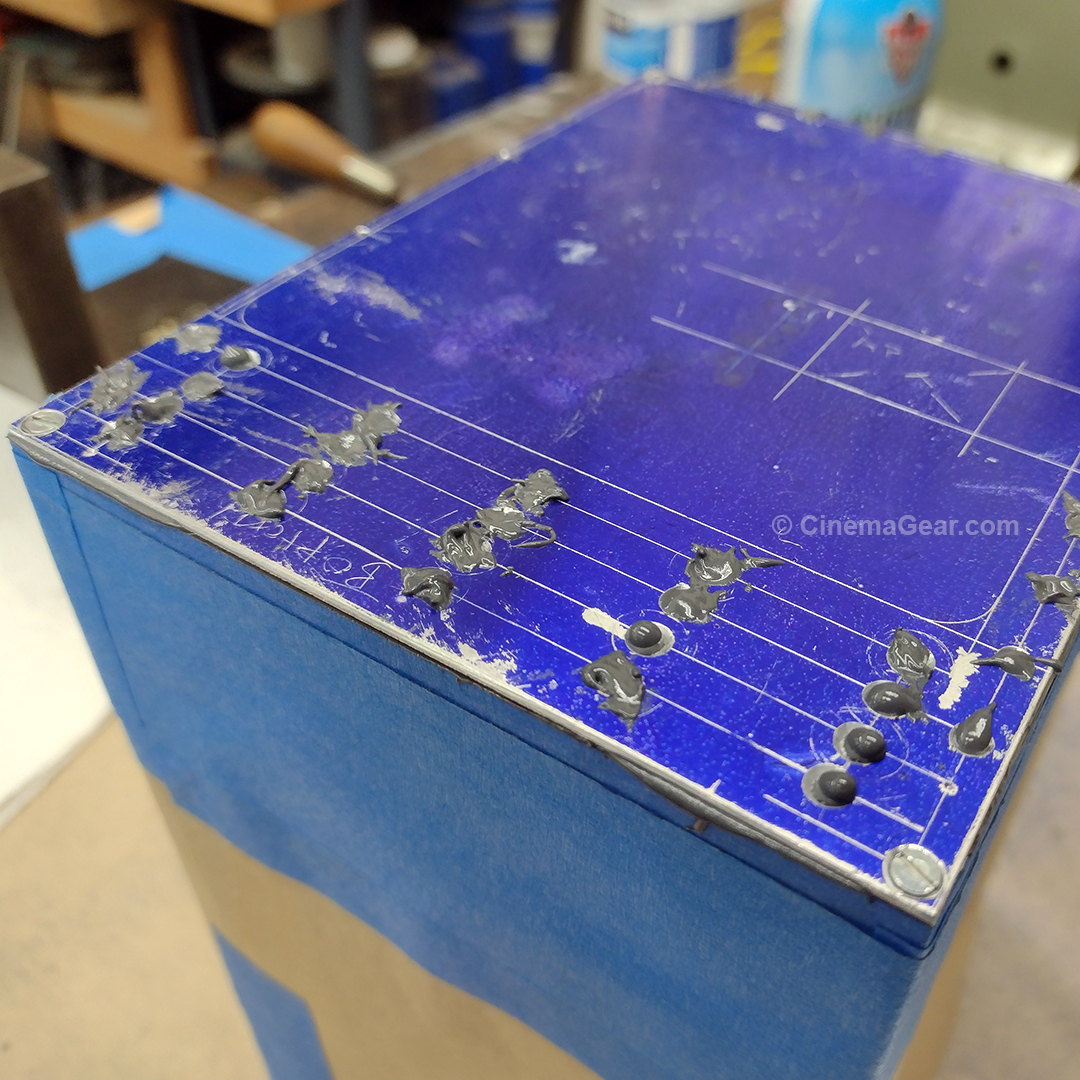
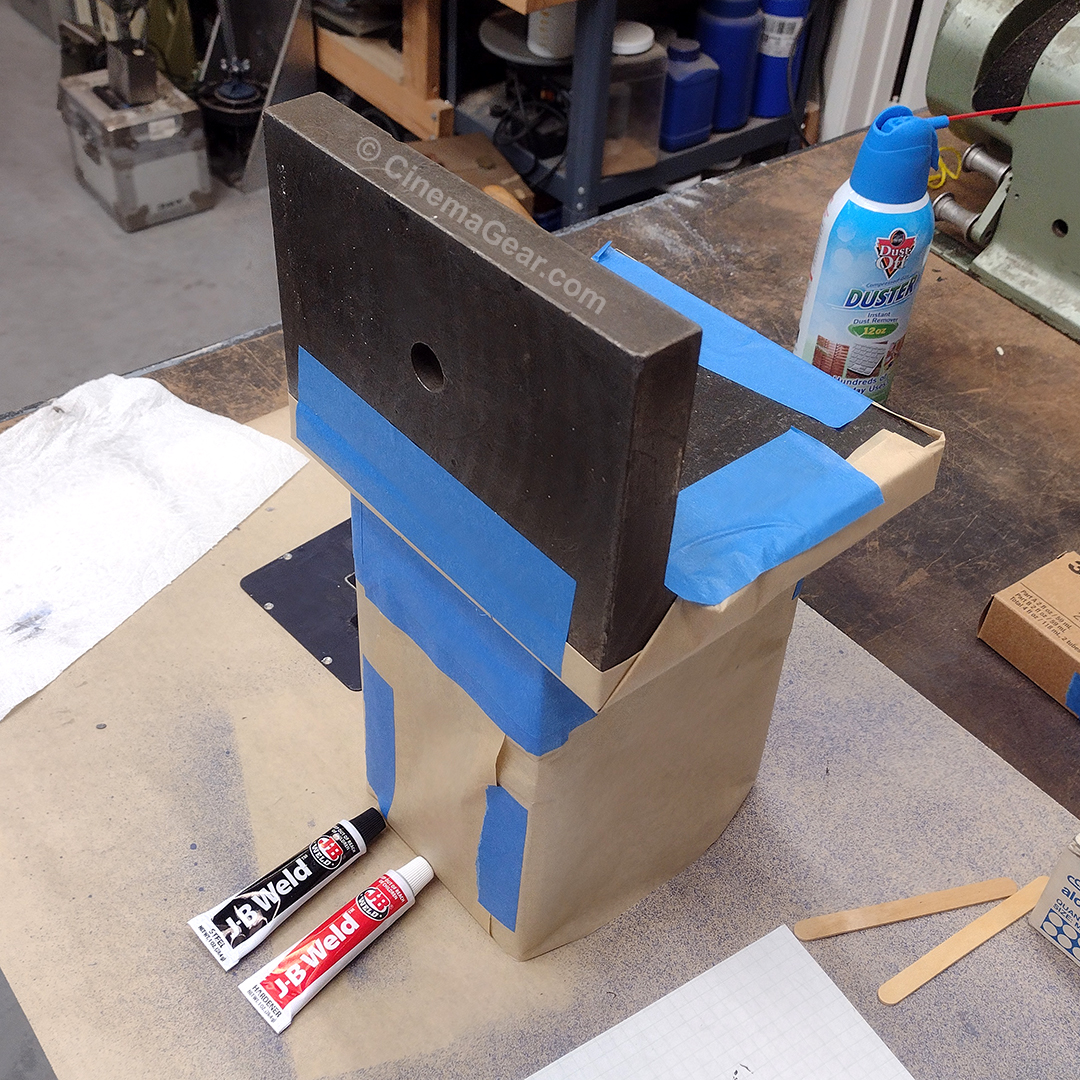
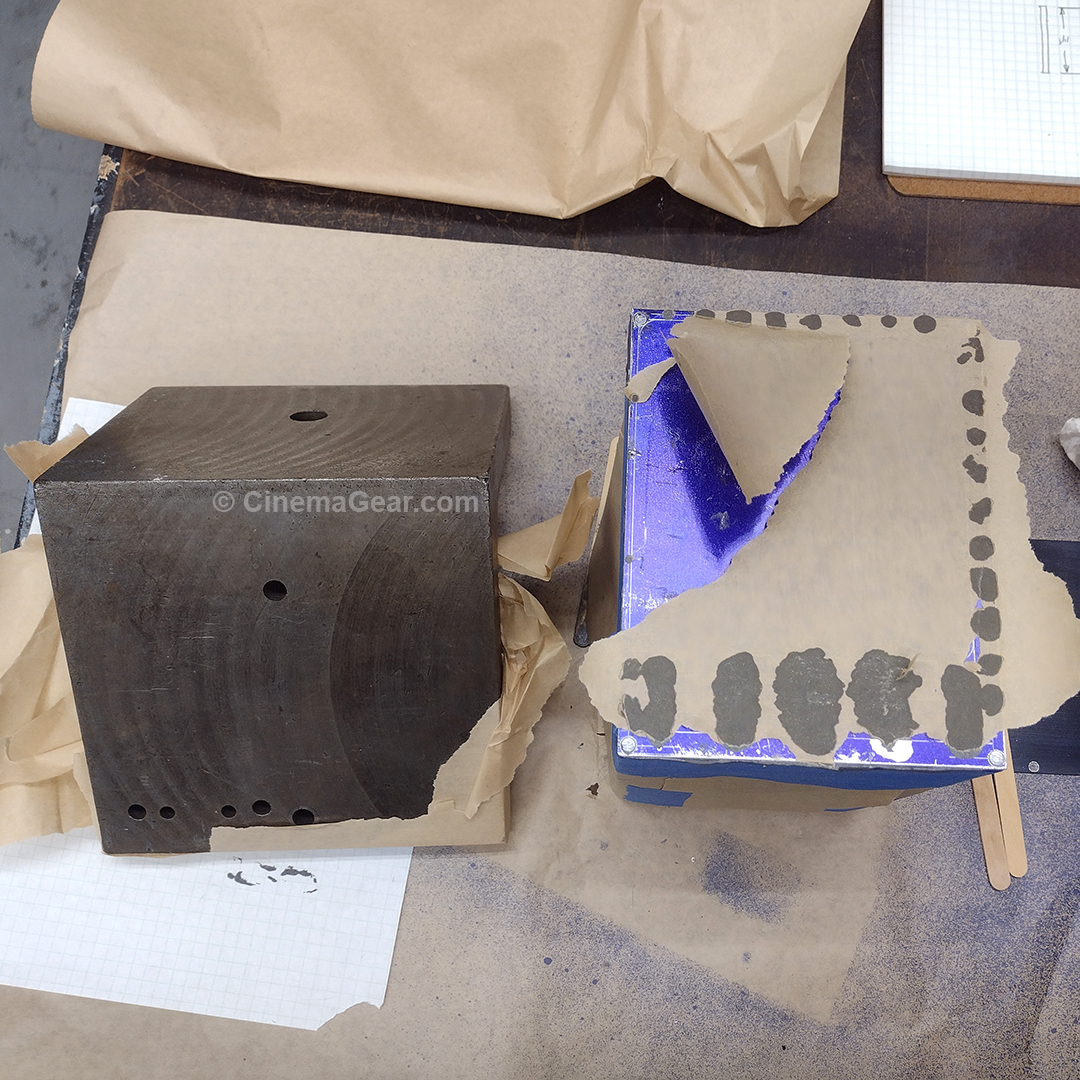
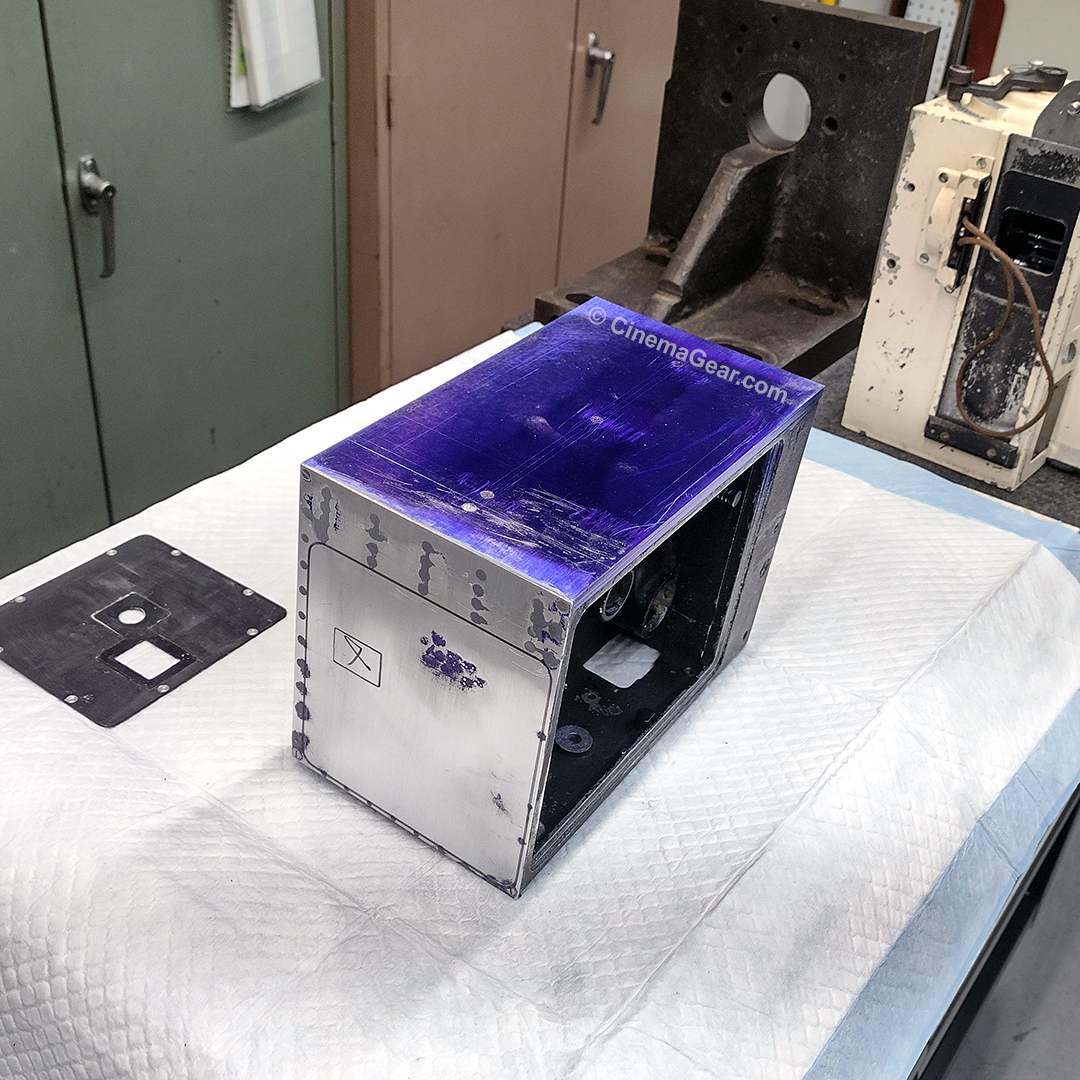
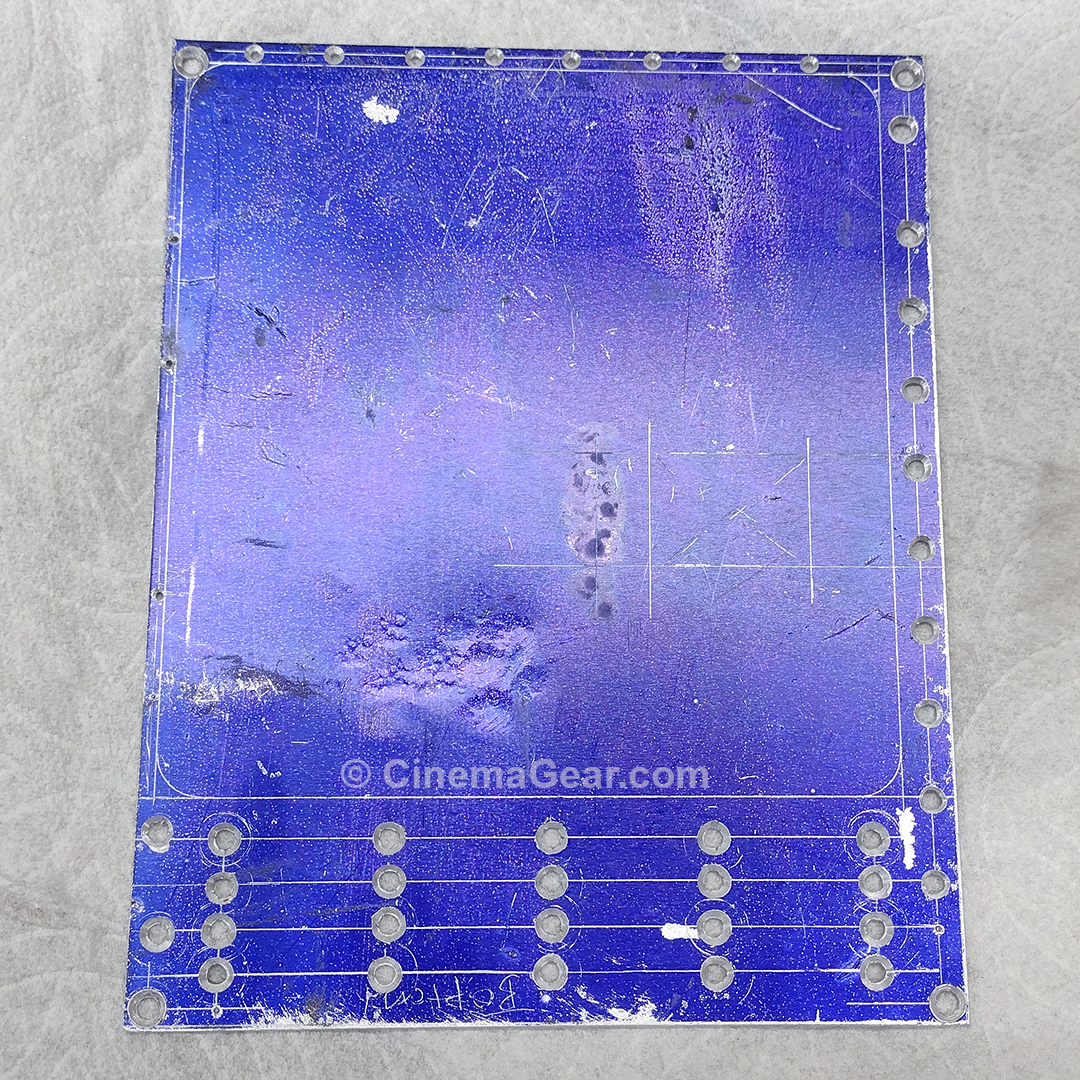
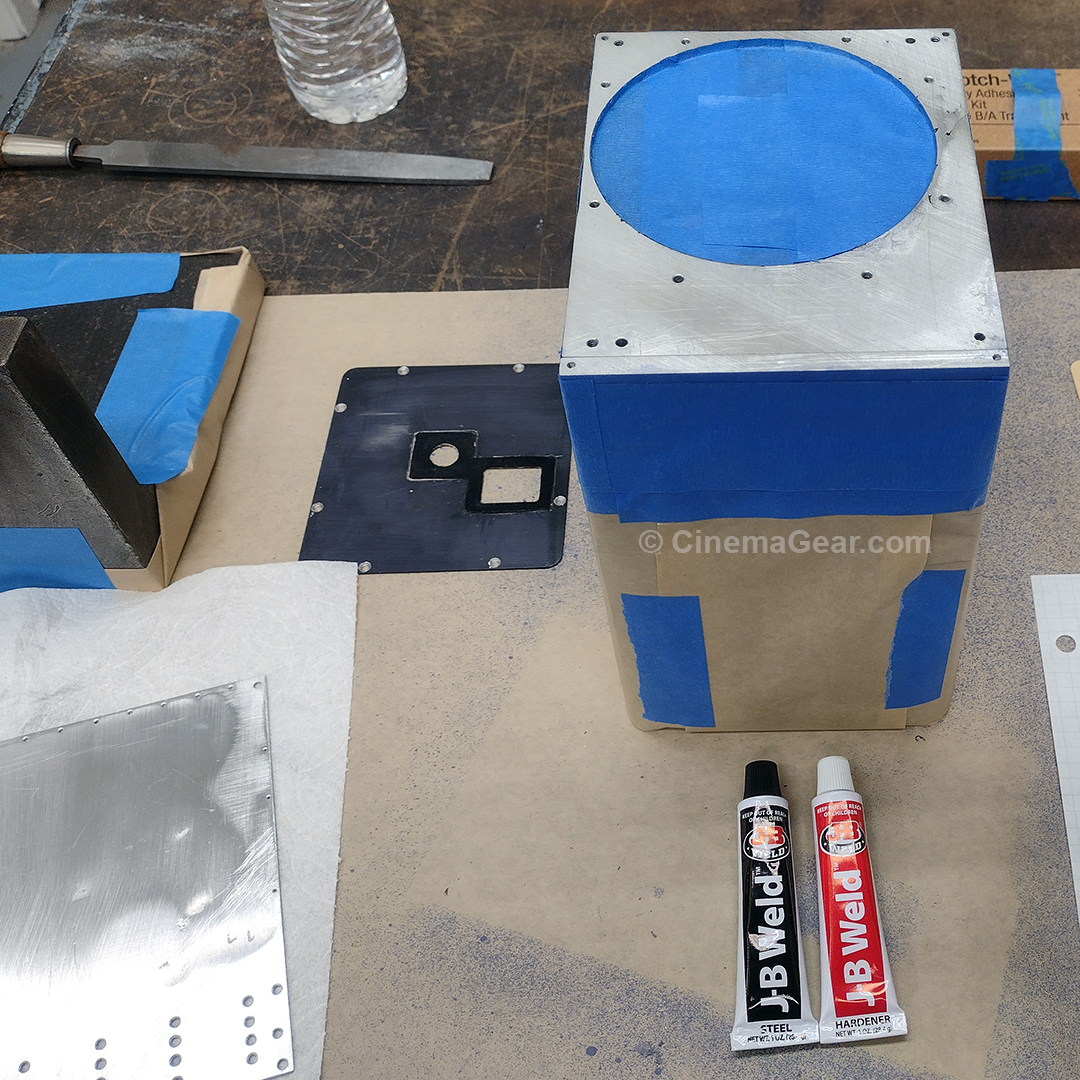
All of that head scratching done, I cleaned and degreased both surfaces, and masked all of the areas that the JD Weld should not go. Then I mixed and troweled an even coat of JB Weld on the camera casting, and screwed the replacement front plate in place. I took a heavy angle plate that I use to fixture things, taped brown paper to it, and set it on top of the camera to weight everything in place while the JB Weld cured. Anticipating that the JB Weld would stick to everything that I didn’t want it to stick to, I deliberately left the blue layout fluid in place as a sort of mold release, and taped the brown paper on for the same purpose. When I pulled everything apart the following morning, the JB Weld had cured properly and poked through all the holes as planned. After some sanding, filing, and scraping, the replacement front plate is now hopefully permanently affixed to the camera casting. The next step will be to measure and document everything, create some fixtures to hold the camera on the milling machine, and begin the process of milling the features required to mount the dovetails and everything else.