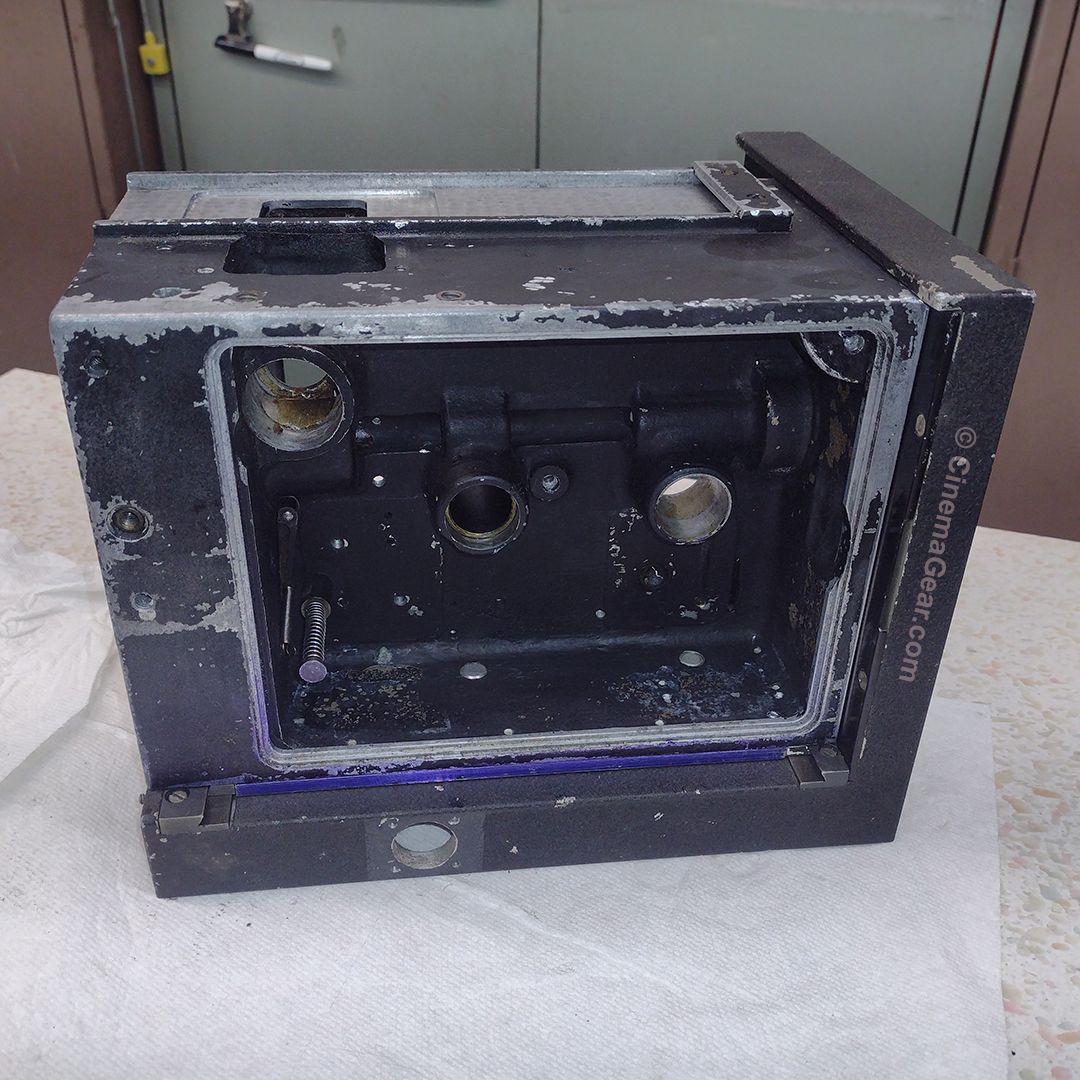
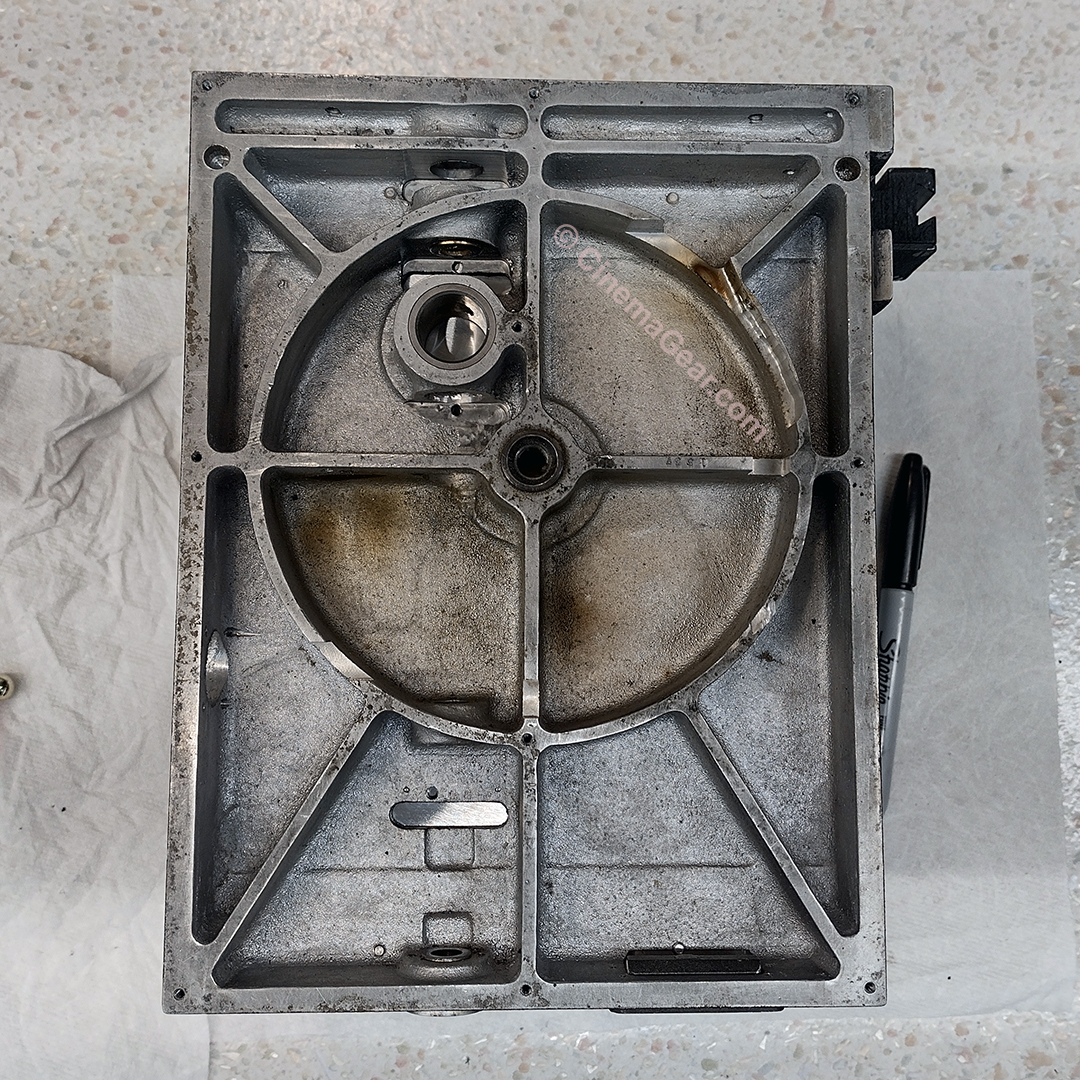
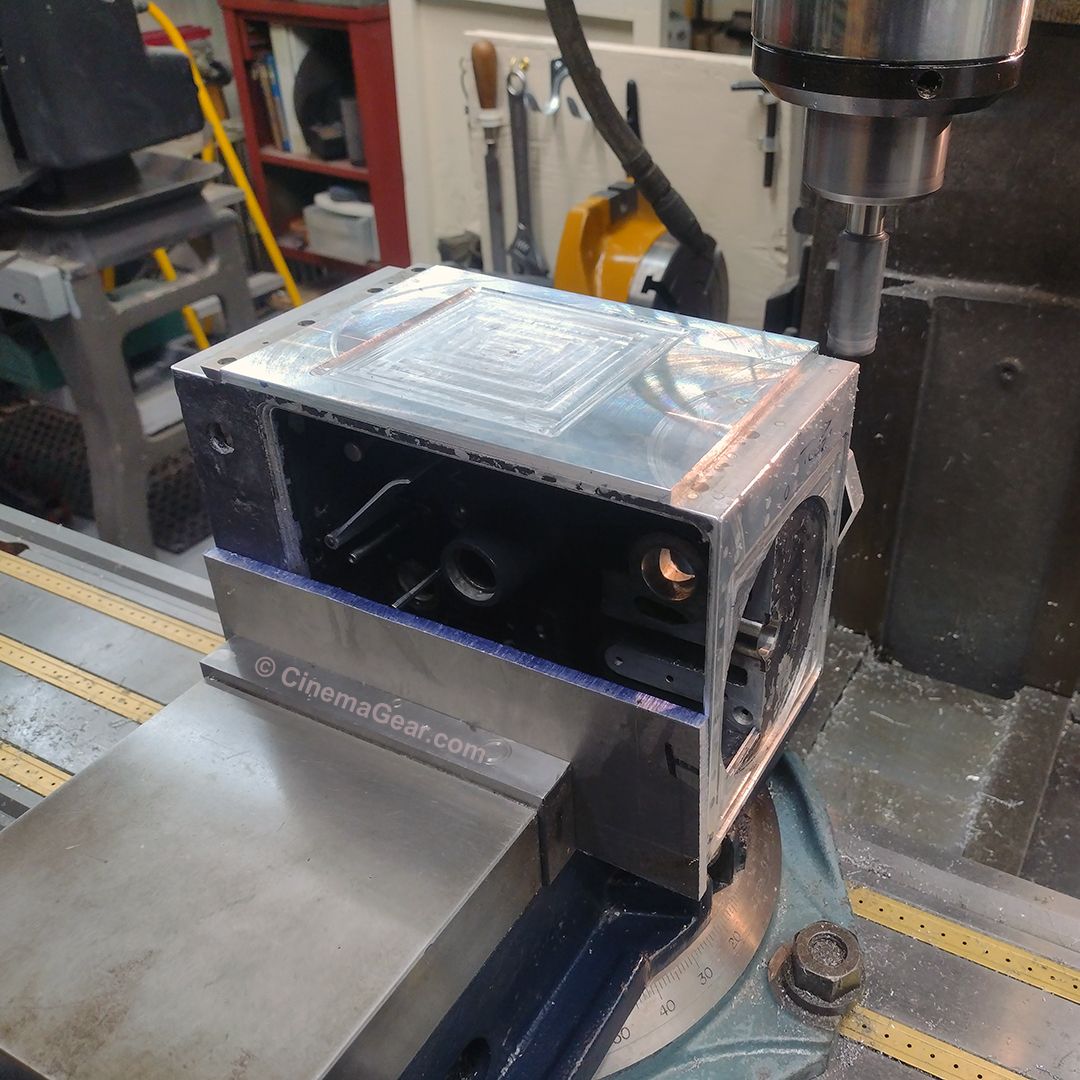
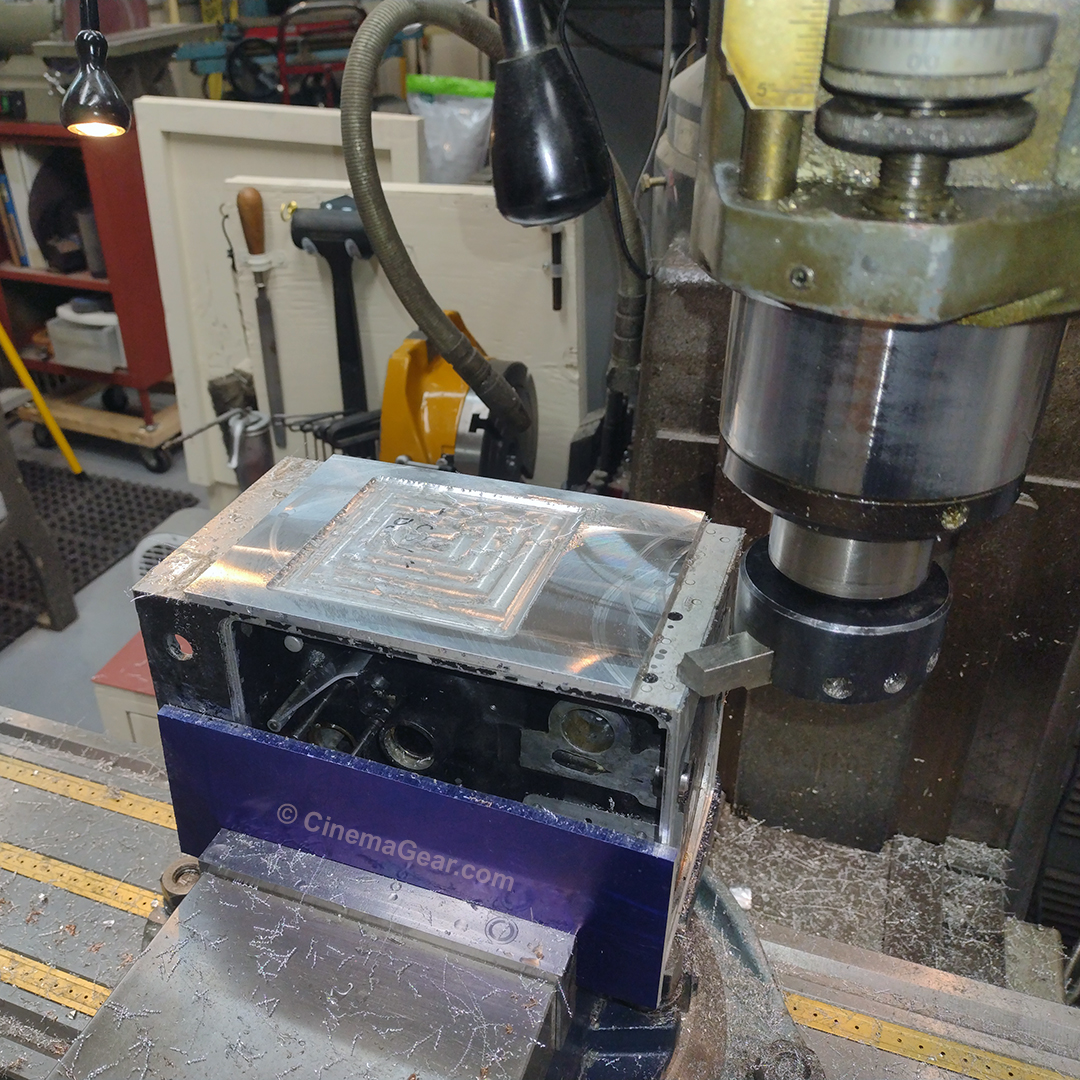
Somehow we find ourselves in July already (not sure how that happened!), so we decided to take a couple of days off for the 4th of July holiday and relax. Now though, we are back to work on Mitchell 46, along with the dozen other projects we have going at the same time. Much to my chagrin, I discovered that, despite all of my careful calculations, the camera was still too tall by 0.031 inches (thirty-one thousandths of an inch) and the front dovetail registration surface was 0.005 inches (five thousandths of an inch) too long. After much head scratching, and hours of trying to indicate the camera true and square on the original fixture, all of that was abandoned and new fixturing was assembled. The camera was re-indicated so it was true and parallel to where the movement mounts to the casting, and true and parallel front to back and side to side. My next step was to pick up with an edge finder the already machined dovetail mounting positions as well as the face of the camera that the dovetails fasten to. Taking very light cuts, the height of the camera at the dovetail mounts was reduced by 0.031”. The front dovetail registration surface was reduced by 0.005”. Using a fly cutter, the overall height of the camera was reduced by 0.031” as well.
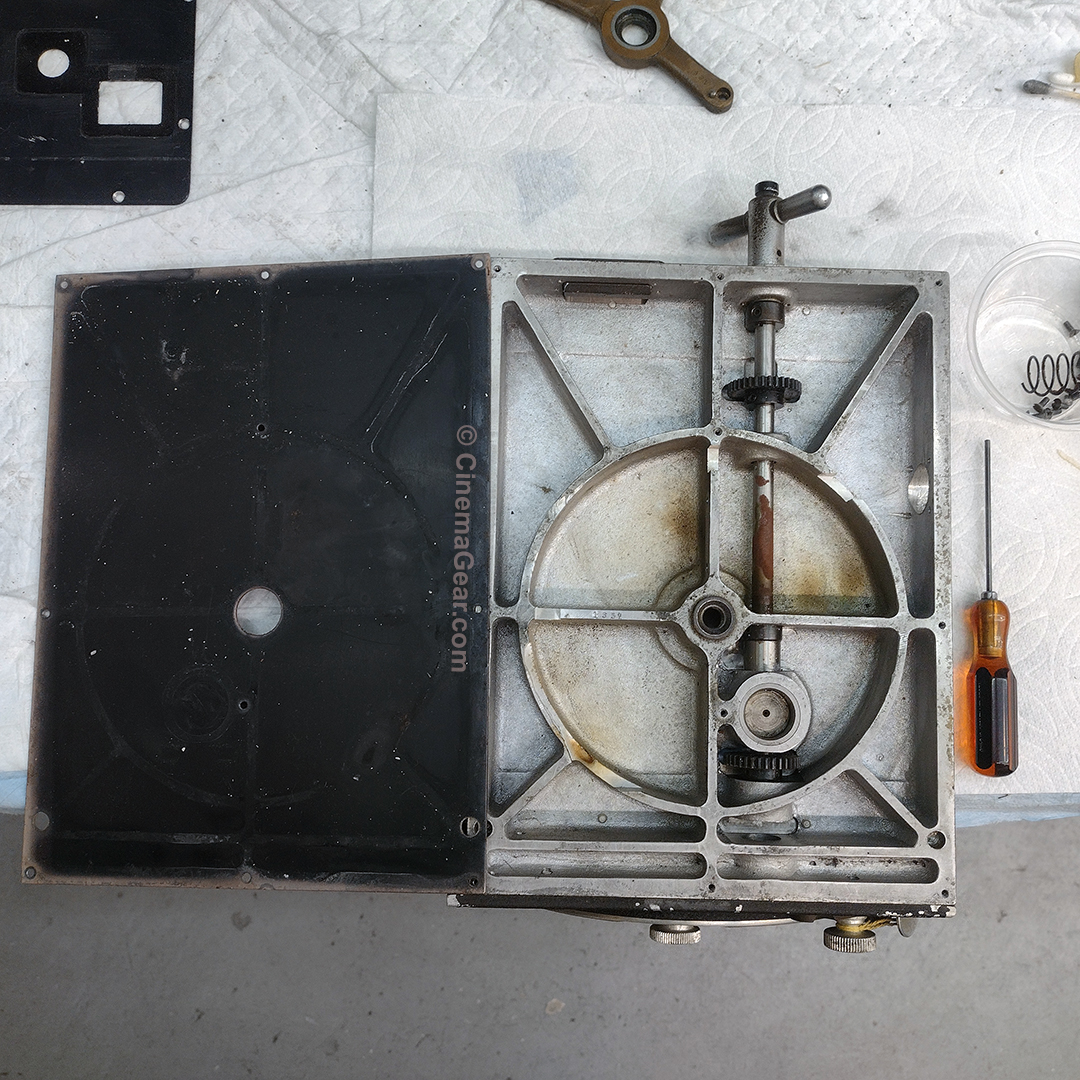
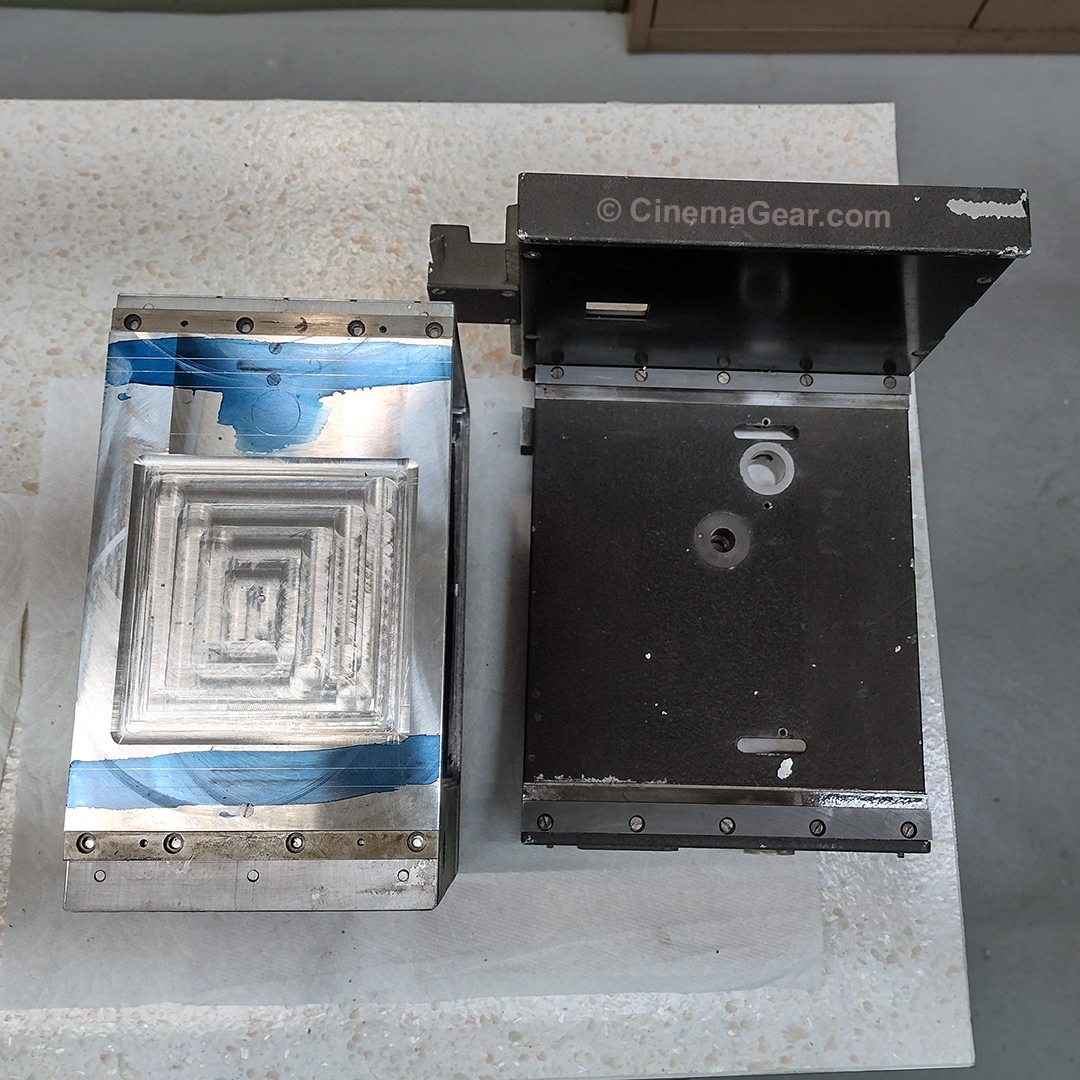
The whole idea behind this exercise was to be able to mount the dovetails to the camera and slide the freshly machined camera onto its replacement rackover L-base. This will allow me to transfer the physical locations of the rackover gears and the rackover stop plate onto the new bottom of Mitchell 46. Step one in this process was to disassemble all of the rackover parts from the L-base. Step two was to temporarily super glue the dovetails onto the newly machined bottom of Mitchell 46. Step 3 was to slide the camera onto the L-base, then check with feeler gauges to make sure the front face of the camera is 0.010” away from the back face of the rackover L-base. This will become important later so the velveteen light trap has the correct spacing between the camera and the L-base, and the flange focal depth is correct. For step four, I turned the camera and L-base upside down so I could transfer the positions for the 2 rackover gears and the rackover stop pin to the bottom of the camera. (The rackover stop pin lines the camera up in its correct shooting and viewfinding positions.) My last step for this week was to remove the camera from the L-base and scribe layout lines for where the rack gears and stop pin register plate will mount.