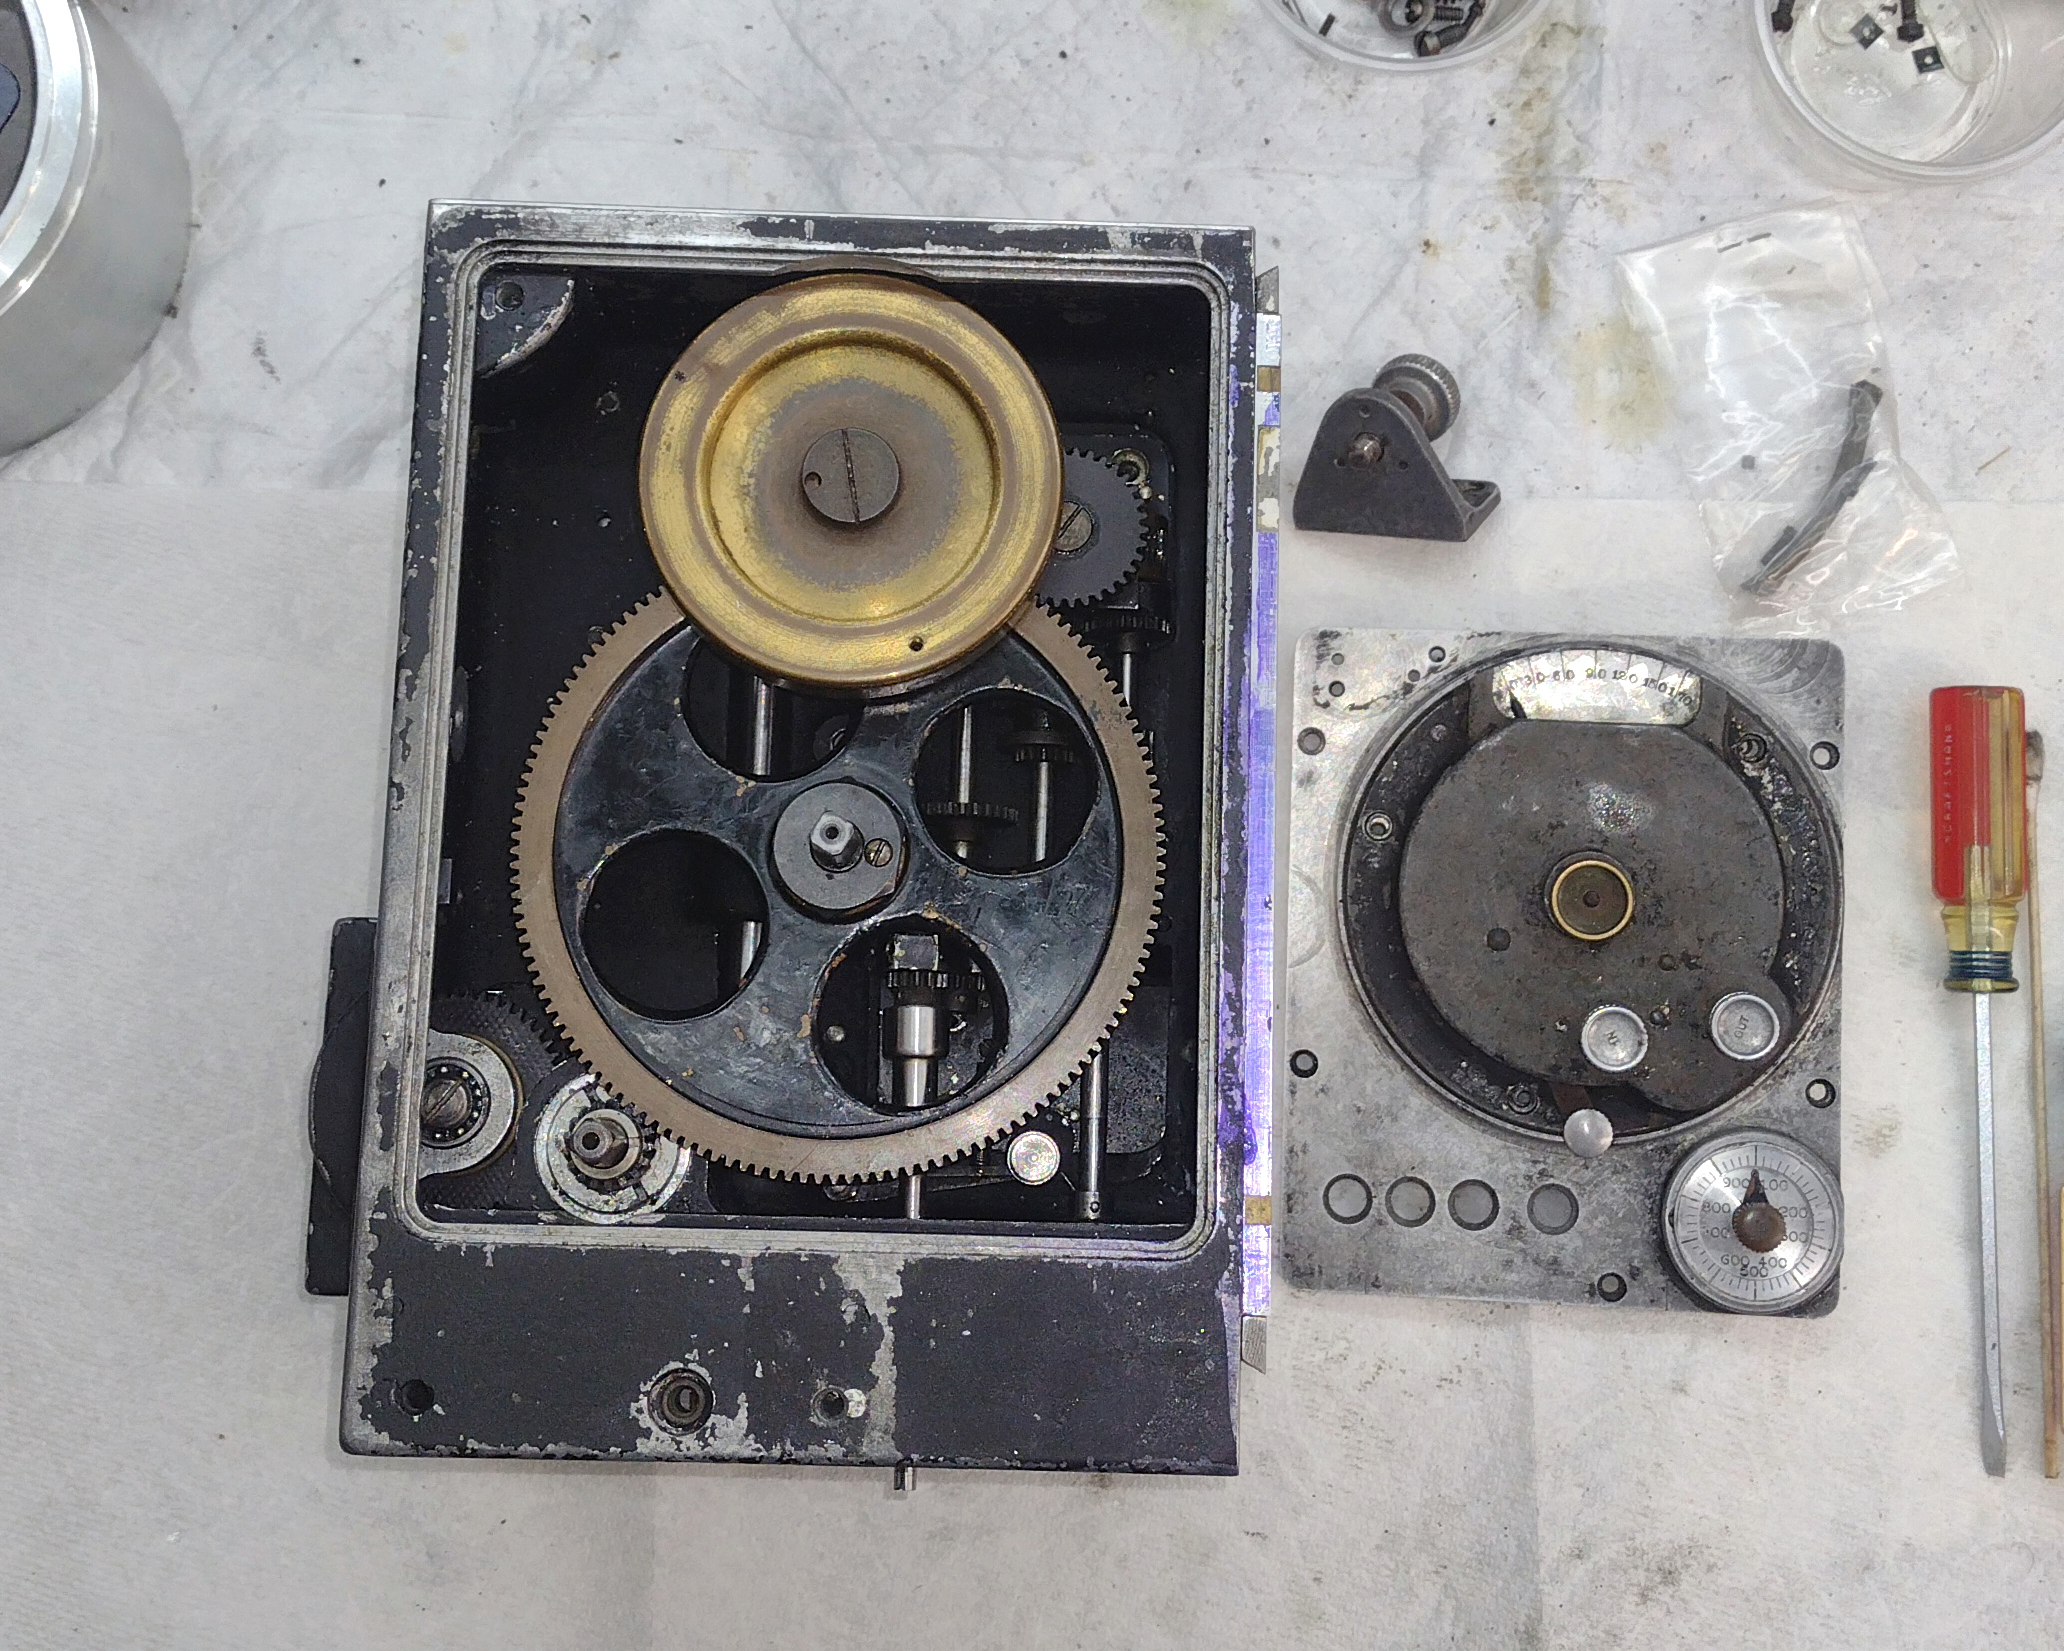
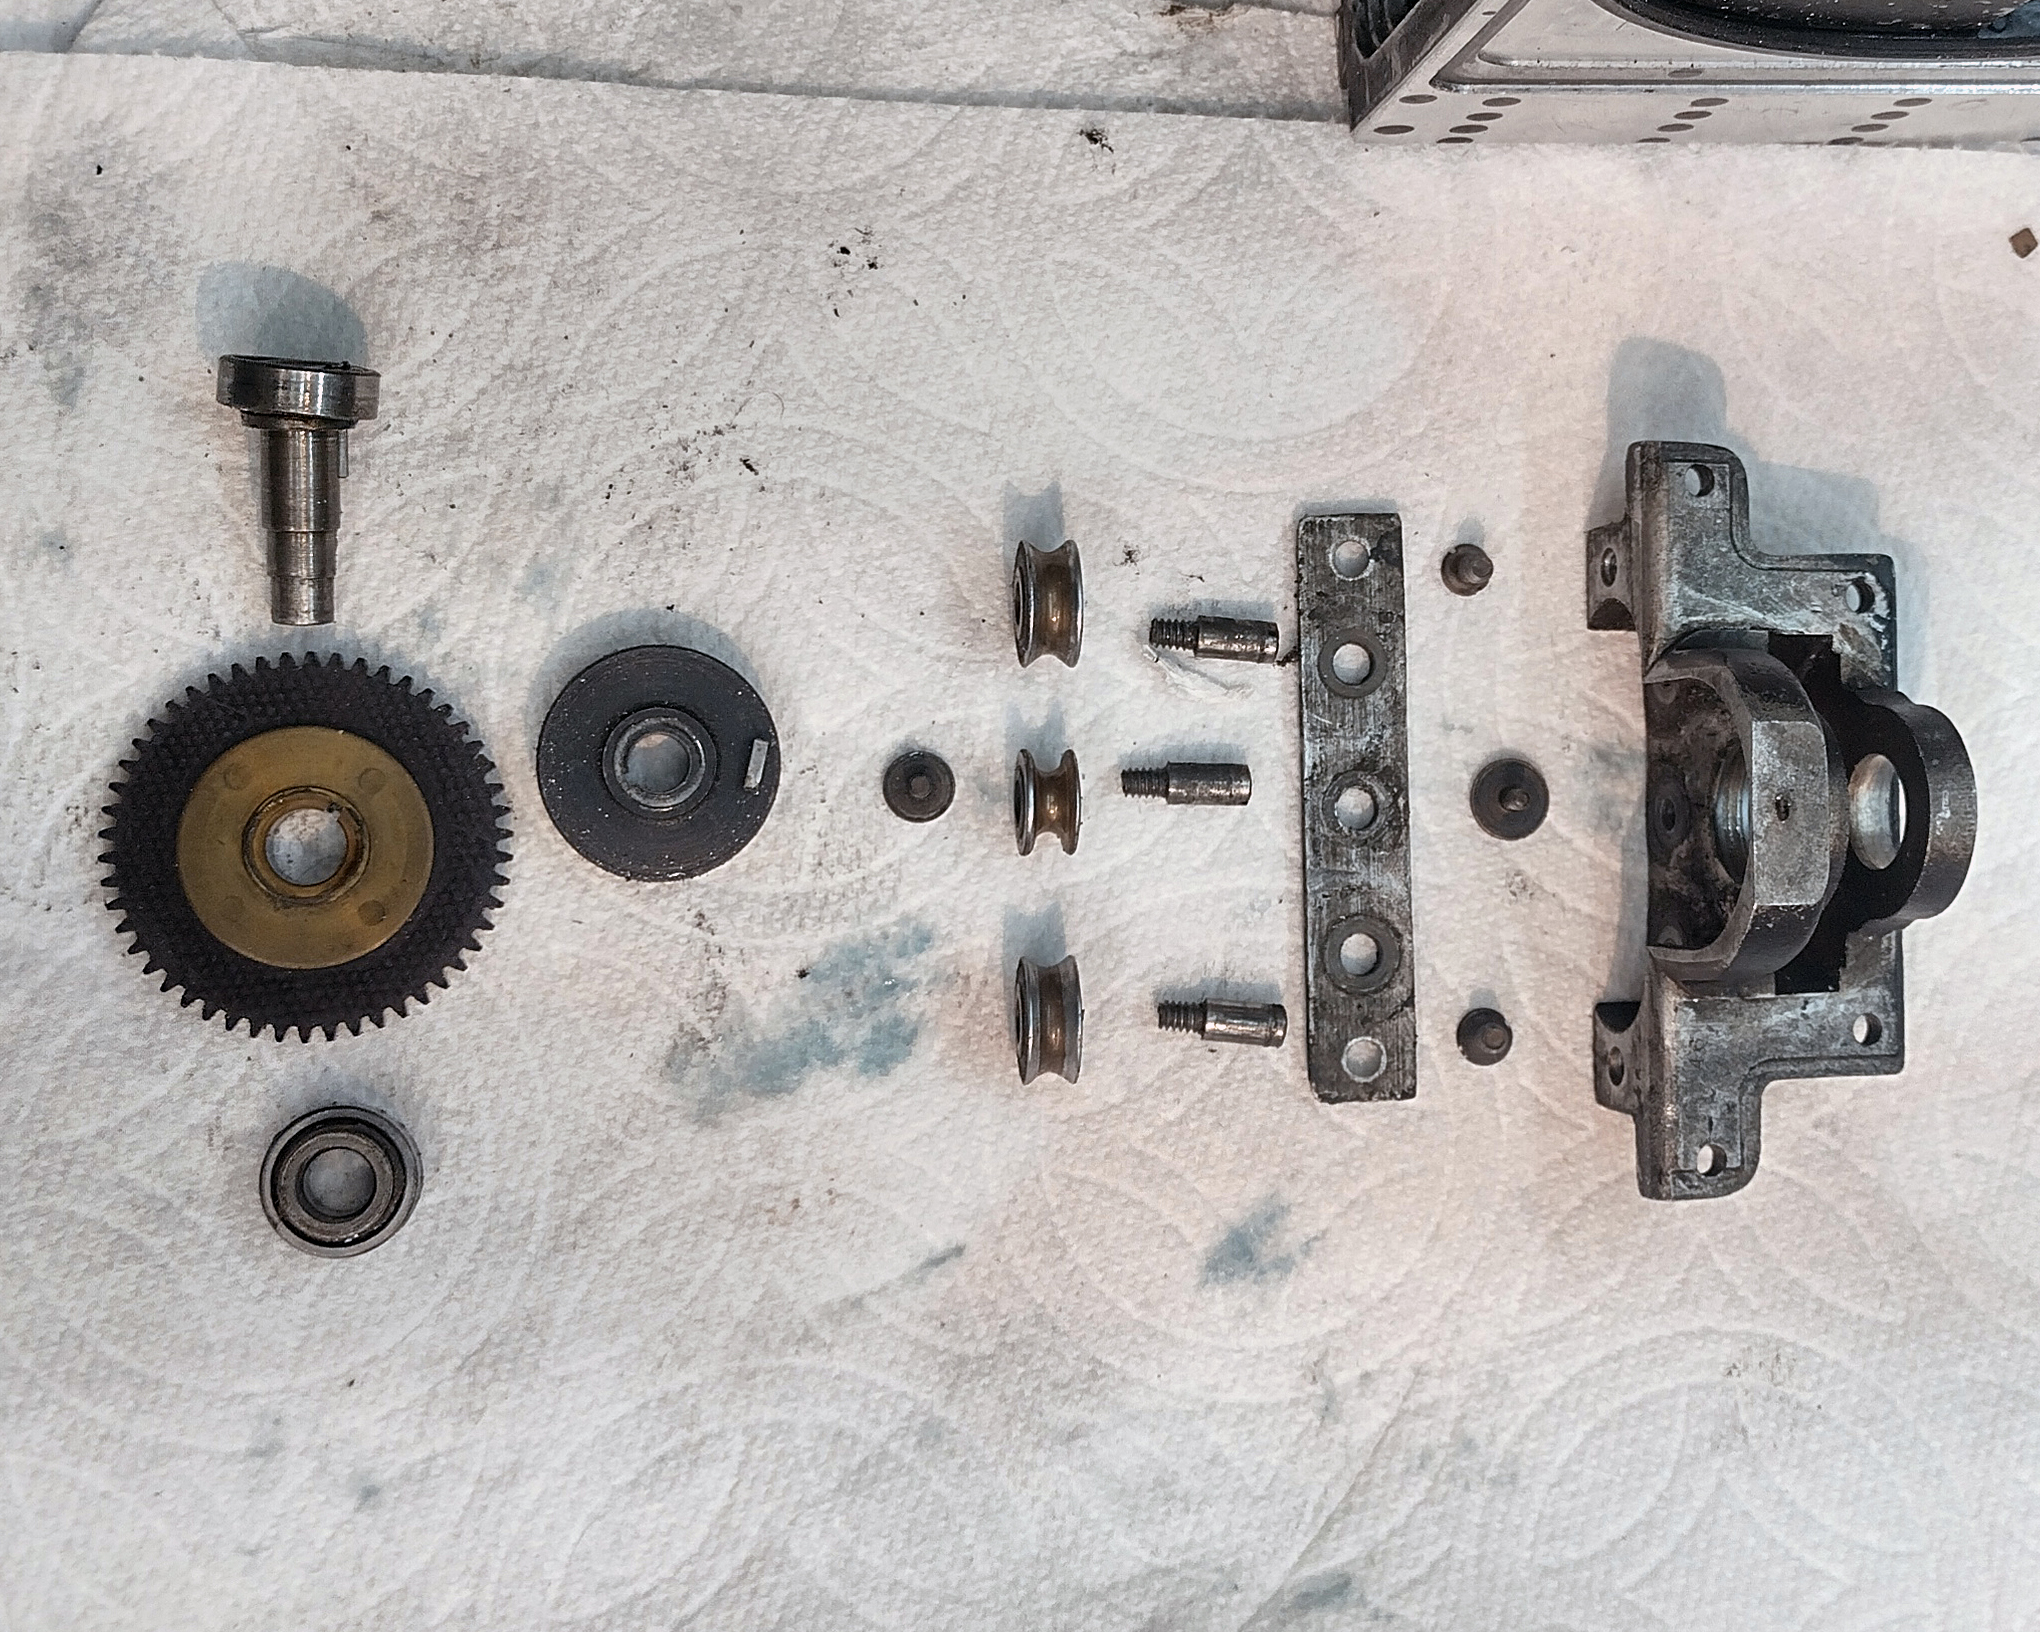
With many of the significant hurdles overcome, it was finally time to rough assemble Mitchell 46, put a hand crank on it, and hope that all my work would pay off. Mitchell Standard and GC cameras rely on three gears to control the overall camera timing. These gears keep the film that is being fed from the magazine to the camera in time with the sprocket, as well as holding the sprocket and the movement in time with the shutter. As you look at the hand-crank side of a Mitchell Standard, in the upper left hand corner you will find the 1:1 drive shaft. This drive shaft does three things: It drives the magazine take-up belt clutch. It drives the main shutter shaft, and it lines up with timing marks on the bull gear that also line up with timing marks on the movement. So it’s important!
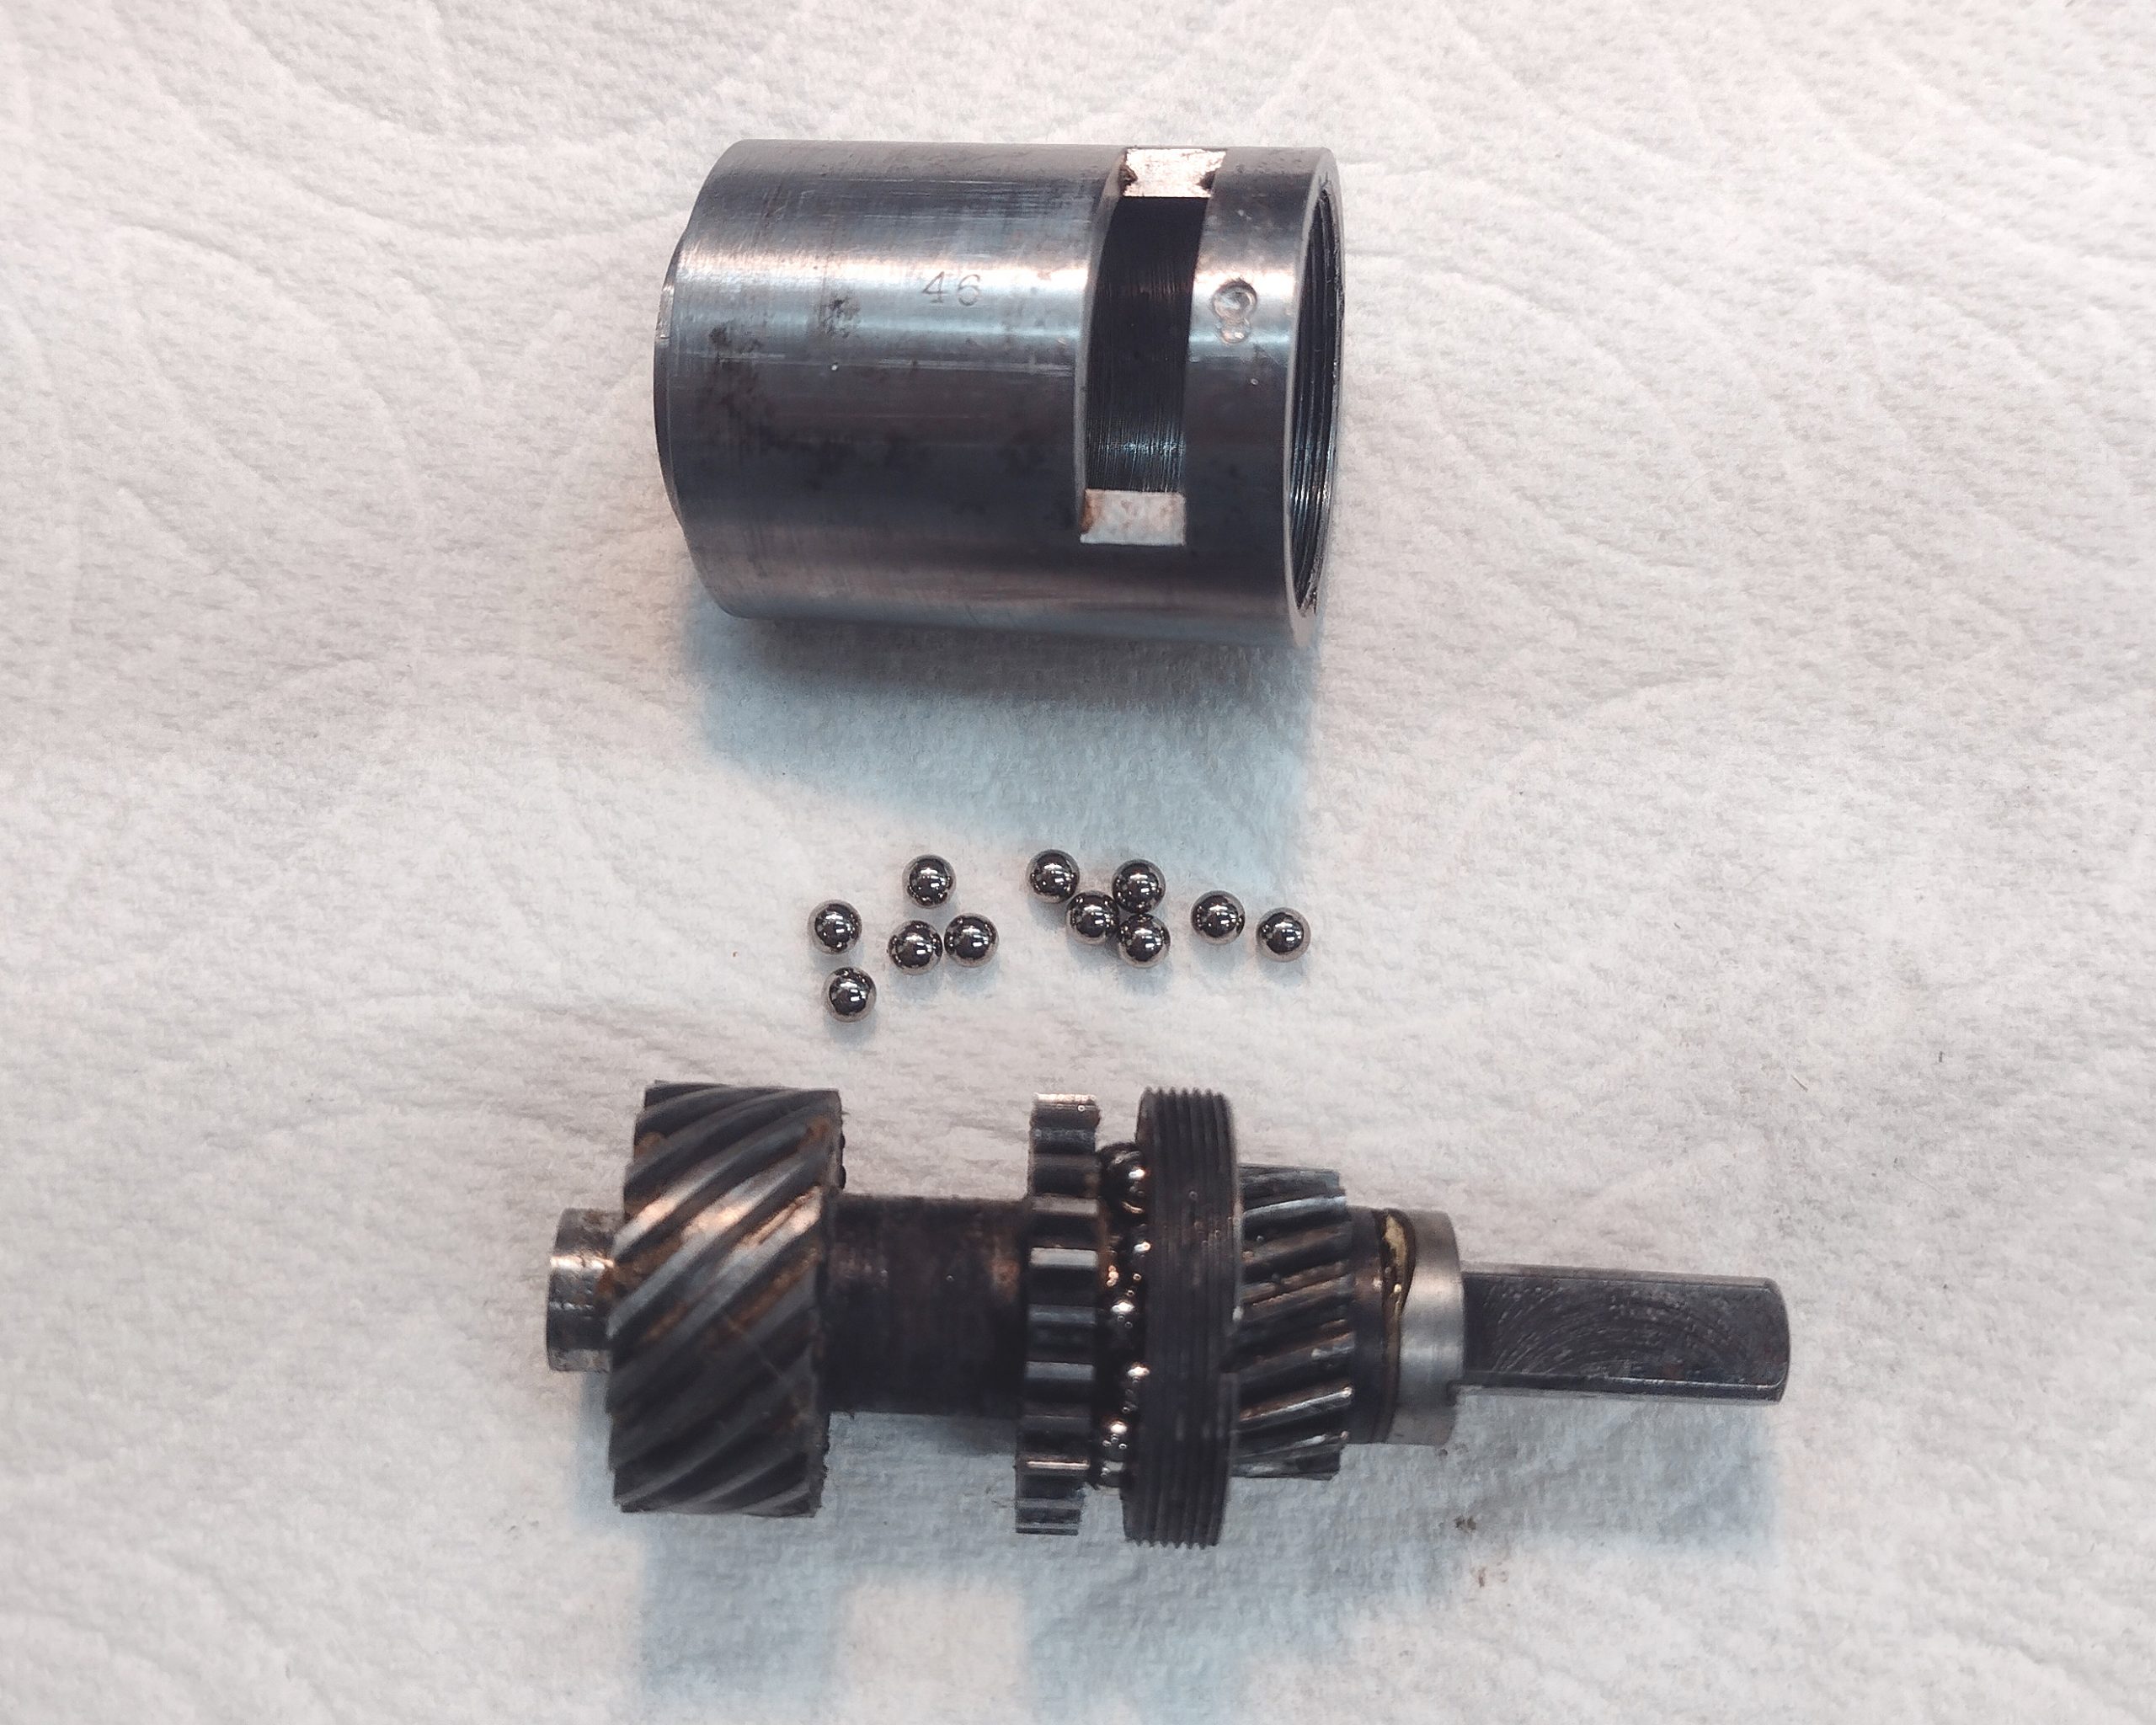
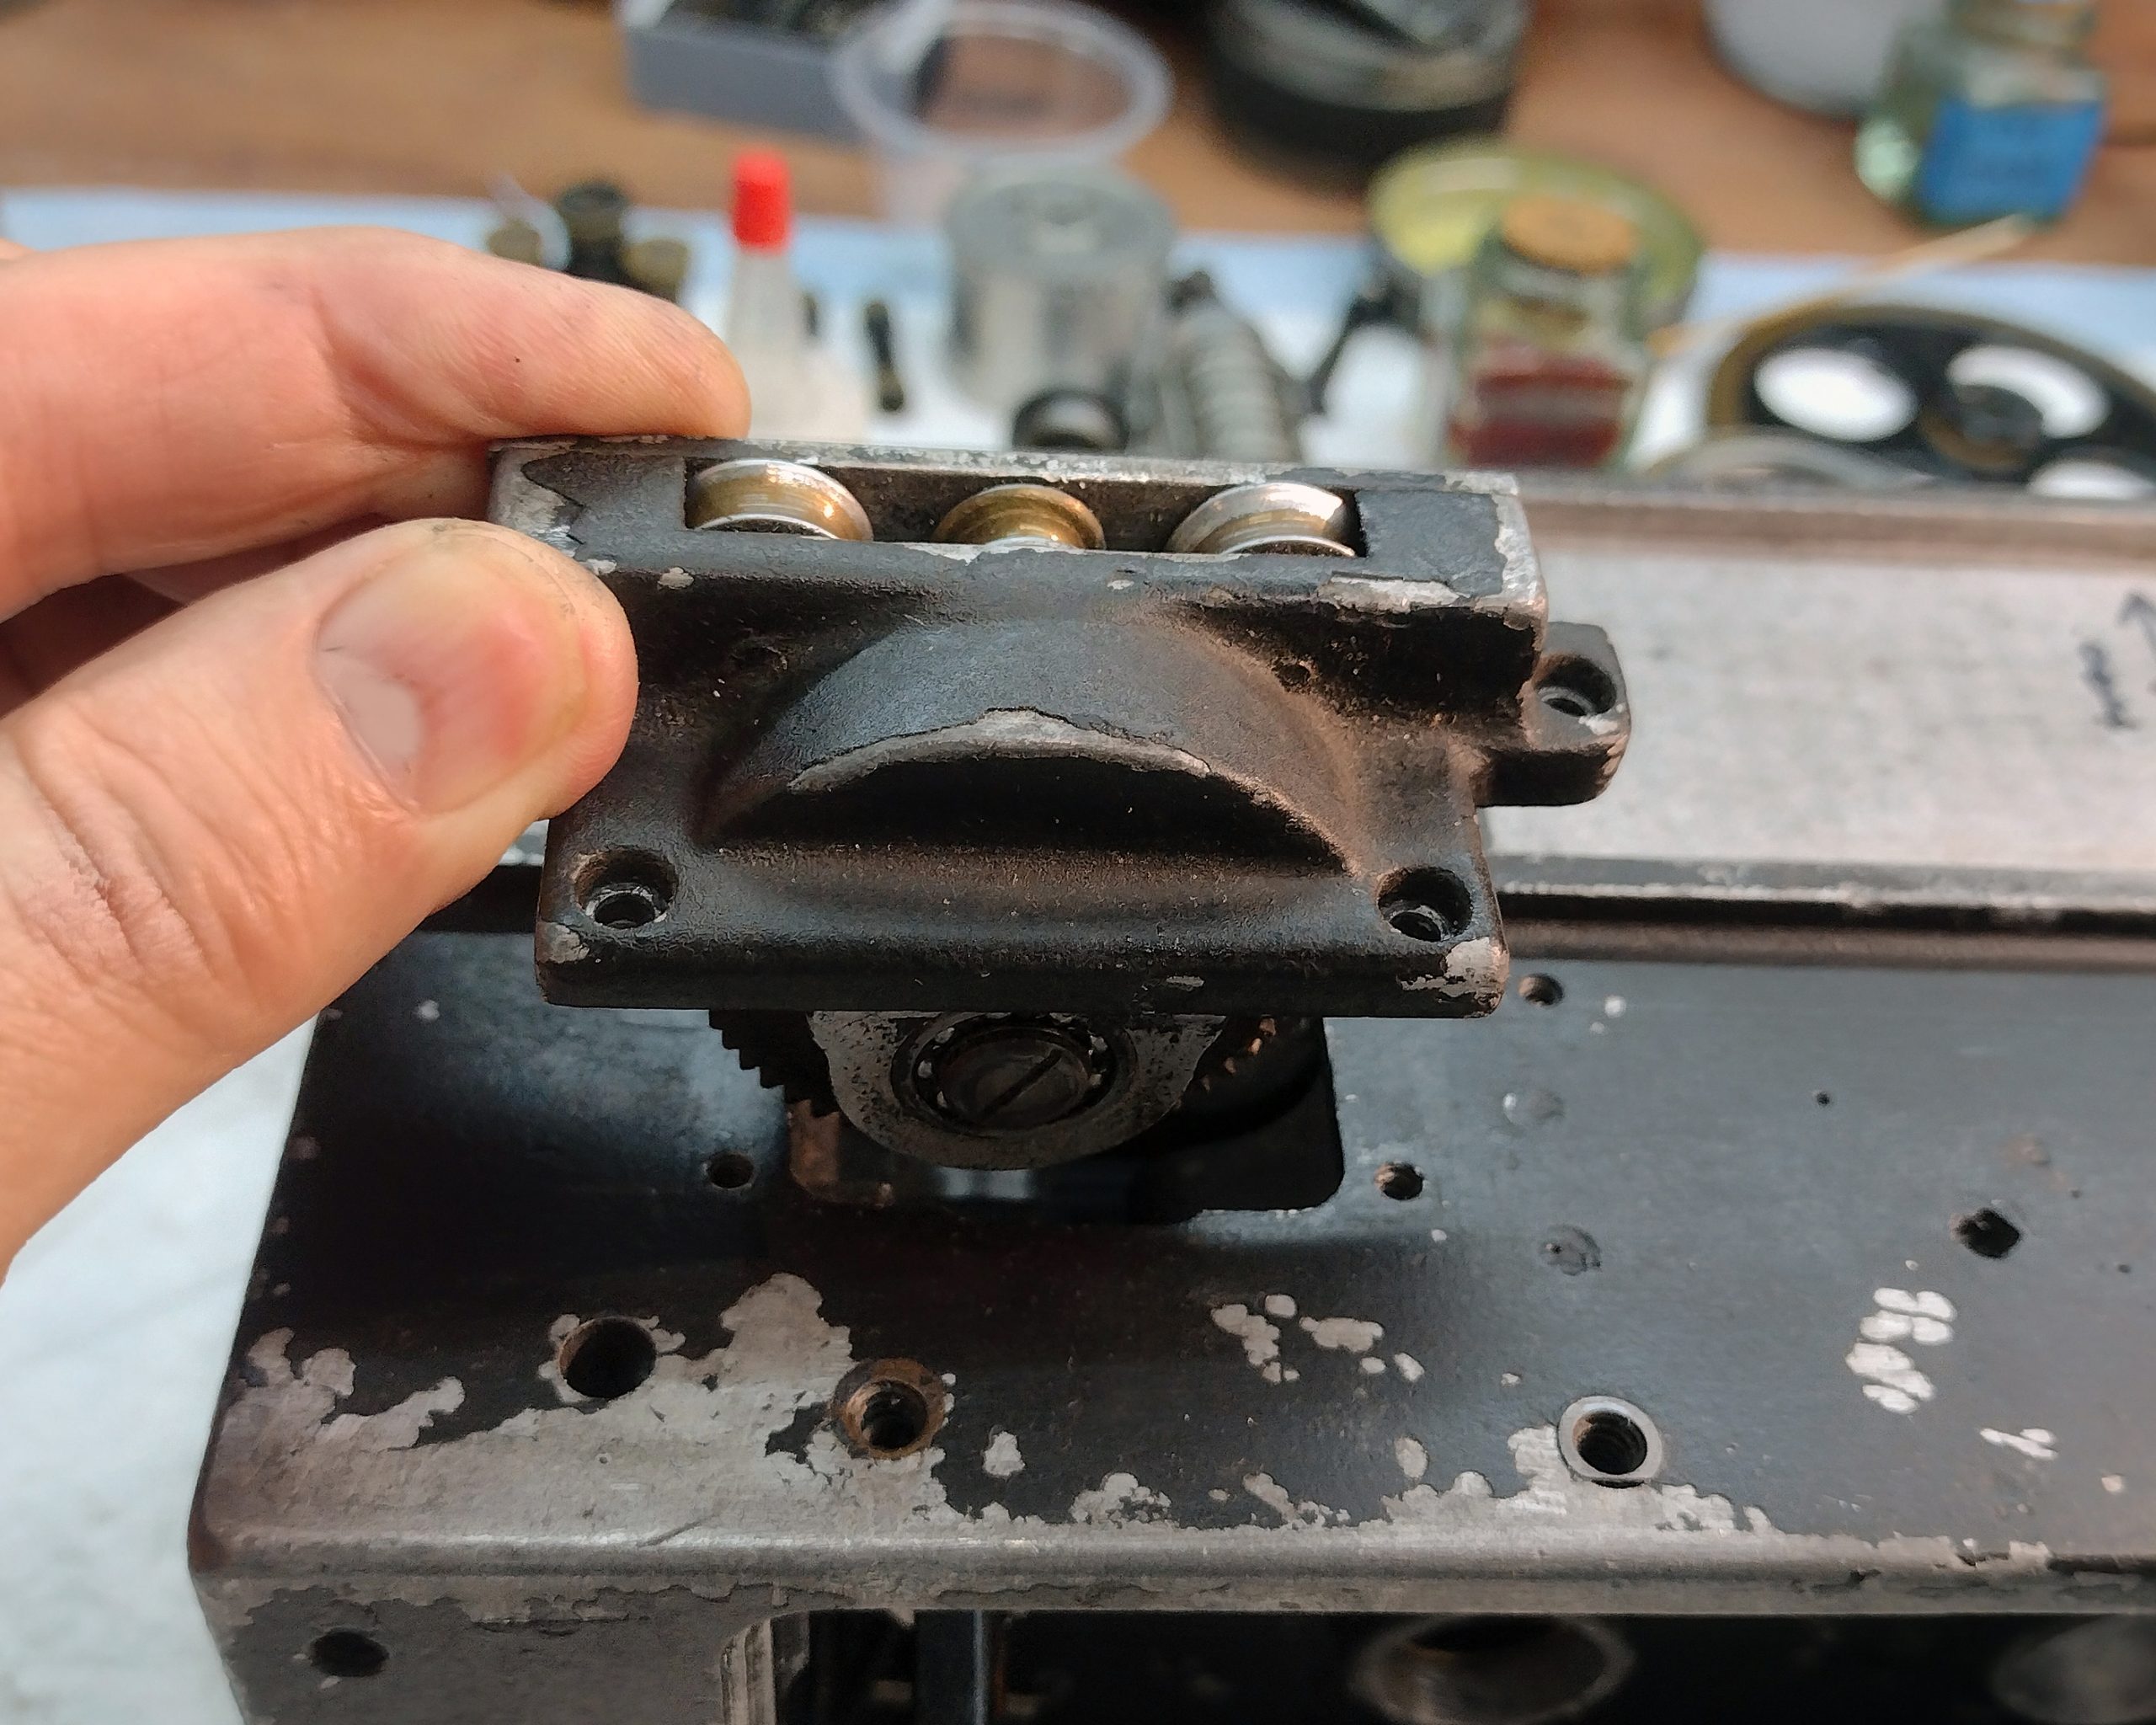
The first step was to take this out of the camera casting again, take it completely apart, clean for any rust, replace the ball bearings, re-lubricate, and reassemble. The interesting thing about this assembly, much like the shutter shaft bearings, is that the ball bearings ride free in the races. The upper race (the one closest to the drive shaft) is threaded, so during reassembly, the threaded race is tightened until all the ball bearings align properly and there is no backlash or end play in the mechanism. The part I picked up next was the magazine belt take-up clutch and drive assembly. This unit was just a victim of many years of dried grease and oil, so again, I removed the bearings, cleaned out the caked-on grease and oil, wire-brushed the casting, added much needed fresh grease and oil, put it all back together, and reinstalled it on the camera.
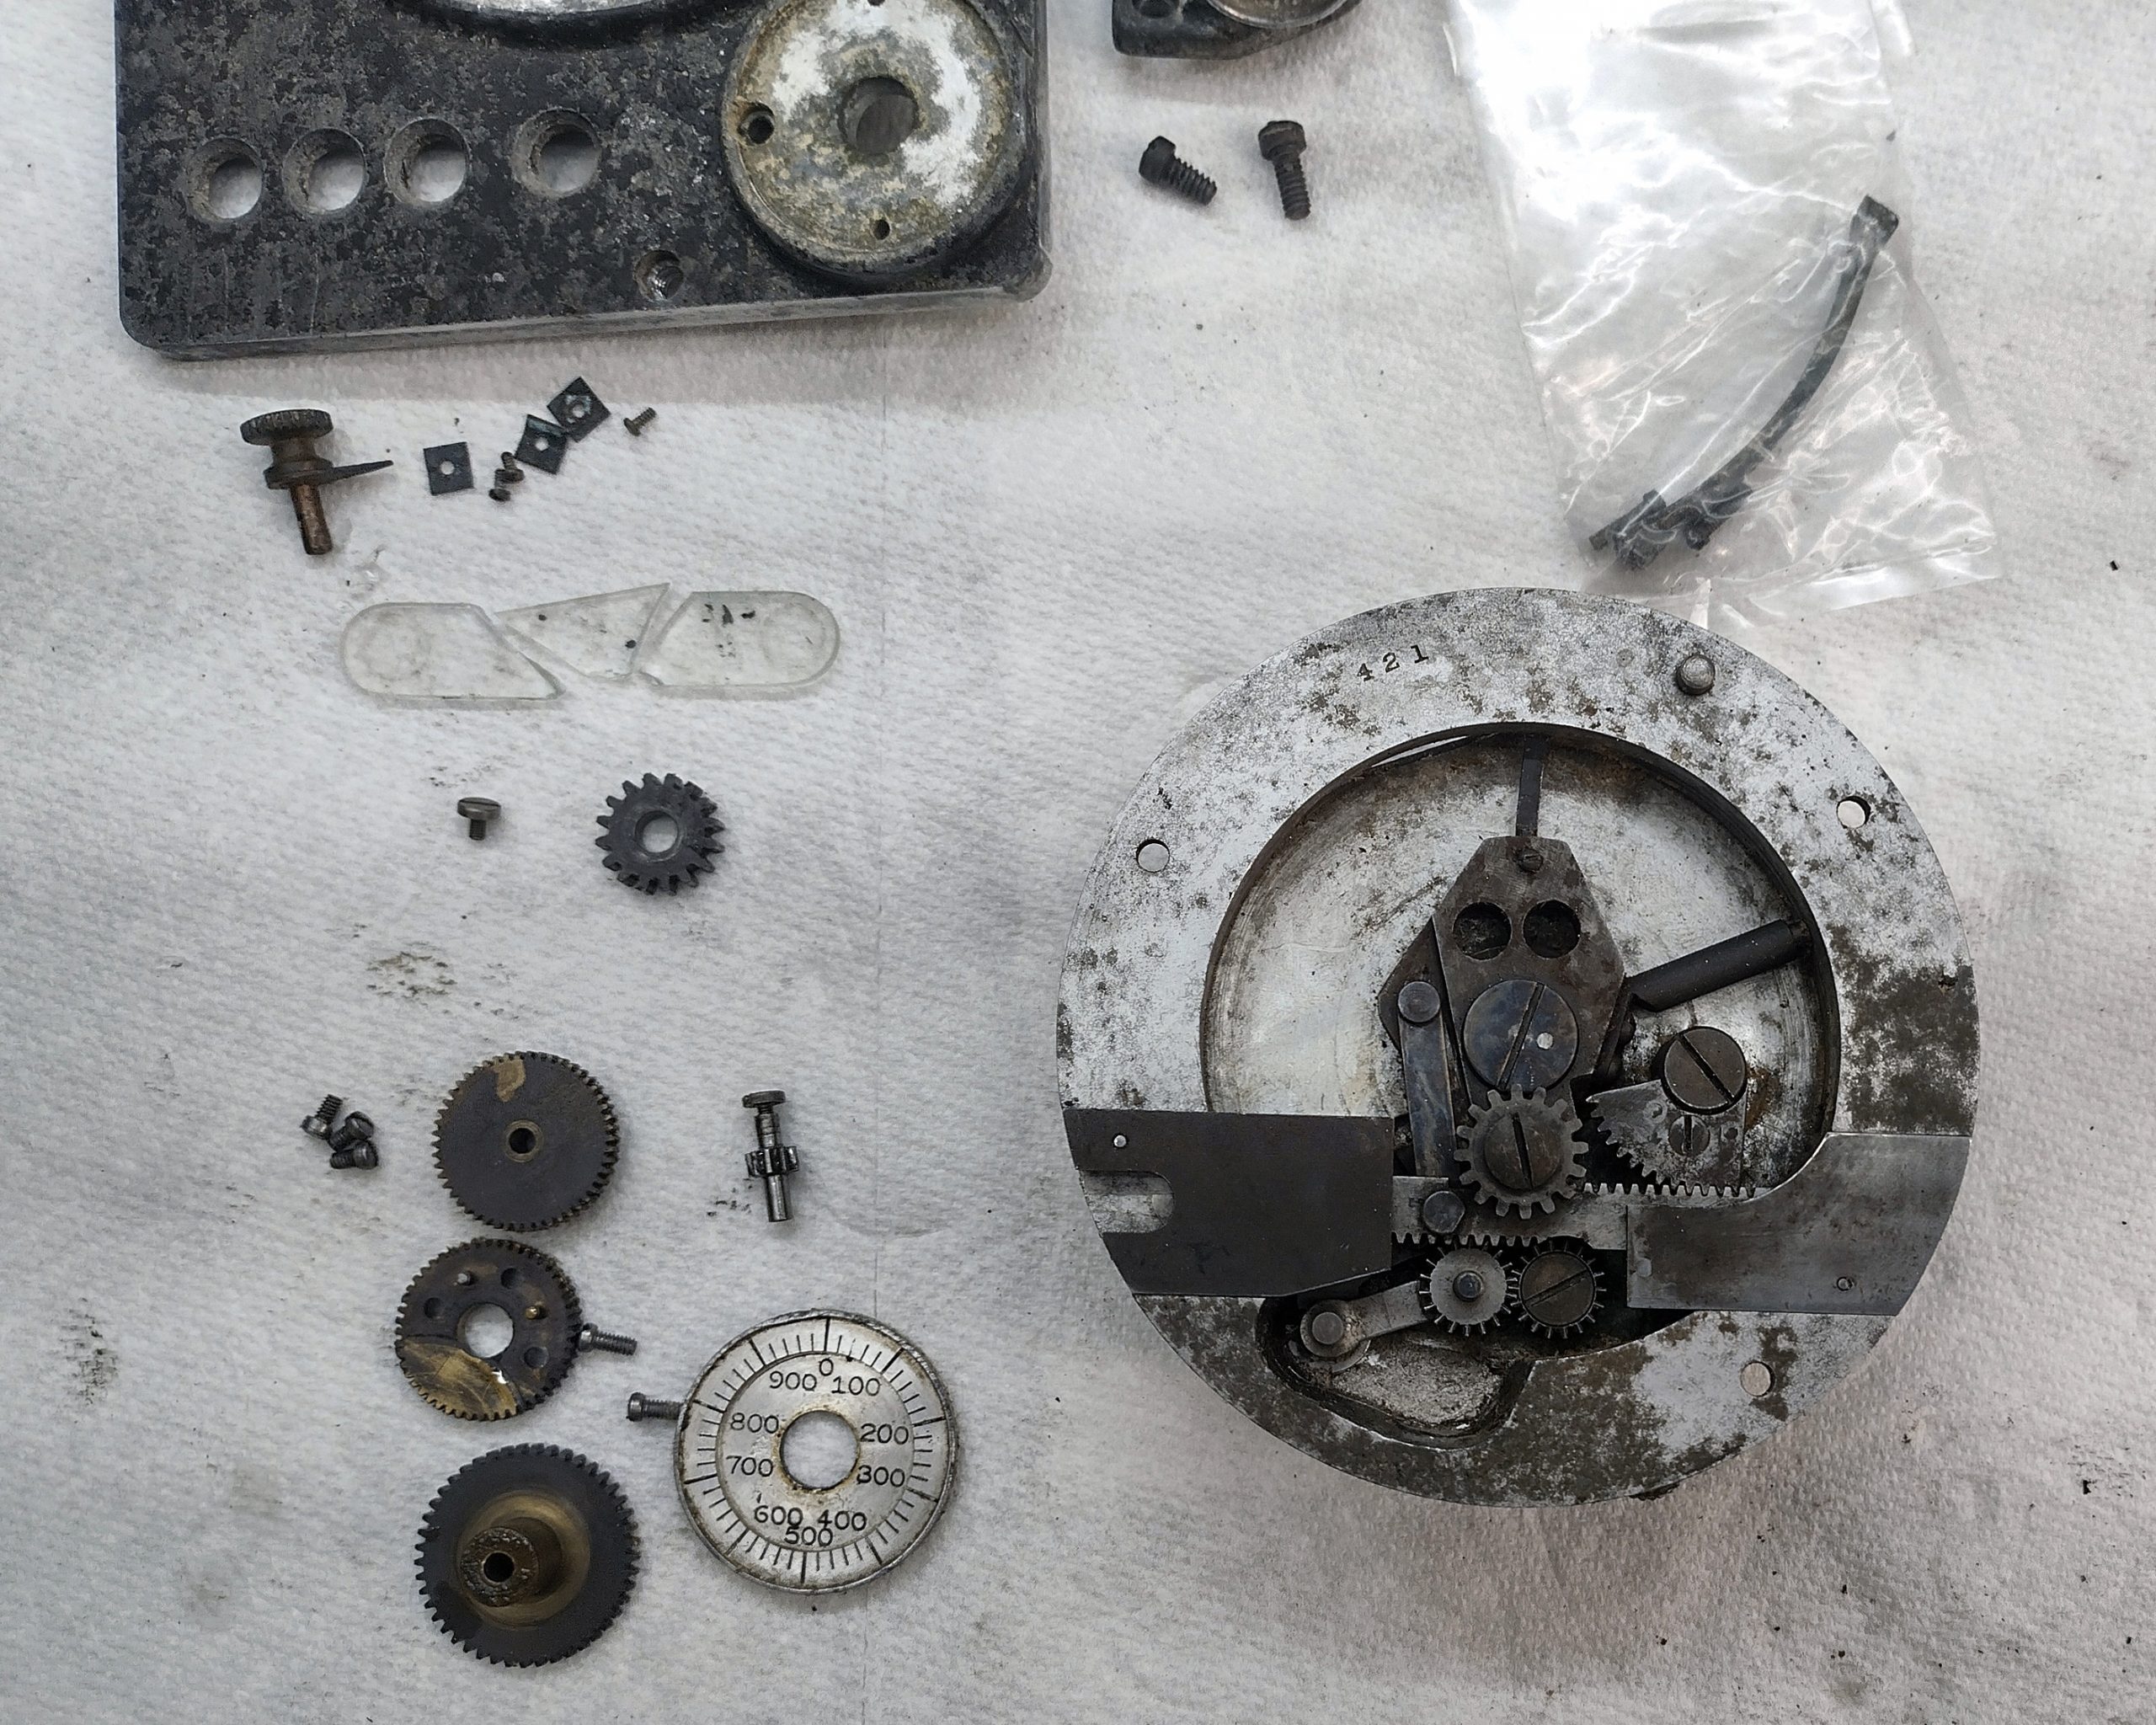
The next order of business was to install the sprocket and the bull gear. The bull gear and the gear on the 1:1 drive shaft have factory engraved timing marks on them to help get the shutter, sprocket, and movement back in time. Before the bull gear could be installed, however, the rebuilt automatic dissolve assembly had to be installed, because it lives behind the bull gear and flywheel. Lots of little fiddly oil points of the automatic dissolve assembly needed attention. Once that was done, the bull gear was finally installed, and then it was time to install the camera movement. Another problem poked its head up at this point. The movement installs from the film side of the camera casting, and is supposed to have a flywheel mated to the movement drive shaft on the hand-crank side of the casting. However, the hub gear assembly that should be permanently mounted in the flywheel was seized to the movement drive shaft, and no matter what I did, I couldn’t coax it off. This is important, because the flywheel is engraved with a timing mark that keeps the movement in sync with everything else in the camera, but the hub gear assembly is keyed to the movement drive shaft, and also keyed to the flywheel so that that relationship cannot change. The key between the flywheel and the hub gear assembly is in a machined pocket, so it is blind. It is impossible then to get the flywheel installed and in sync to the movement and the bull gear at the same time with the gear hub seized on the movement drive shaft.
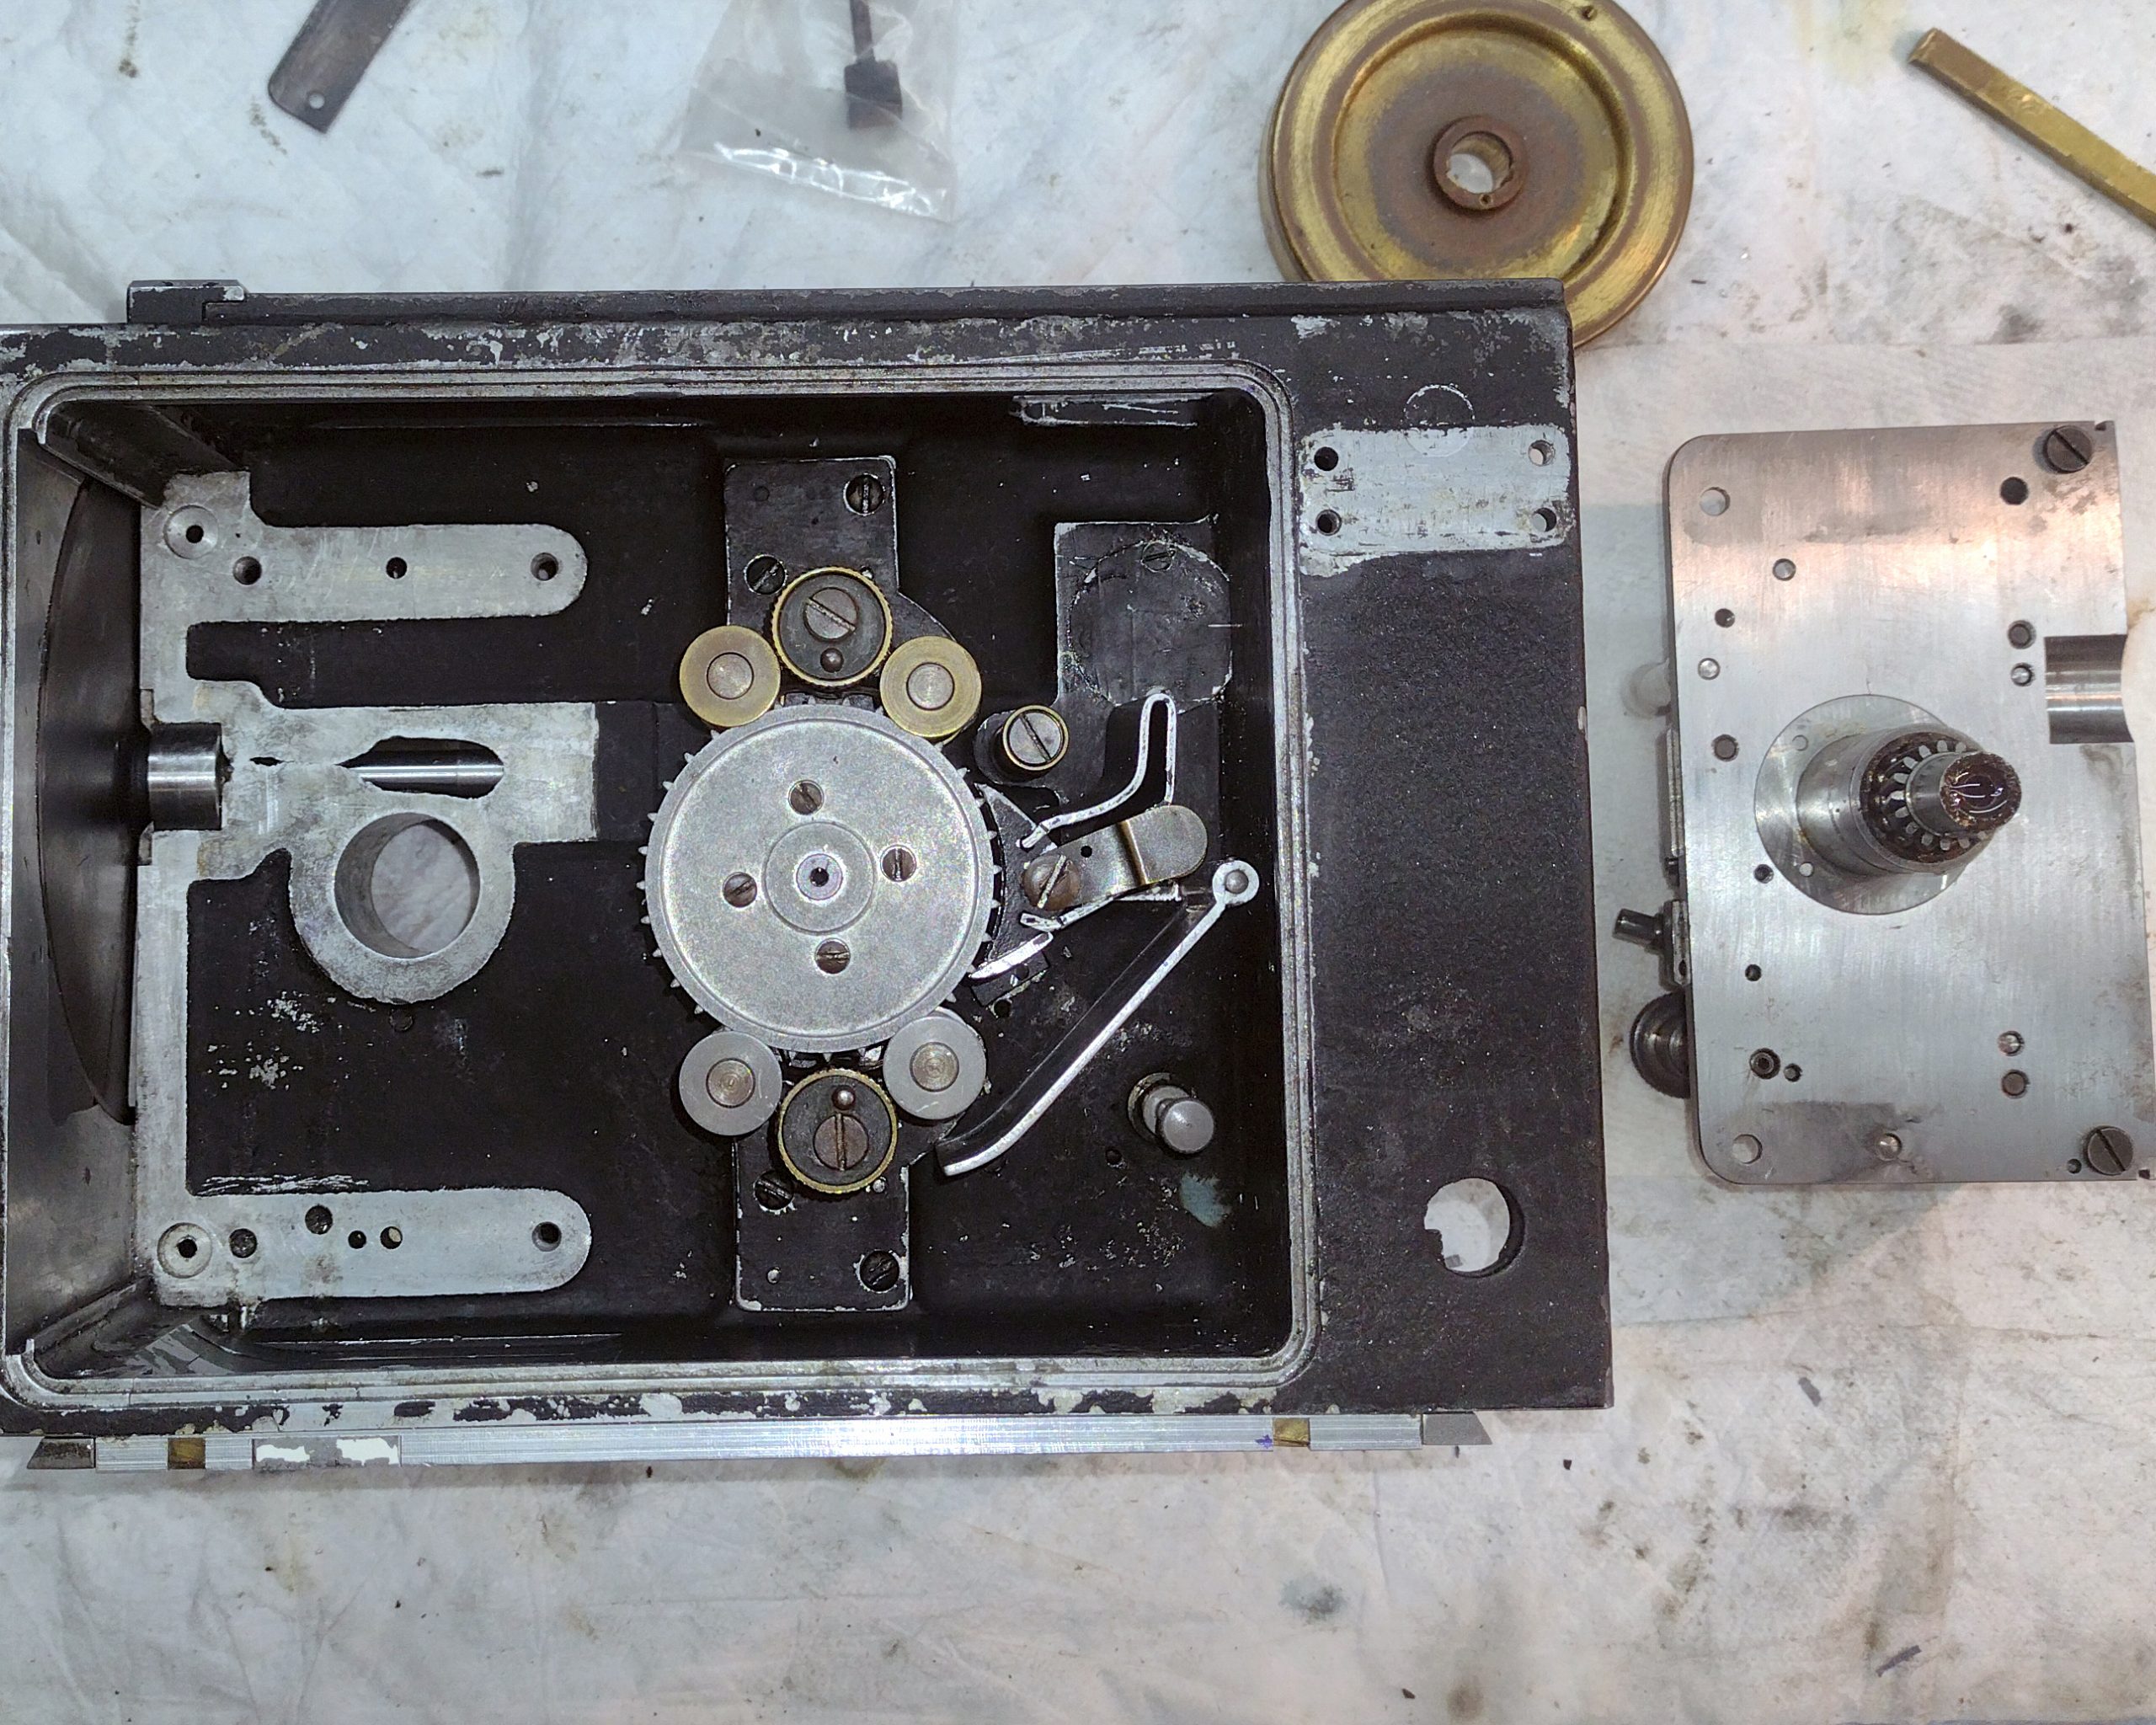
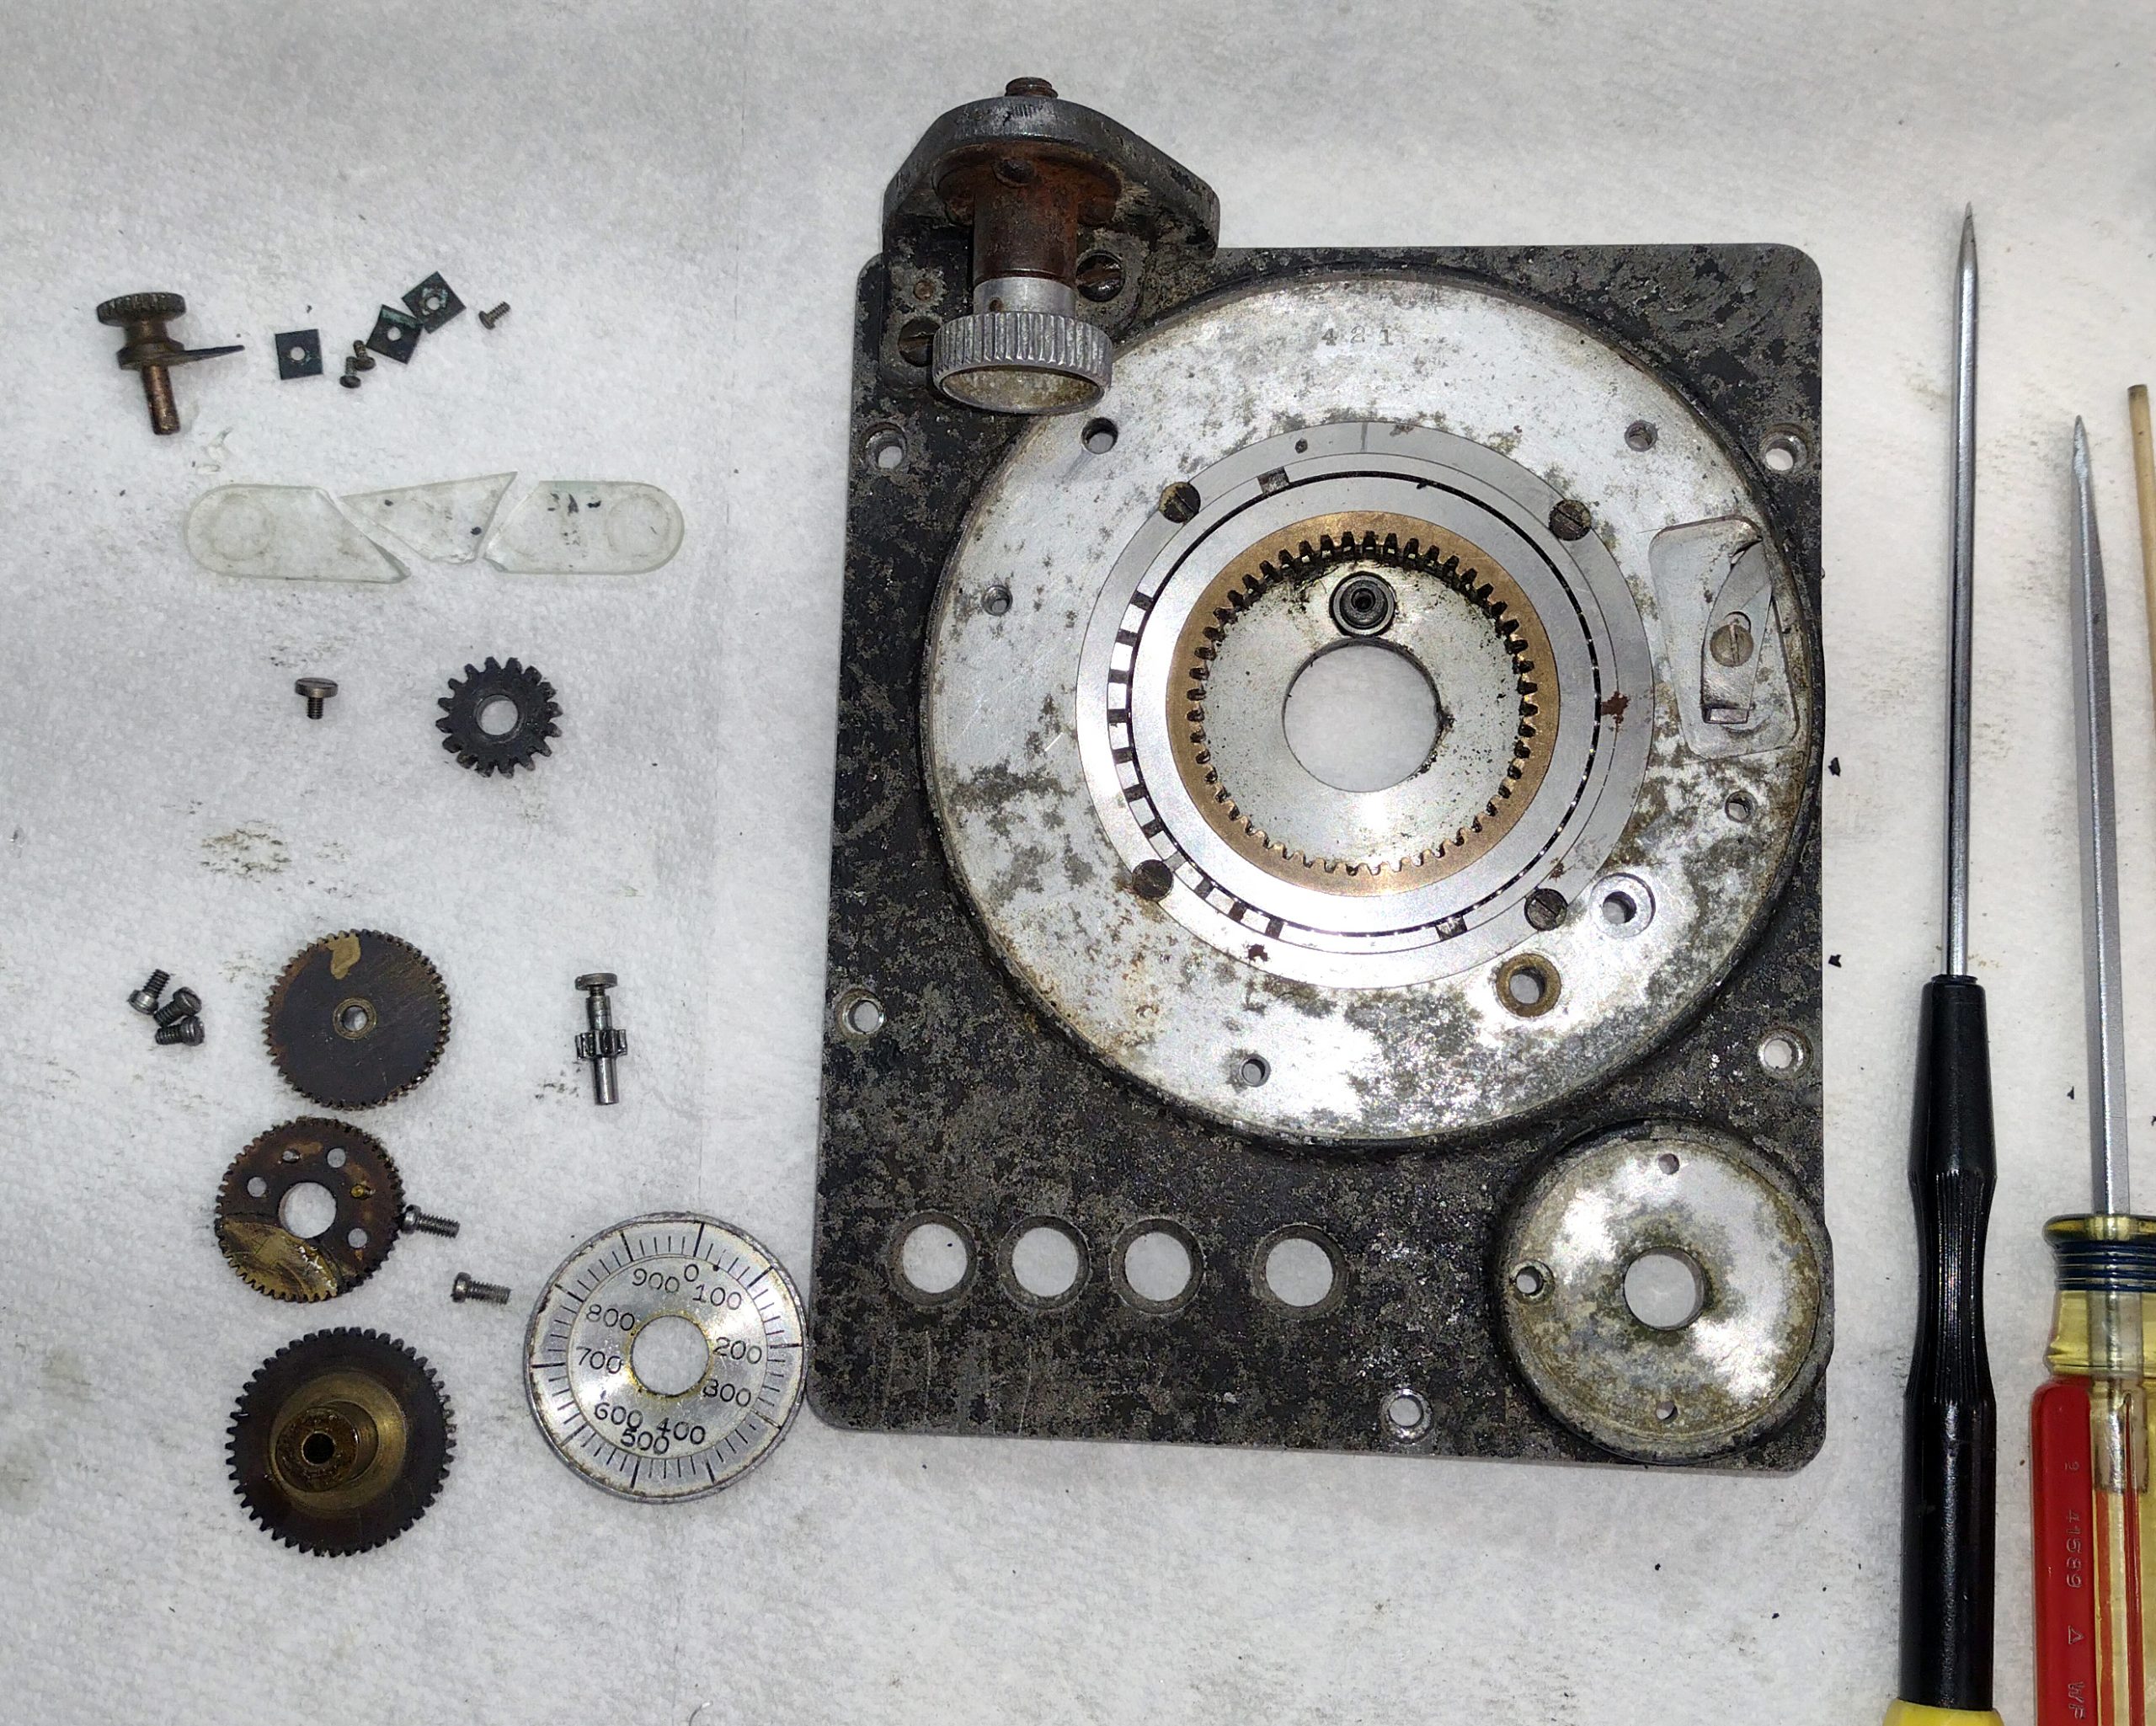
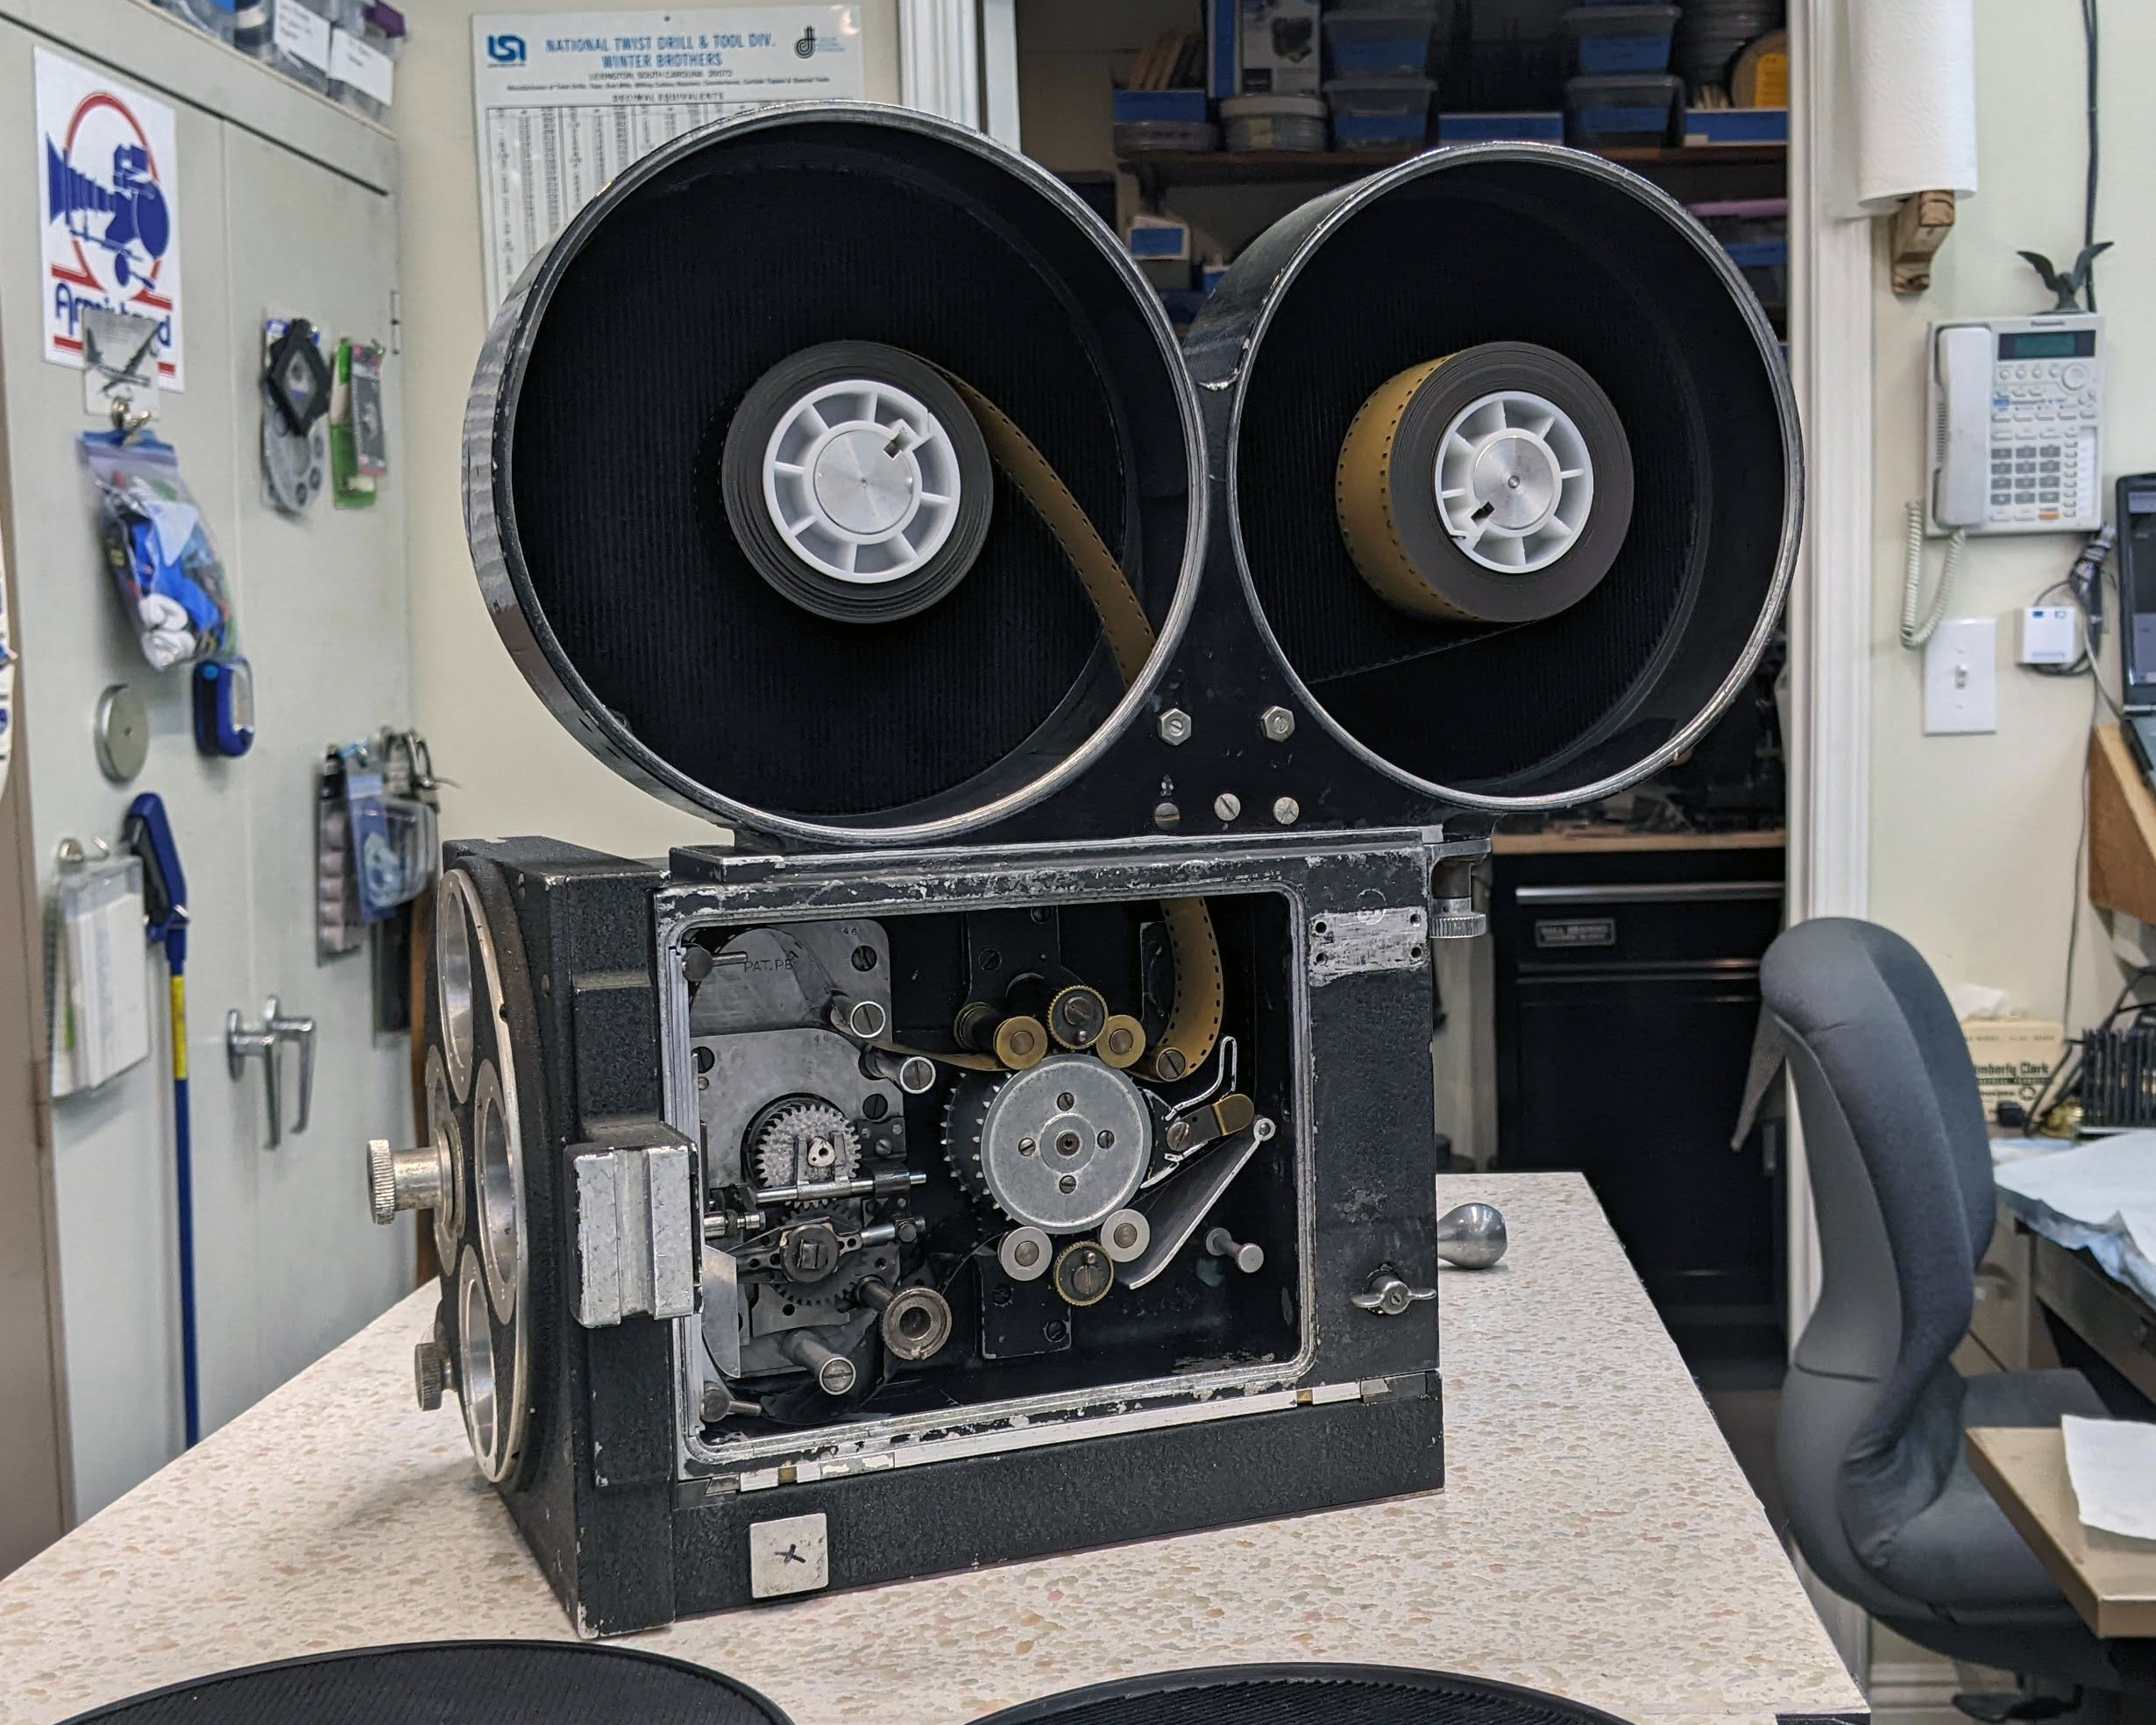
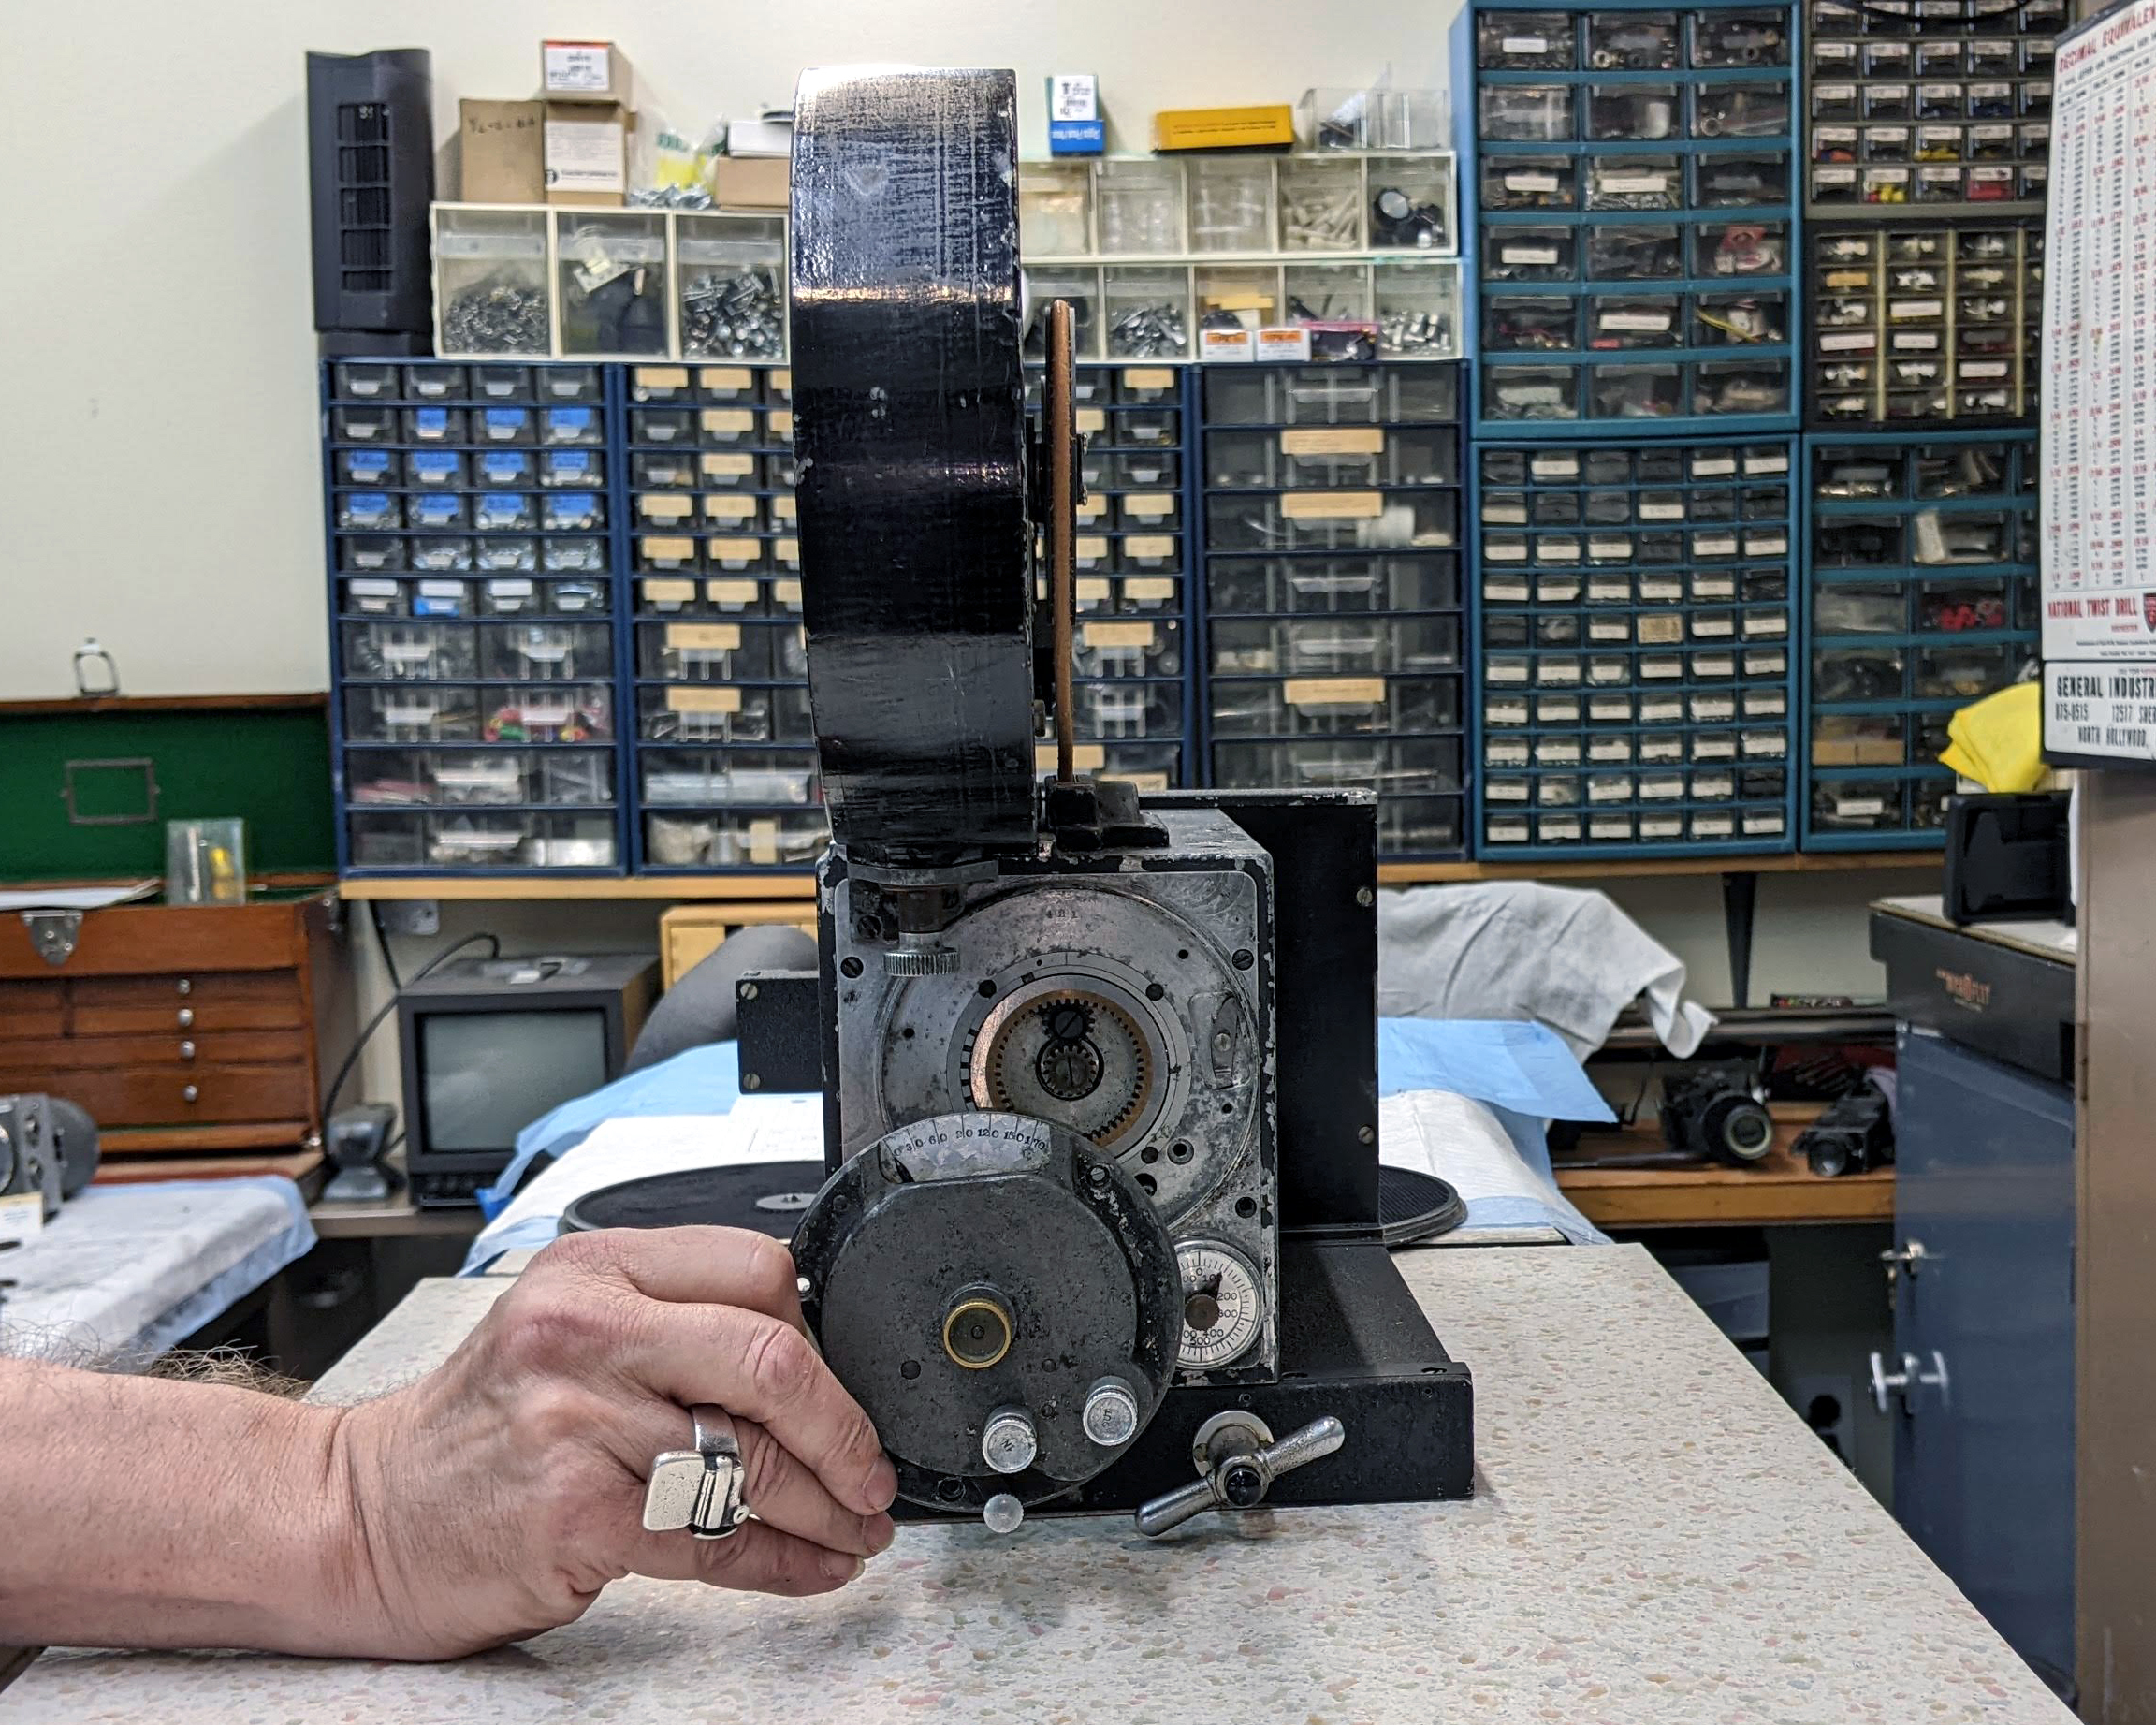
After much struggle, I machined a custom gear puller to pull the gear hub off the movement drive shaft without damaging any of the pieces. Once it was free, I pressed the gear hub back into the flywheel, reinstalled the movement in the camera, put everything back in time, and tested the timing with film in the movement. That all looked good, so it was time to find a hand crank, load up a magazine, and crank the camera and see if it didn’t explode! You’ll all be happy to know, it did not explode. If you take a look at the video, you will see some of the steps I took to get to this point, and the camera being hand-cranked from a few different vantage points. I am close to the end. The movement still needs to be serviced, you can hear it as I hand crank it making a Lot of noise. A few more parts have to be fit to the camera so all the doors close, the light traps seal, the ground glass lines up with the lens port, and as much of the automatic dissolve system as I have parts for can be completed. Once that’s all done, the camera has to be completely disassembled again, stripped and painted, and hopefully reassembled for the last time. Fingers crossed that this all becomes a reality.