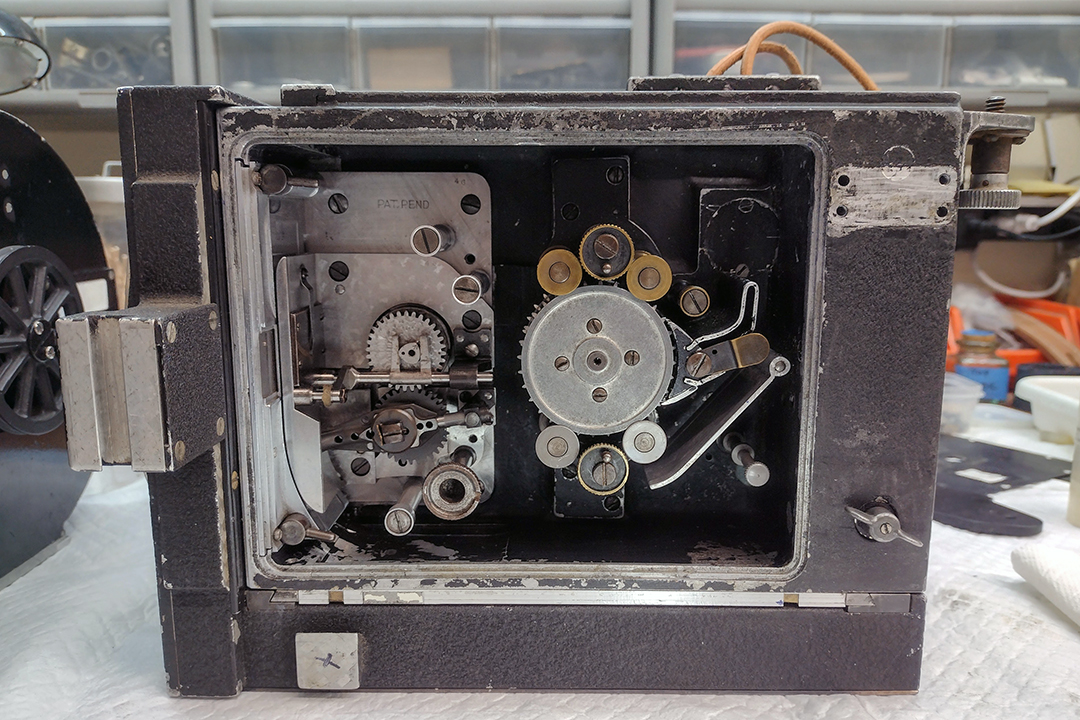
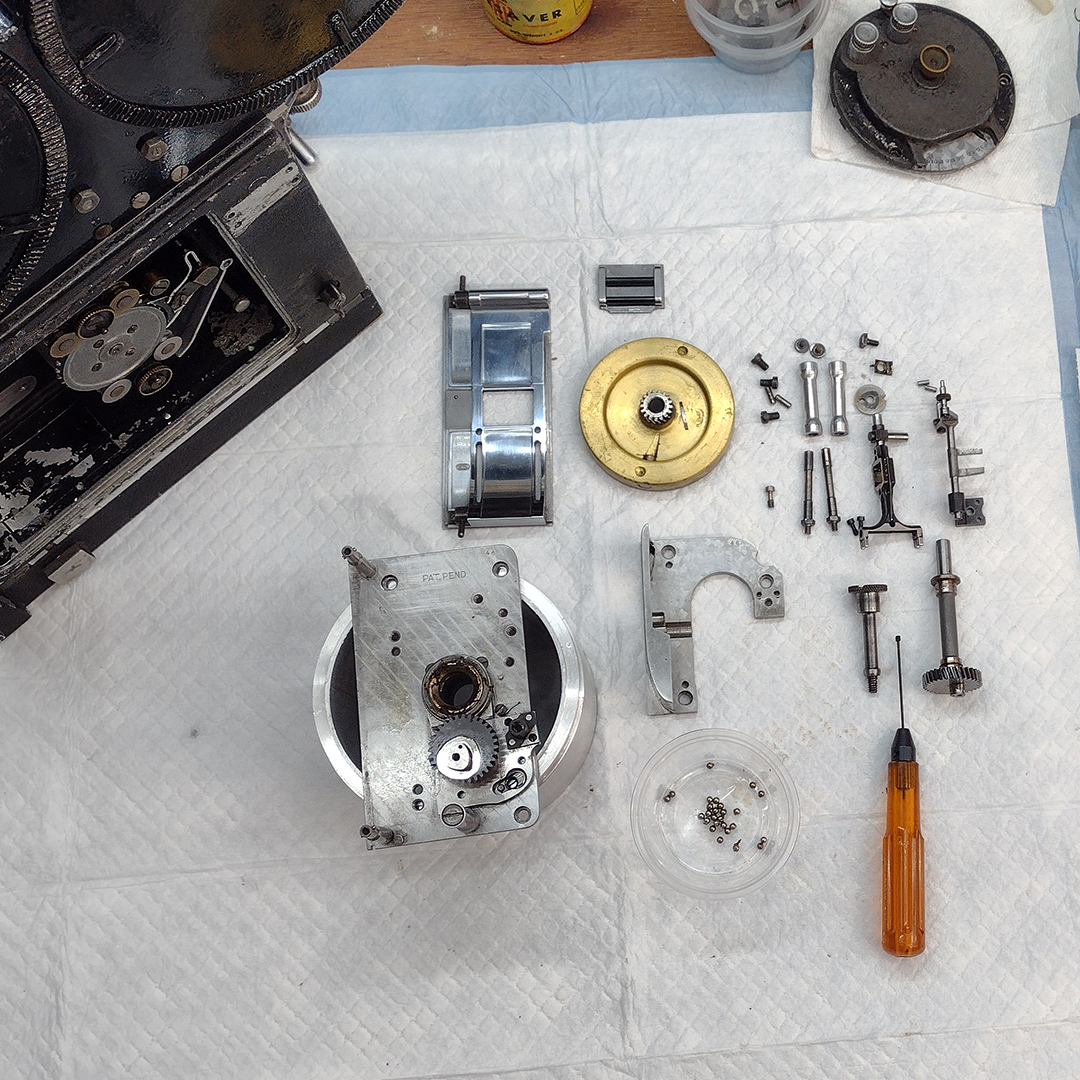
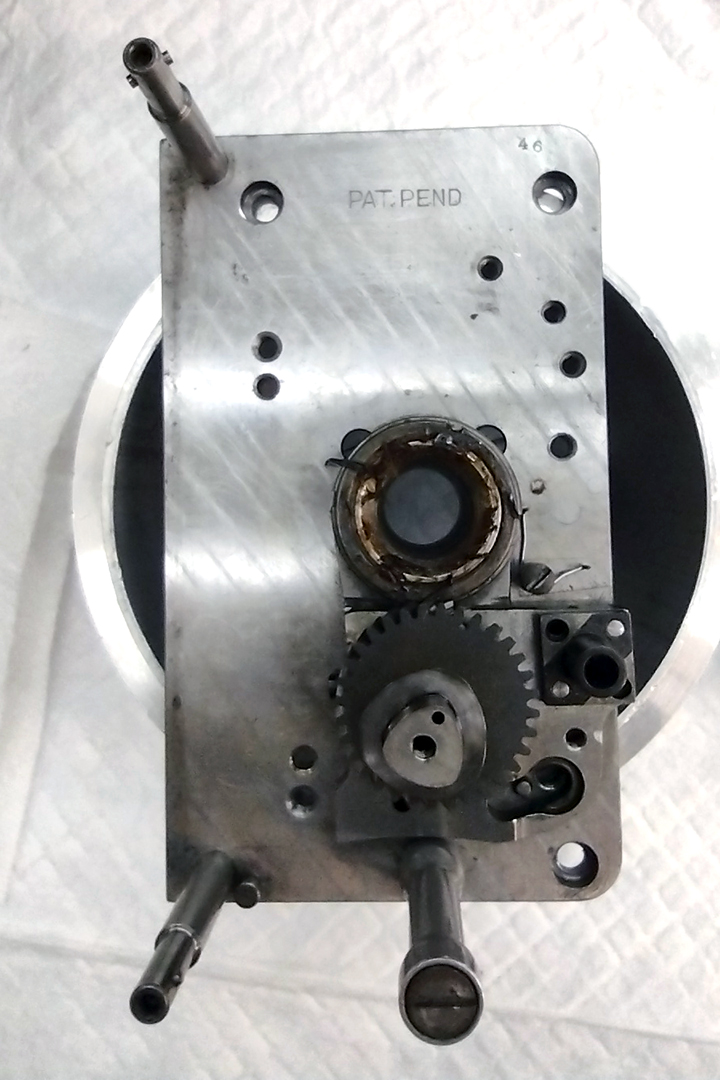
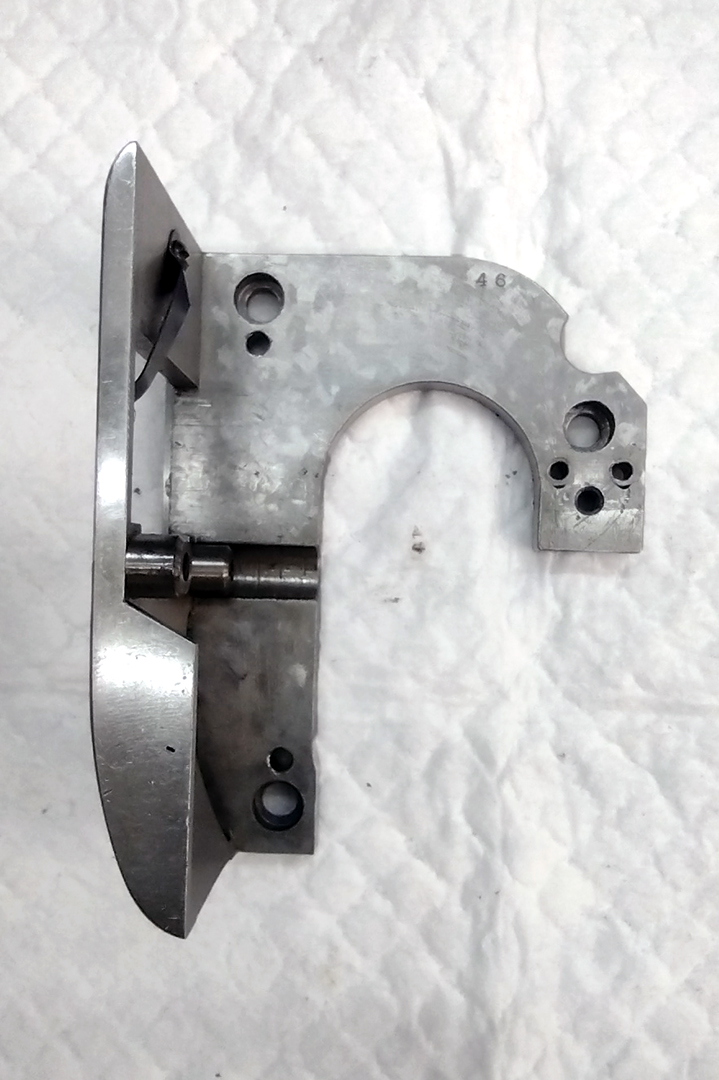
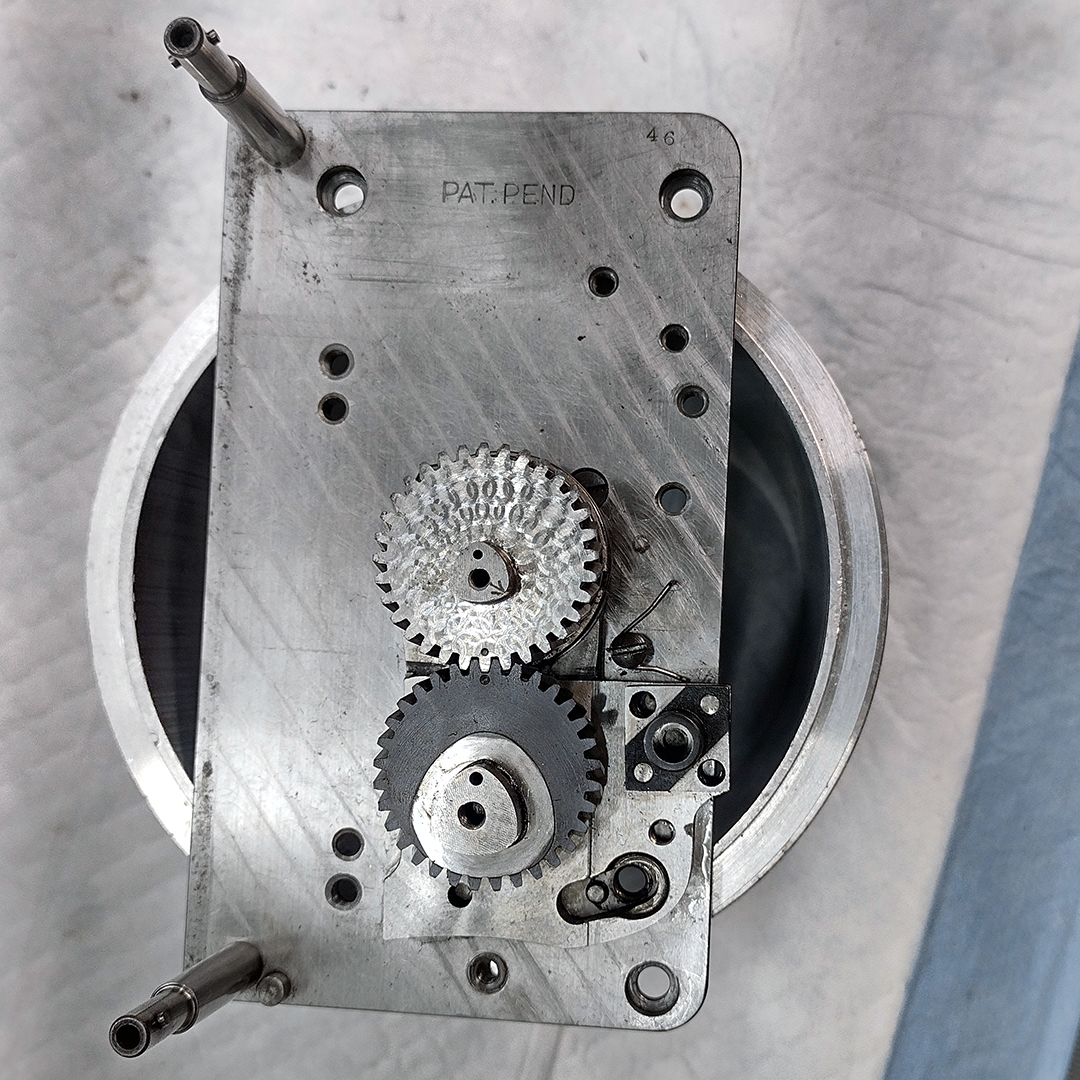
The heart of all motion picture film cameras, like Mitchell Standard 46, is the movement (or film transport). When I hand-cranked this camera for the first time, I noticed a bump or hard spot as I was cranking the camera. As I reinstalled the shutter assembly, I made sure that it was free-wheeling and turned easily, with no bumps. It seemed likely the hard spot was in the movement. And so, the movement had to come out of the camera once more and be completely disassembled and serviced. First I removed the aperture plate to protect it from damage, then gently punched all of the dowel pins out of the register plate and the registration pin rear bearing support. With the dowel pins removed, I then removed all of the screws and separated the working parts from the base plate. Now all of these parts were ready for a much-needed cleaning.
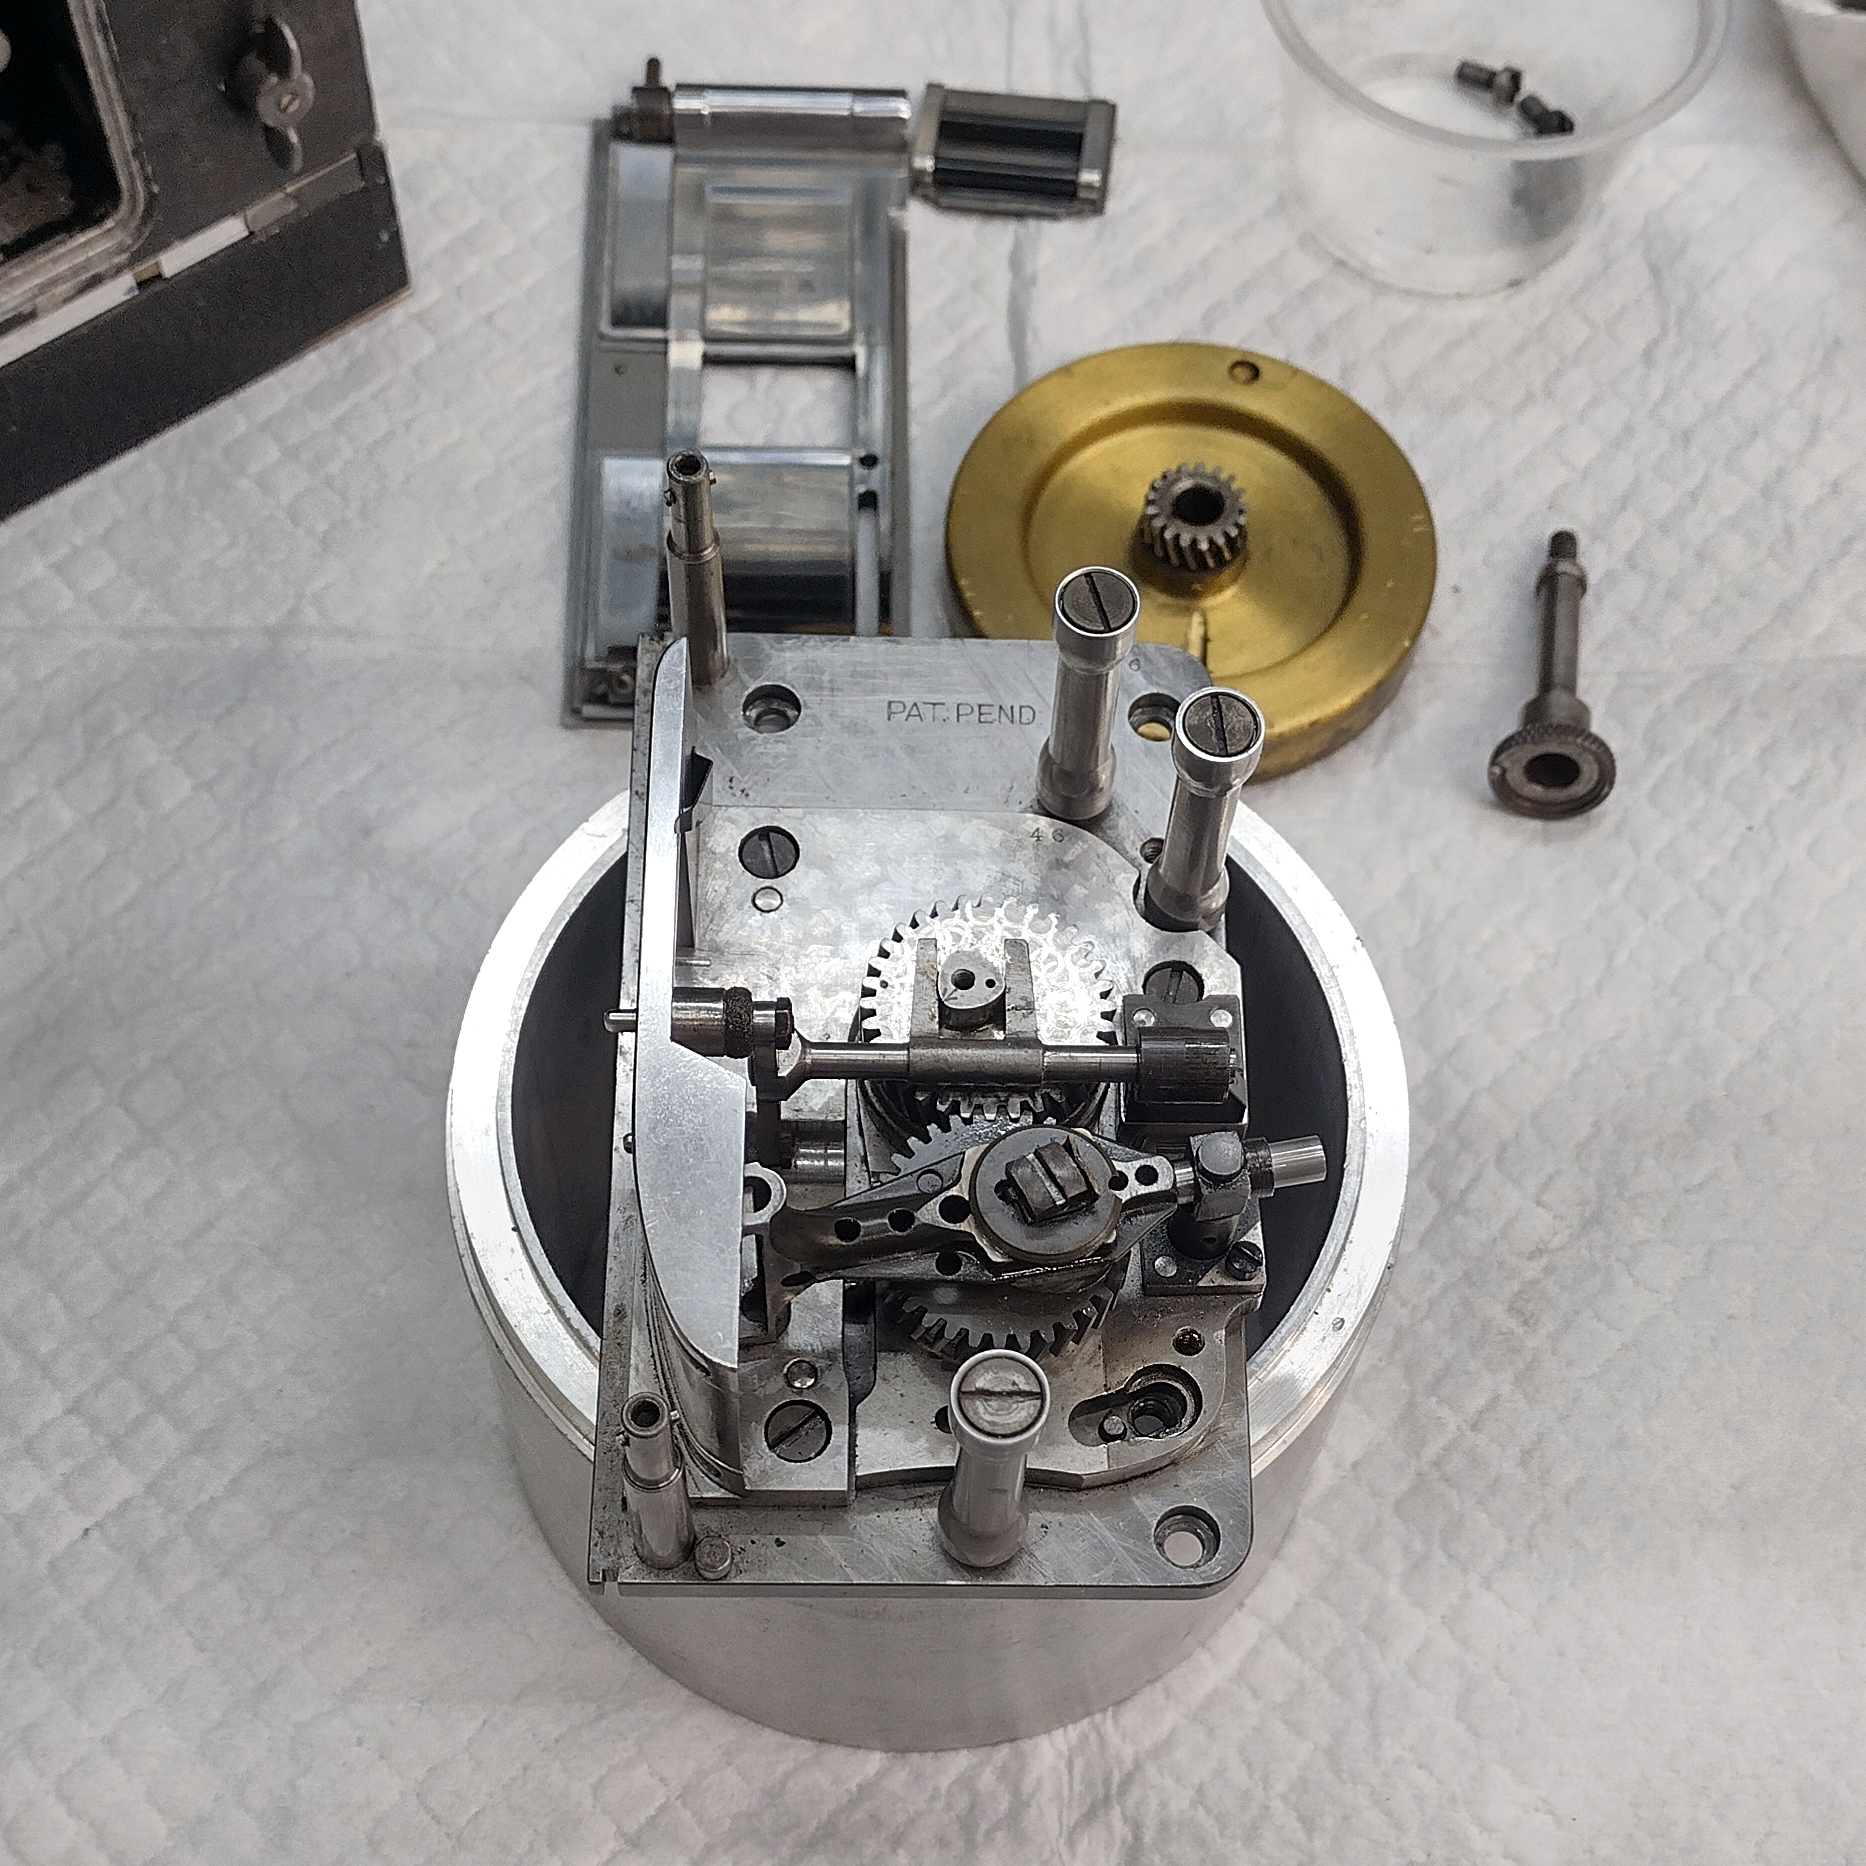


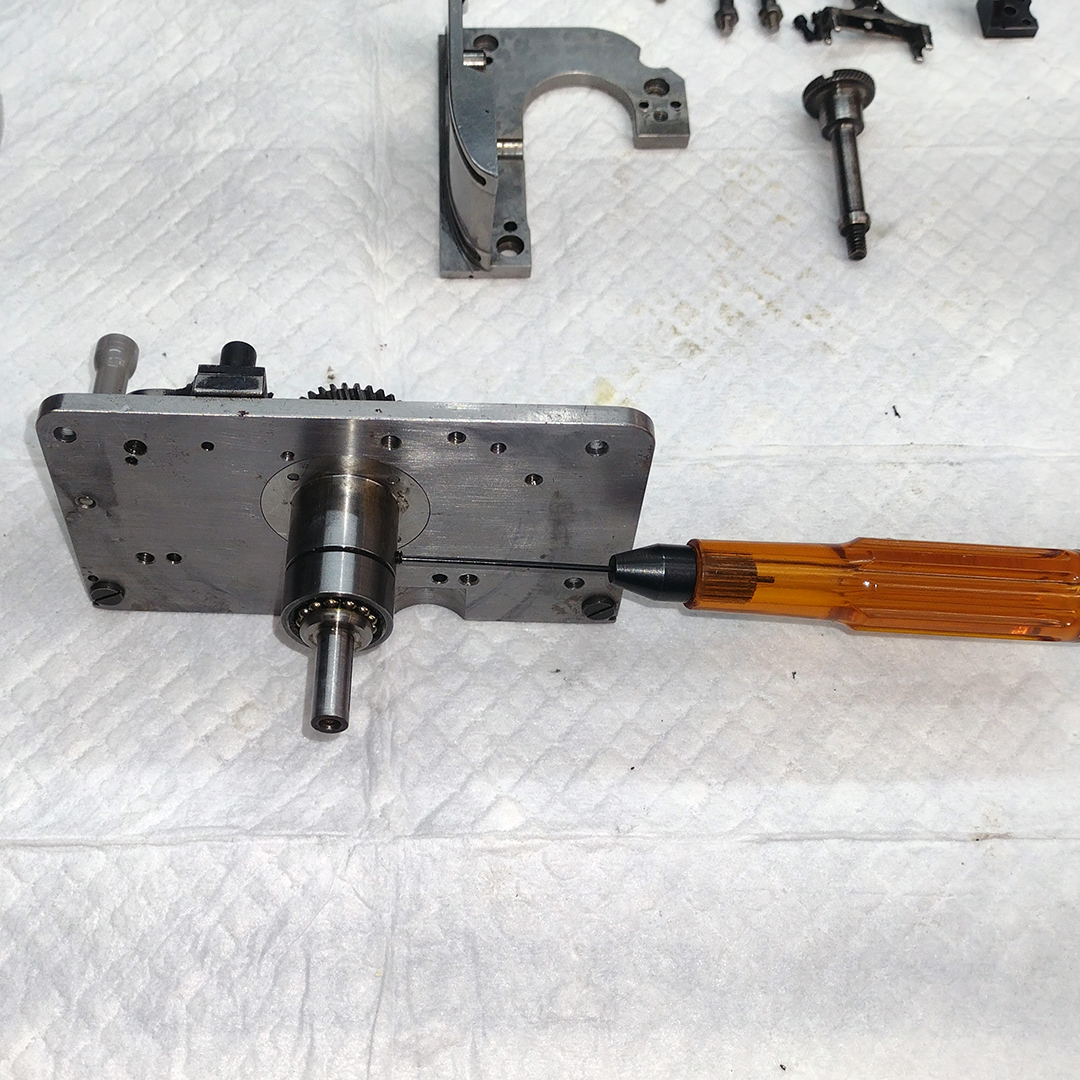
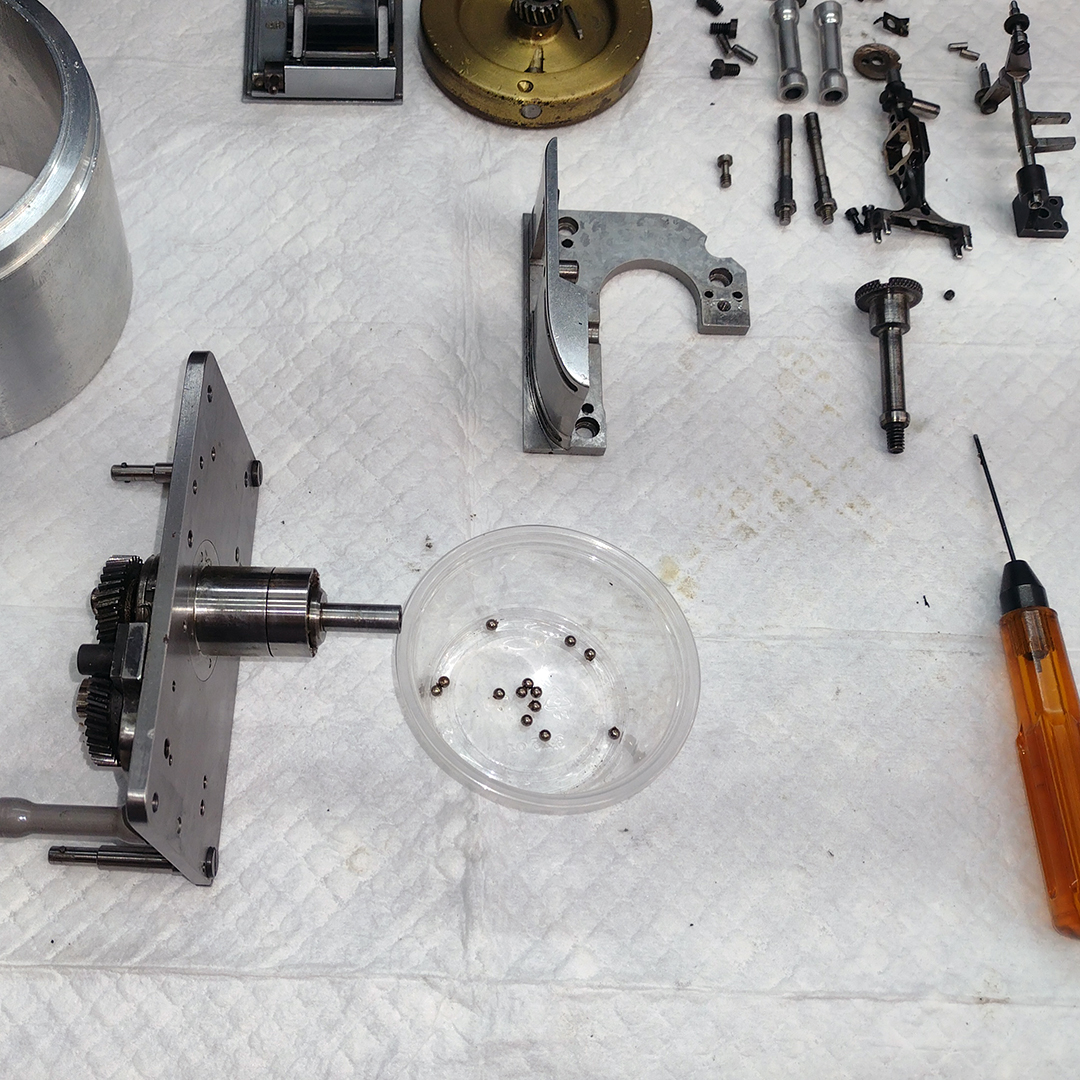
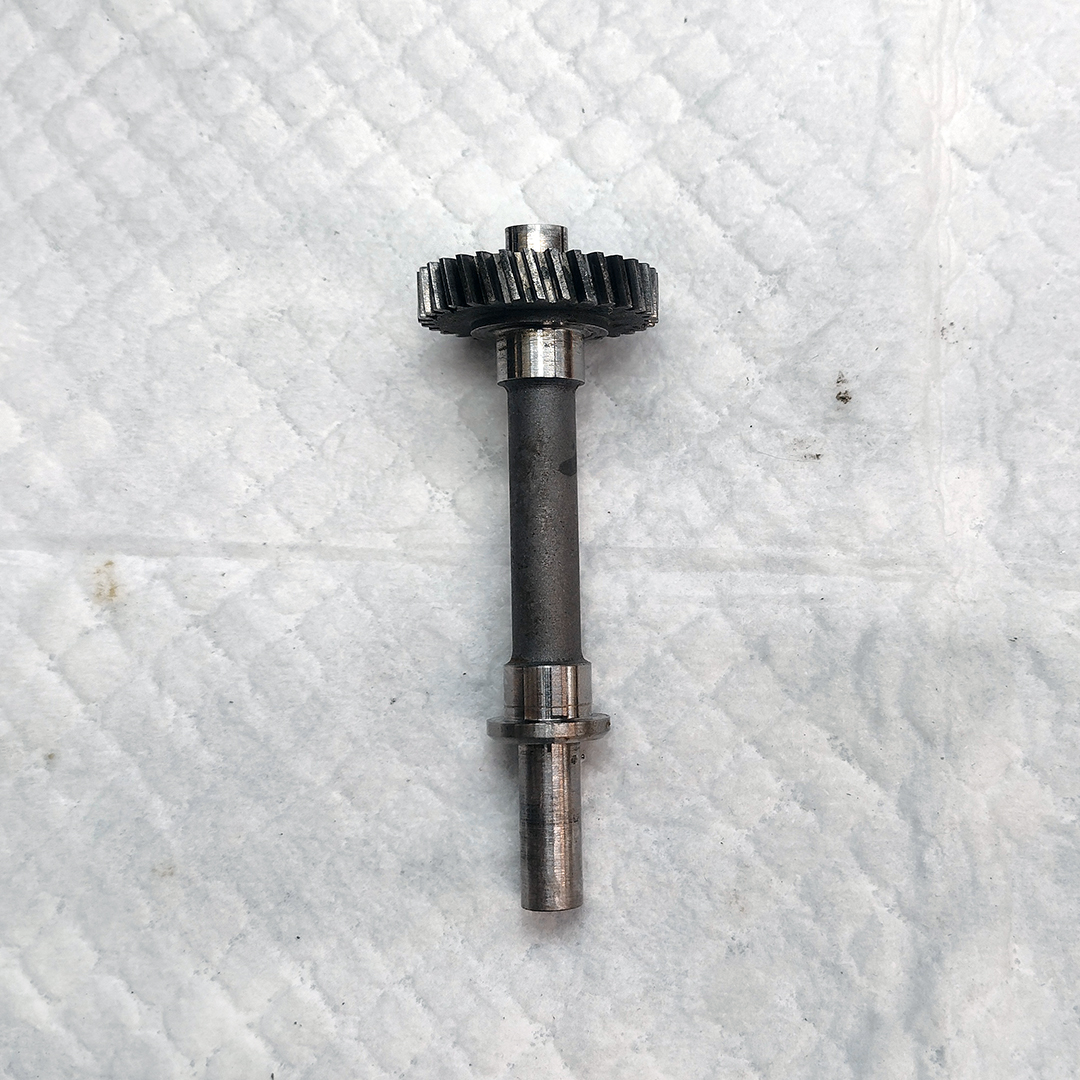
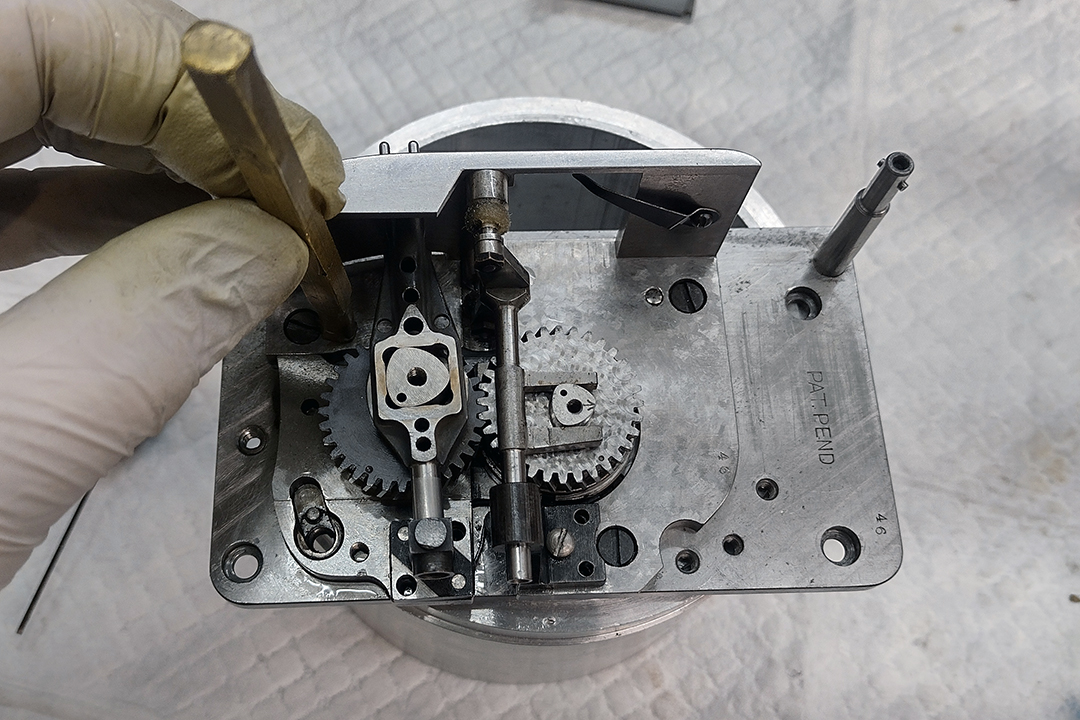
Like we saw in the shutter shaft bearings, the bearings in the movement are supported by 4 cone-shaped bearing races. Two of the races are on the main movement drive shaft, one just underneath the upper drive gear, and one at the end of the drive shaft. The other two bearing races are machined into the main movement bearing housing. The bearing housing has a threaded collar that is locked in place by a set screw. Threading the collar in and out adjusts the compression and alignment of the bearings to remove any backlash and assure the main drive shaft runs absolutely true. By removing the set screw and threading the collar in as far as it would go, the rear ball bearings can be removed. Once the rear ball bearings are removed, the upper timing gear is no longer in compression and the gear and its ball bearings can be removed.
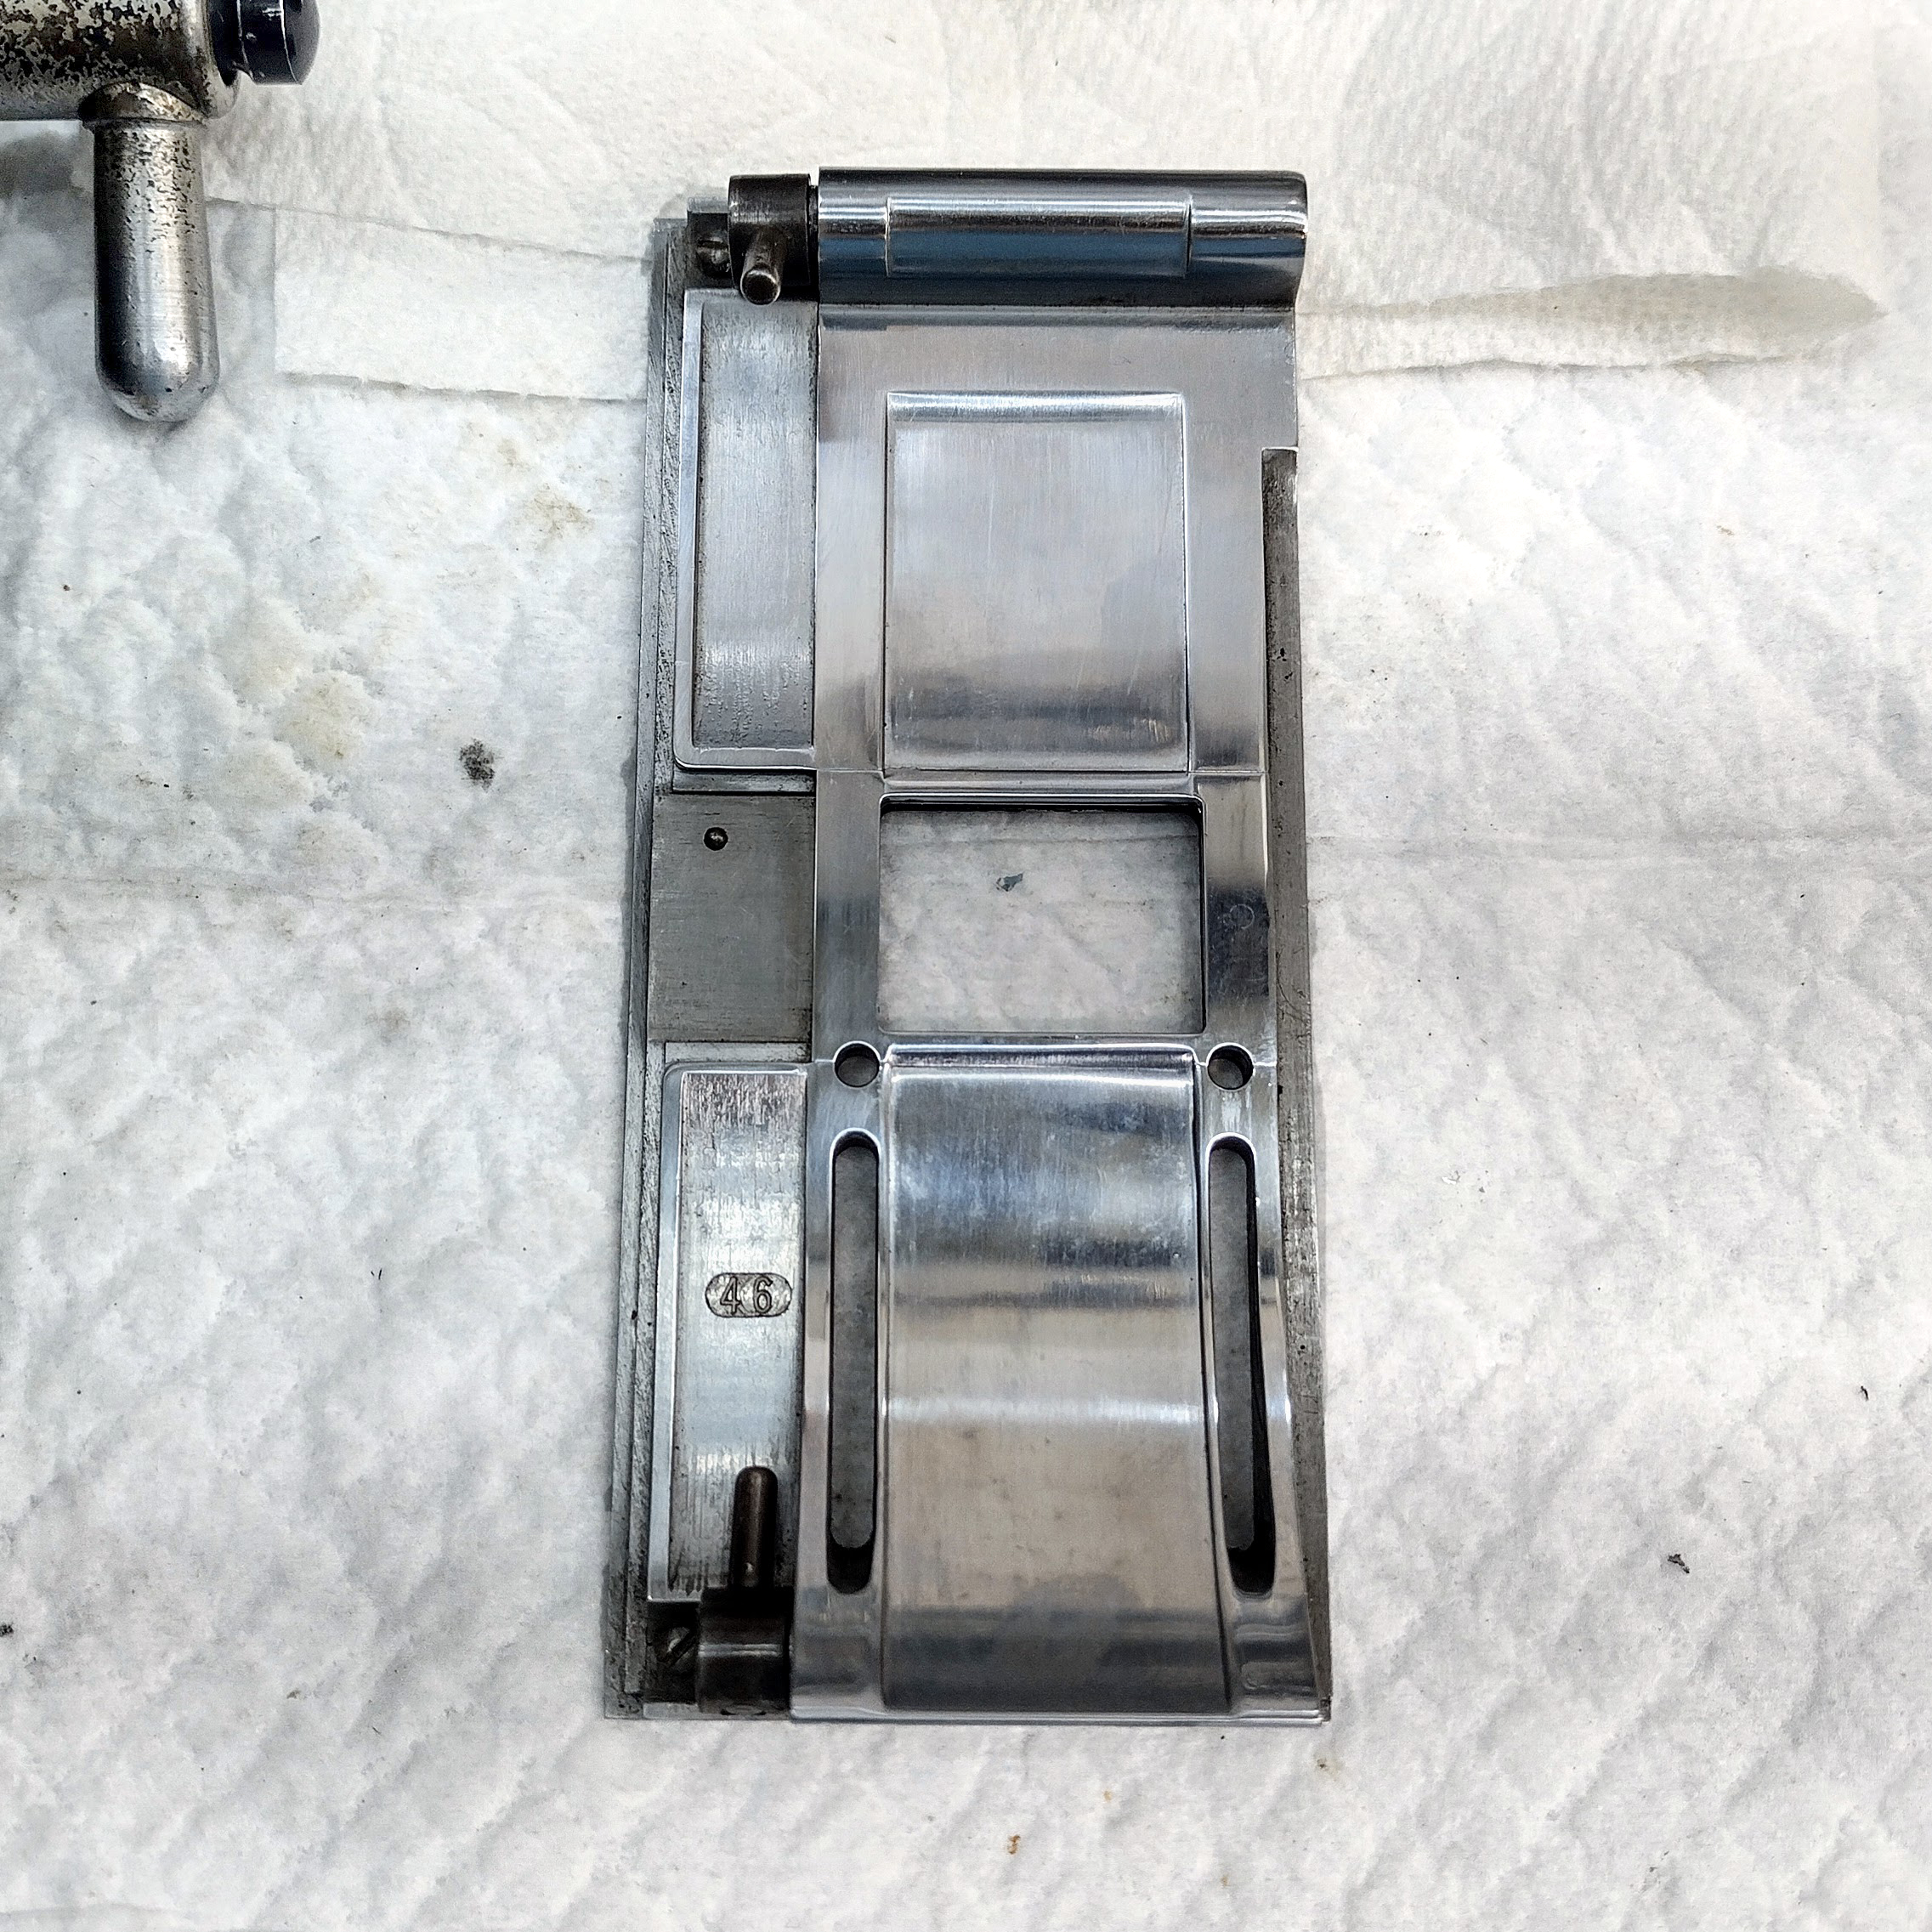
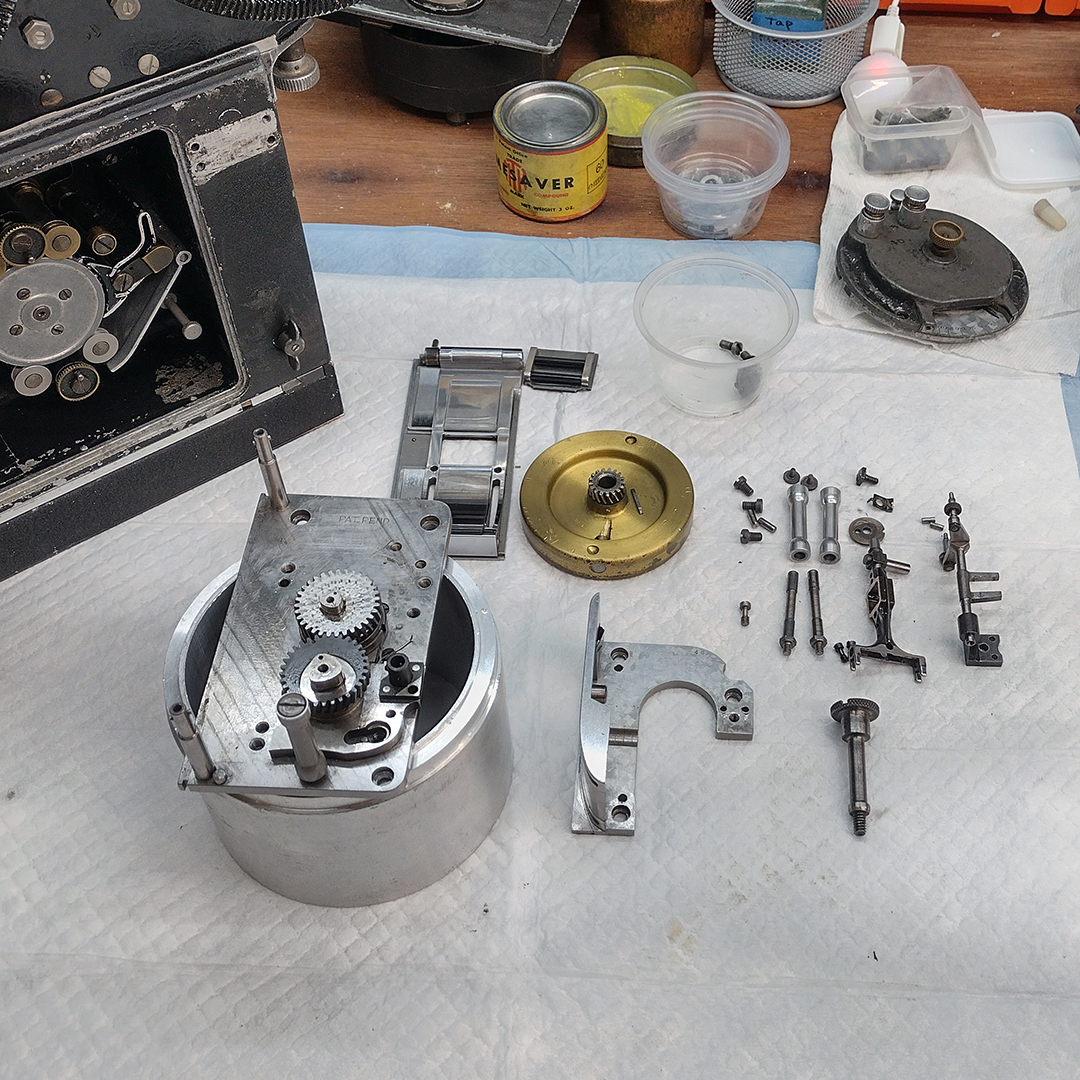
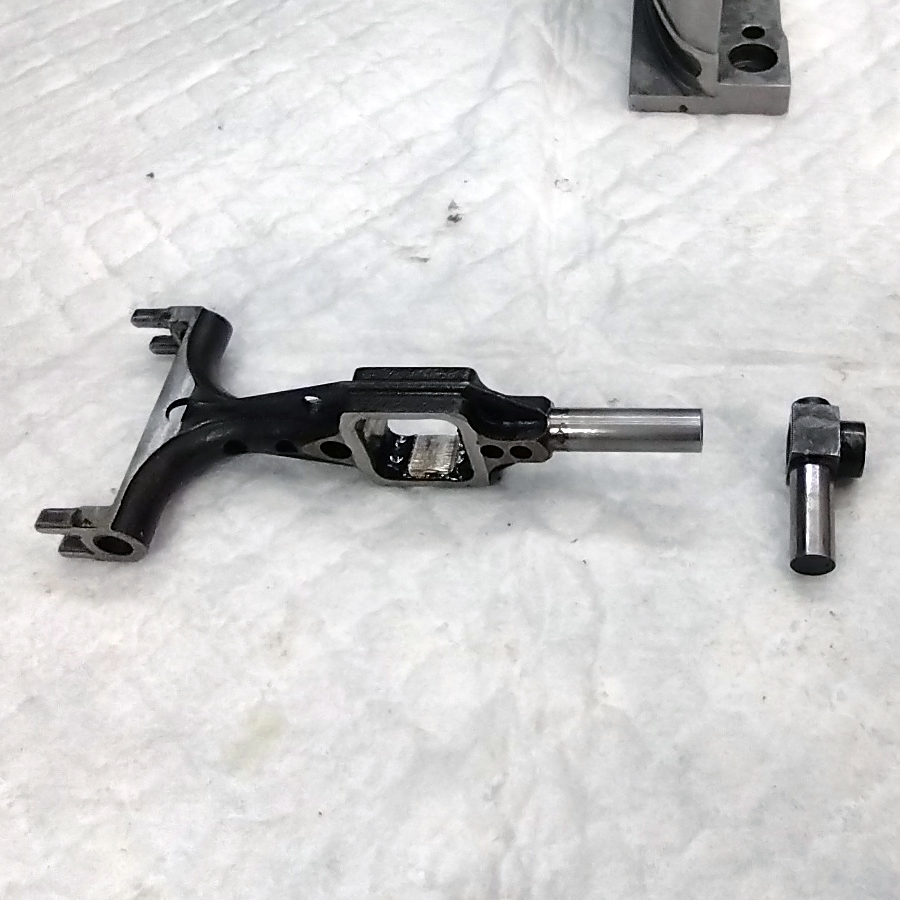
The reason for the bump turned out to be ancient film chips mixed in with very thick antique grease and oil. With all of these parts disassembled, all the parts were ready for the ultrasonic cleaner. Note that, while the original grease was once a reddish/orangish color, it is now the color of film emulsion and dirt. Not ideal for a smooth-running camera! Petrified grease was on all the other parts as well. Both the registration pin assembly and the pull-down claw assembly were caked in the same slurry of grease, dried oil, and old film chips. You can see that the oil pads on the registration pin assembly also suffer from the same problem. Nothing escaped the dirt that plagued Mitchell 46, not even the pressure plate rollers! They had to be removed, cleaned, very lightly oiled, and reassembled.
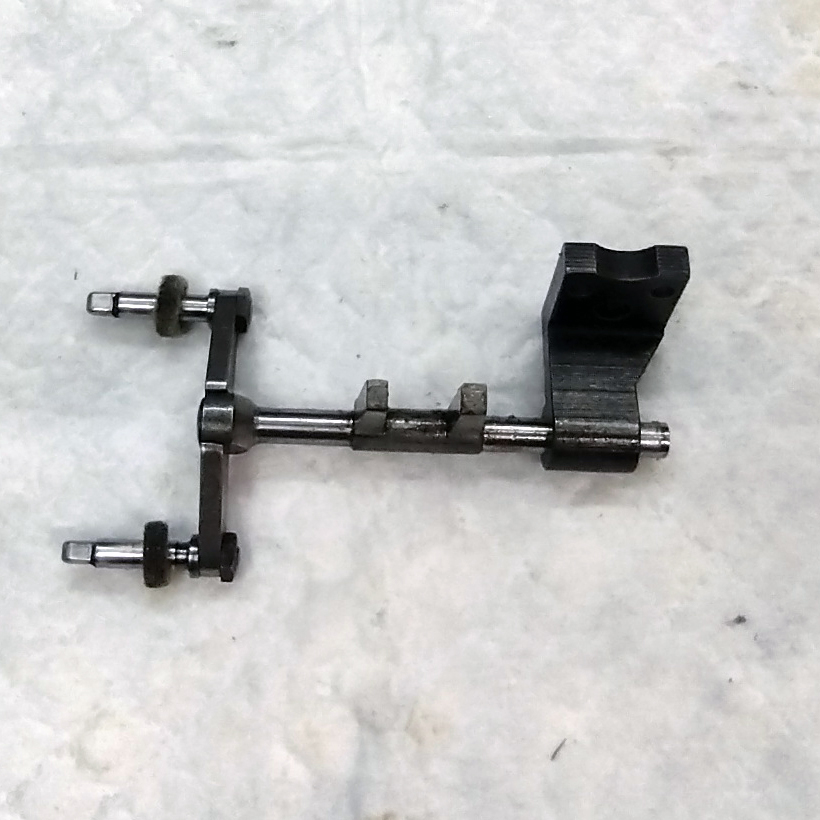

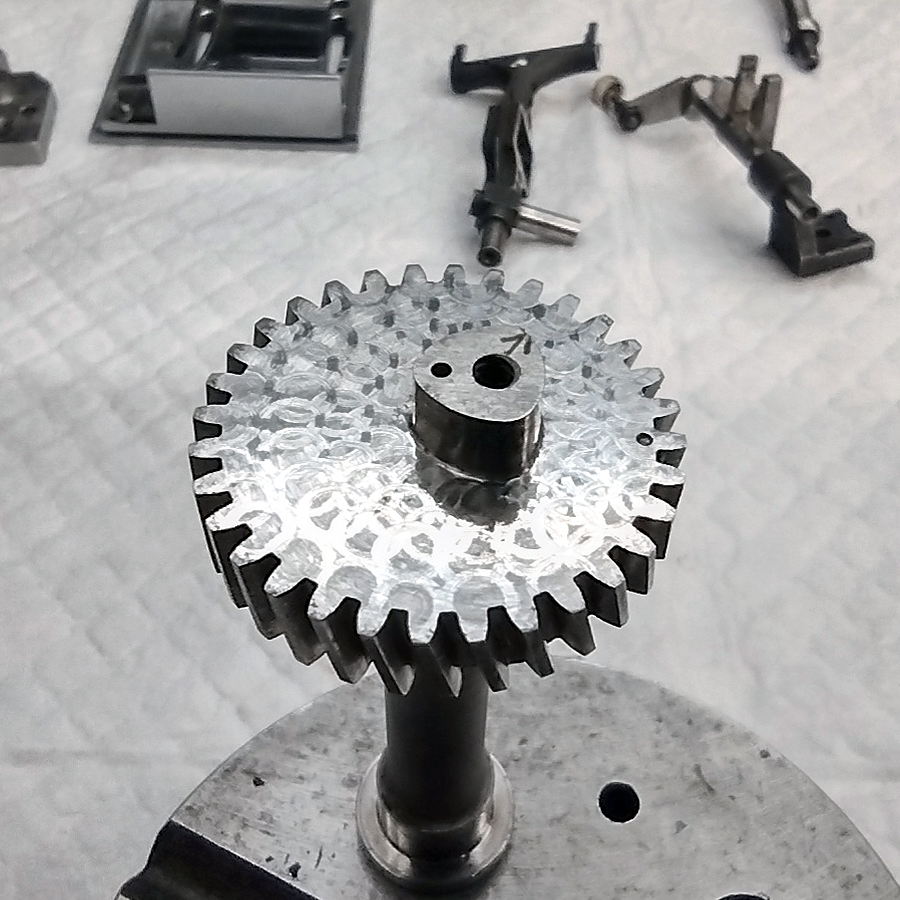
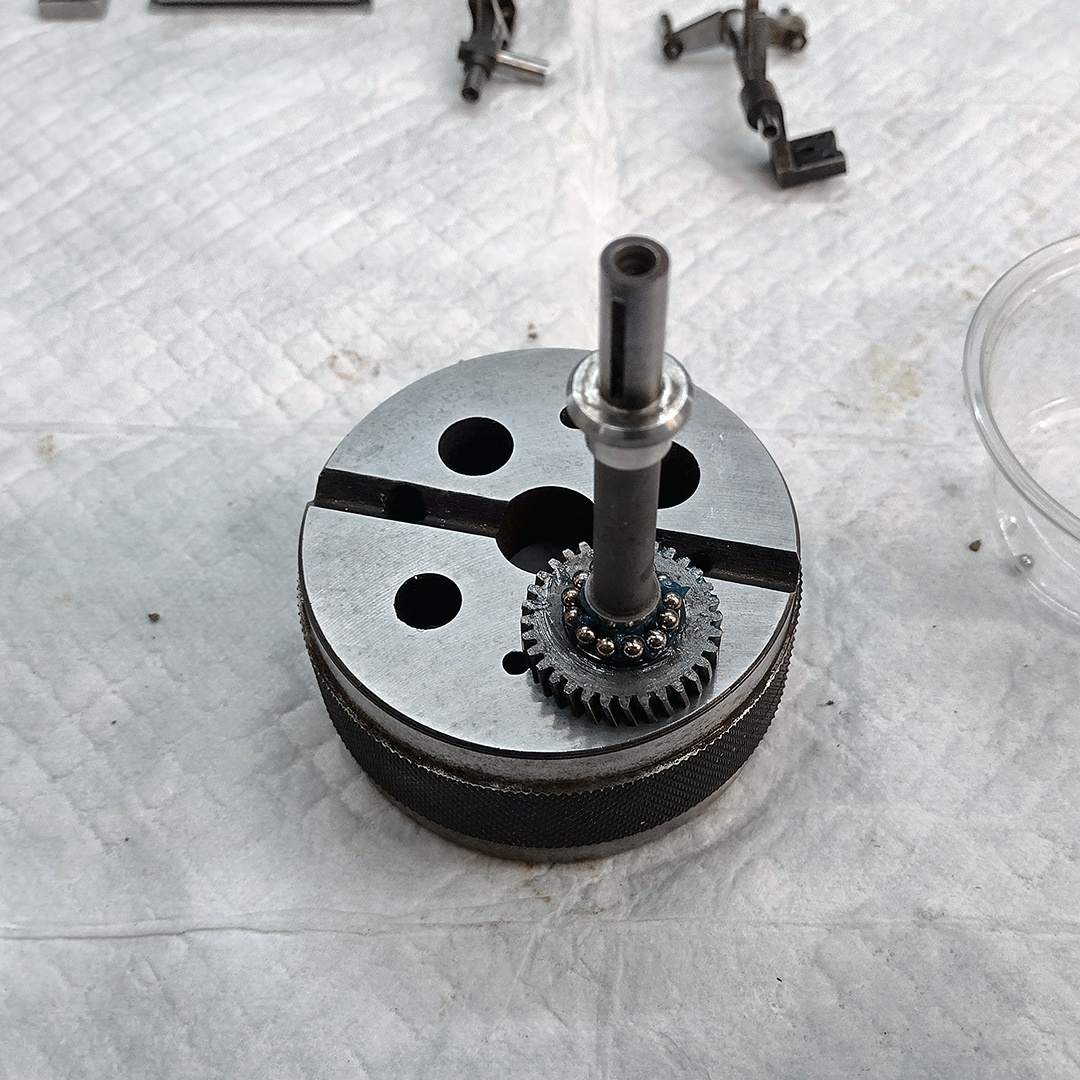

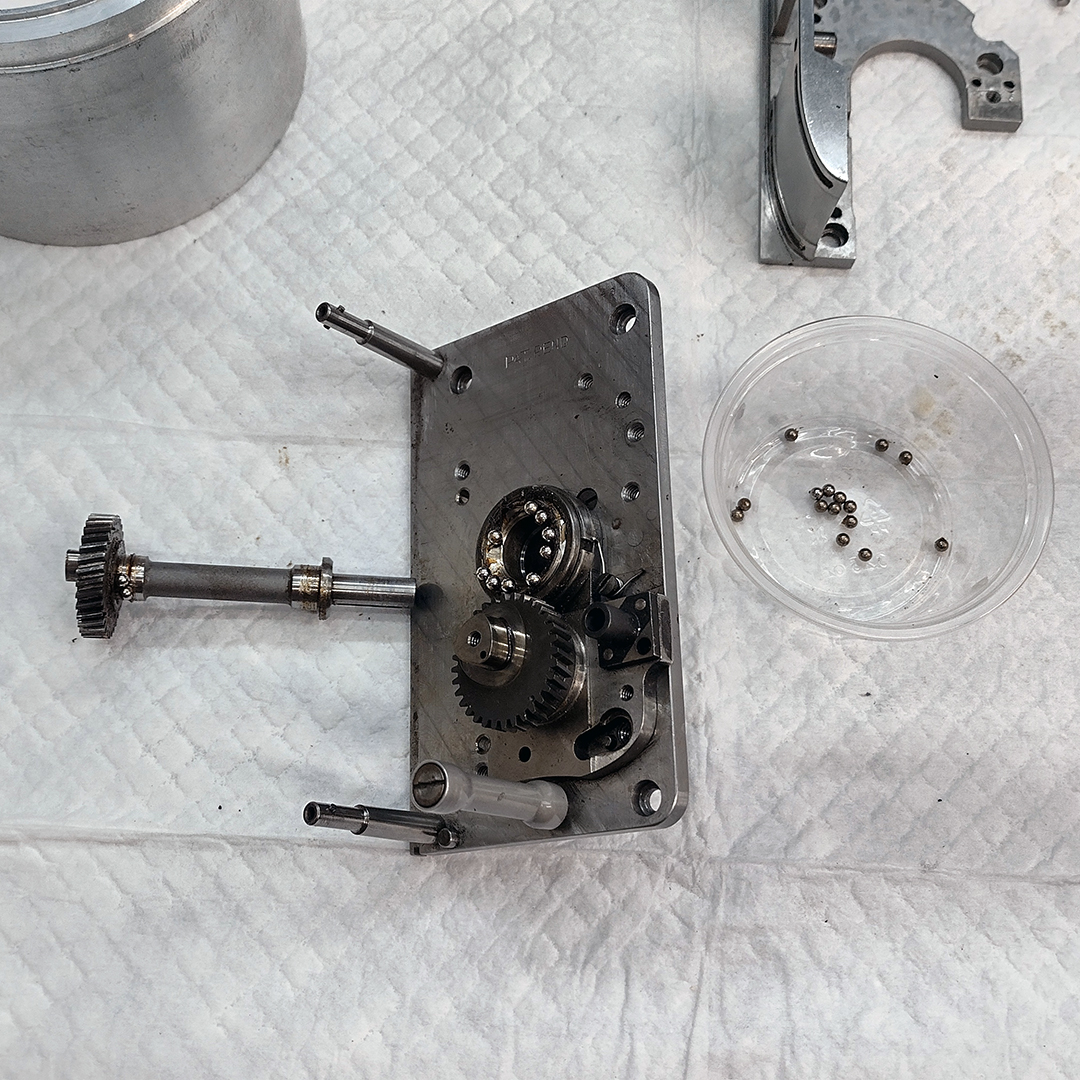
When the camera was originally assembled, two timing marks were engraved on the gears that operate the registration pin cam and the pull-down claw cam. There is also an arrow engraved on the registration pin cam and cam follower which is used for threading the camera. New, more modern grease was applied to the bearing races and the ball bearings were reinstalled so that the movement main drive shaft could be reinstalled and set in time. The rear bearing race was unthreaded in order to set the rear ball bearings in compression and align the movement main drive shaft. All the screws that hold the movement together are undercut at the back so fine adjustments can be made before the movement dowel pins are installed during original assembly. Before the screws can be tightened, the dowel pins are put back in place so that everything lines up correctly, then the screws are tightened to hold everything in place.

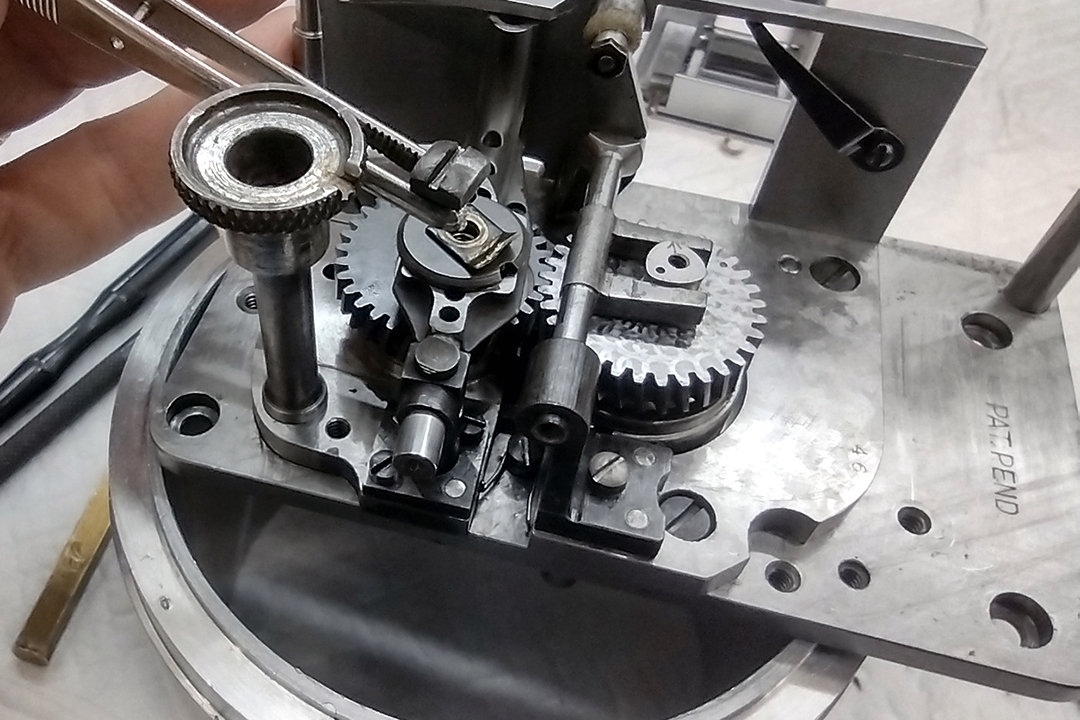
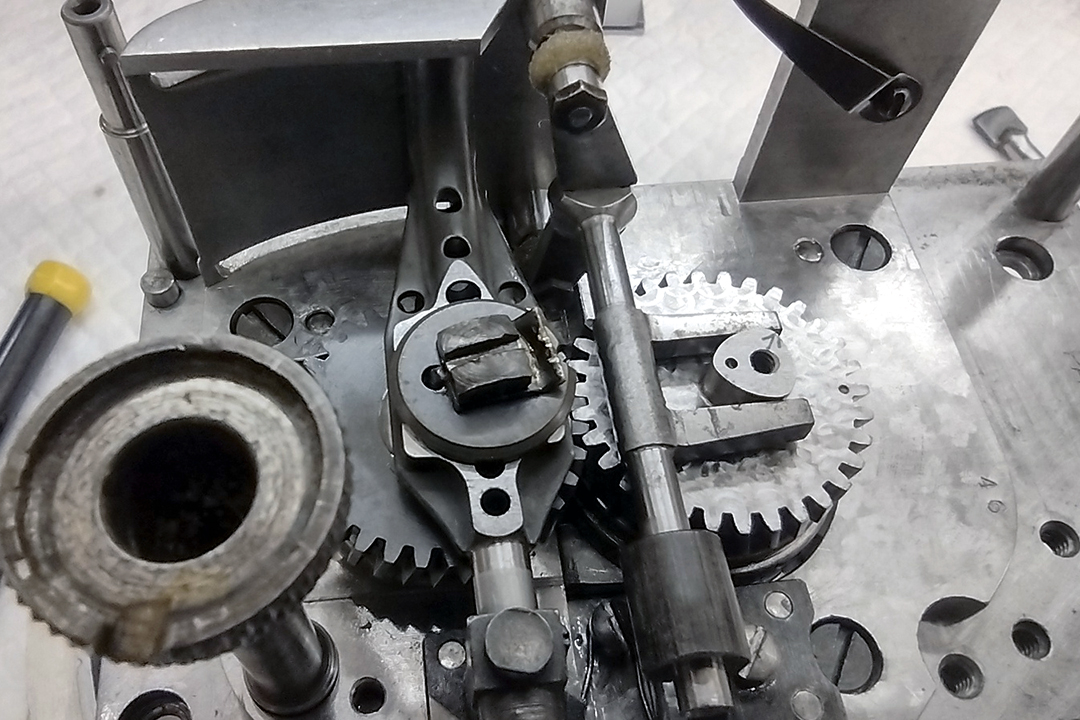
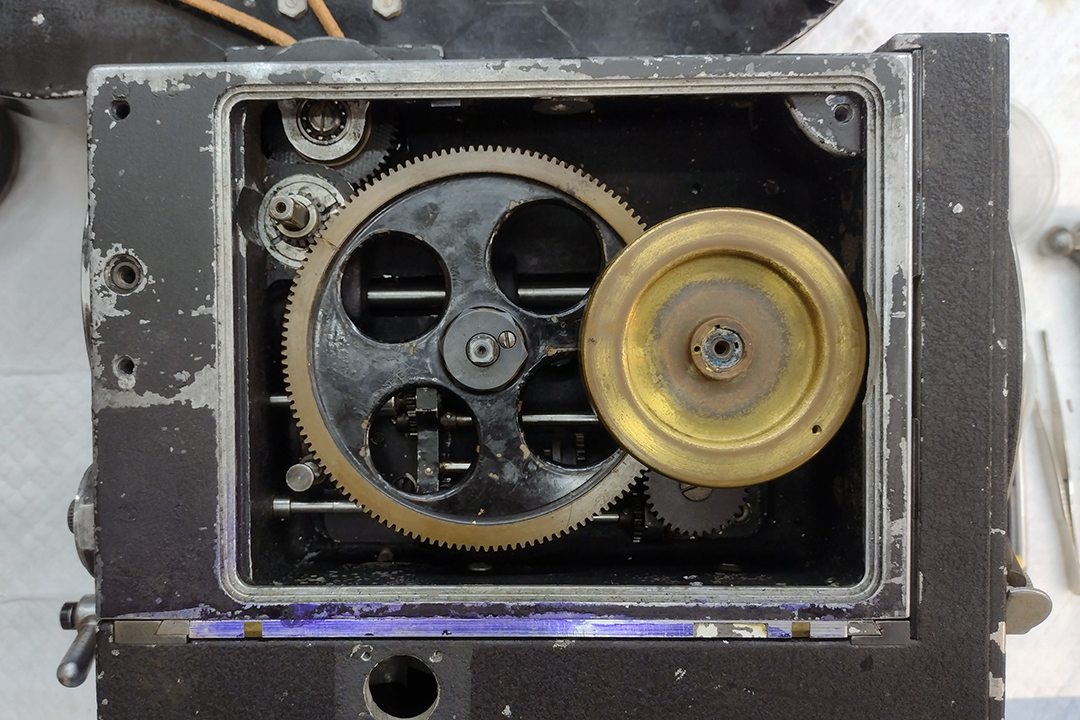
The pull-down claw is held in place on its cam by a thrust washer. The thrust washer is held in place by a locking tap and a square-headed screw. The thrust washer locking tab has a tang on one end that drops down into a hole the thrust washer, and has a tab on the other end that bends up to lock against the square-headed screw so it can’t come unthread while the movement is running. Finally, dowel pins and screws are all back in place, bearings are greased, all the moving parts have been oiled appropriately, and the movement now spins freely. Time to put the movement back in the camera for a final test. There is another set of timing marks on the drive side (where the crank or motor would go) of the camera that set the shutter, sprocket, and movement in time. The flywheel on the back of the movement is keyed to the movement drive shaft so it cannot be reinstalled incorrectly. The flywheel has a timing mark that usually looks like an asterisk that is meant to line up with a timing mark engraved on the large bull gear on the back of the camera. The bull gear has two timing marks engraved on it; one that lines up with the flywheel, and one that lines up with a timing mark engraved on the 1:1 drive gear in the upper left-hand corner. Now with the camera reassembled, everything runs smoothly and free of bumps. One step closer to being production ready. Thanks for following our continuing journey. Next up: repairing and fitting the shutter control assembly, before painting, and hopefully the end of this project.