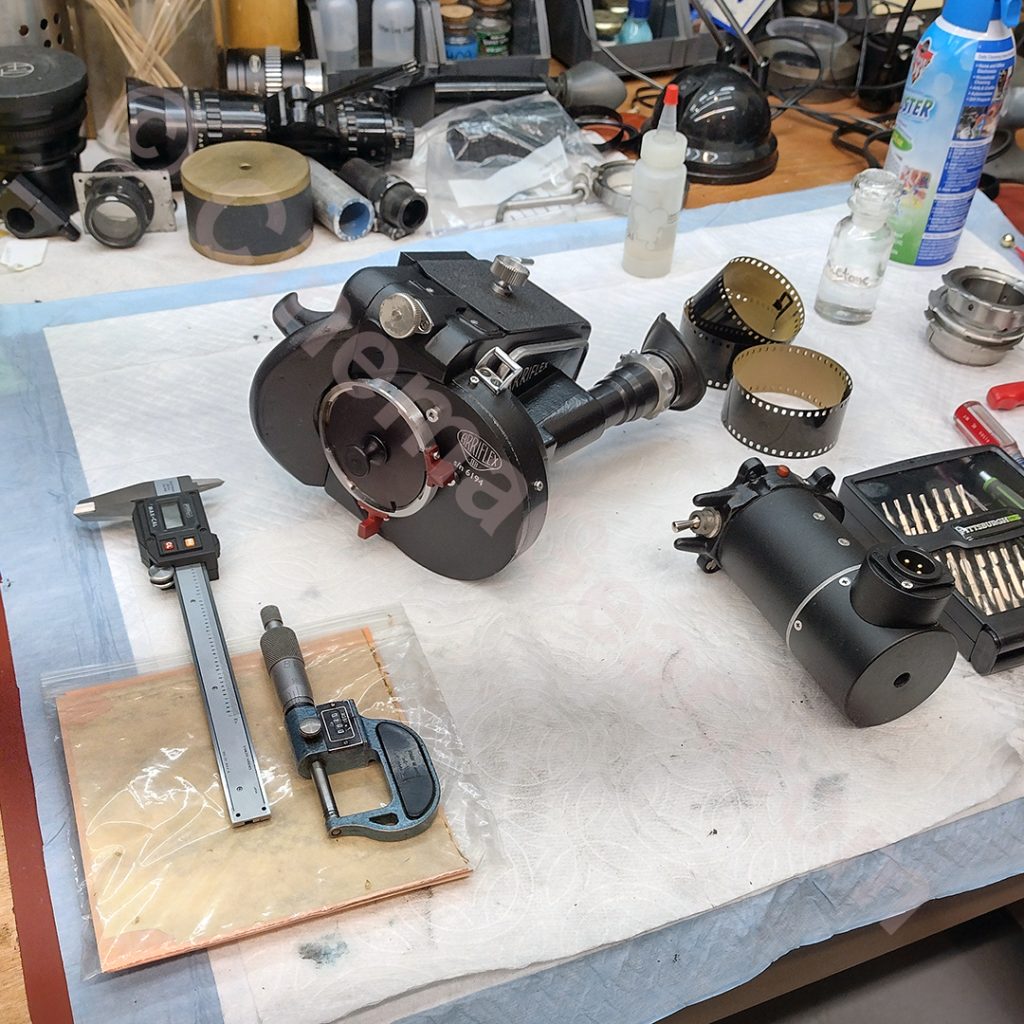
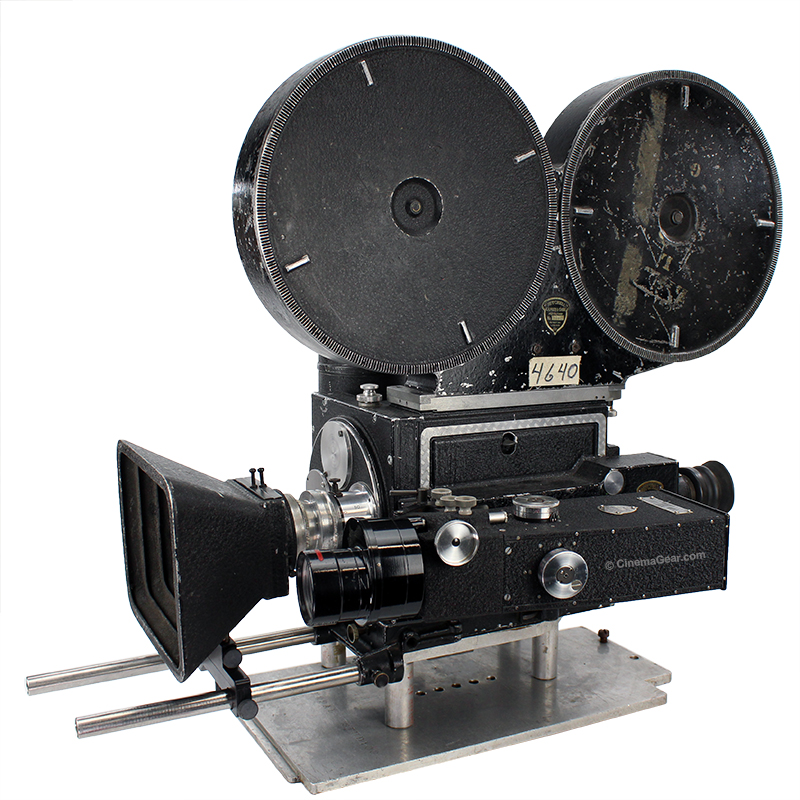
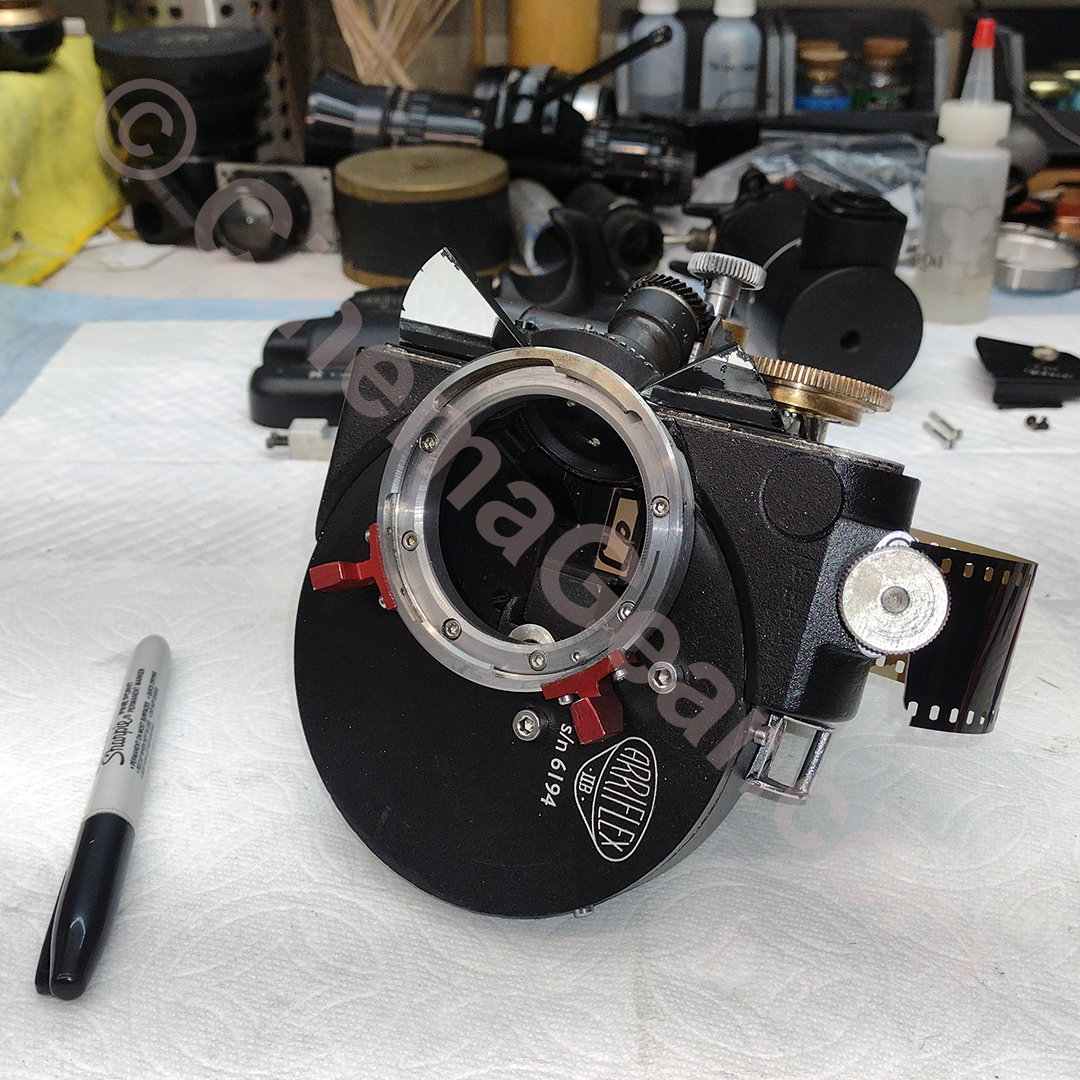
Last month I received two Arri 2B cameras that were converted to 2-perf pull-down Techniscope by my friend Daniil Nevskiy. Sadly, the shutter in one of the cameras was damaged in shipping and needed to be replaced. I was able to source a shutter that was in fair condition as a replacement, so I thought I would demonstrate the process of replacing a mirrored shutter in a spinning mirror reflex camera. Despite what one might think, you can’t simply screw the shutter back to the drive shaft and be done. As accurate as the physical shutter and the mechanics that operate it might be, there is almost always some fractional tolerance issue that can cause the image to shift around in the viewfinder. Any camera operator that has experienced this knows how frustrating it is. To do this operation, I got to pull this ancient shutter balancing fixture that I made some 35 years ago out of storage and put it to work once more.
My procedure is as follows:
1. On an Arri 2B or 2C, begin by removing the motor and the inching knob. Unscrew the 4 screws that hold the back cover in place. Using the motor drive gears, adjust the shutter so it is parallel to the motor drive shaft. This ensures that the least amount of the shutter is in the back cover of the camera. Lifting from the back of the camera near where the tachometer window is, slowly and gently lift the rear cover plate off the camera, making sure it does not touch the mirrored shutter.
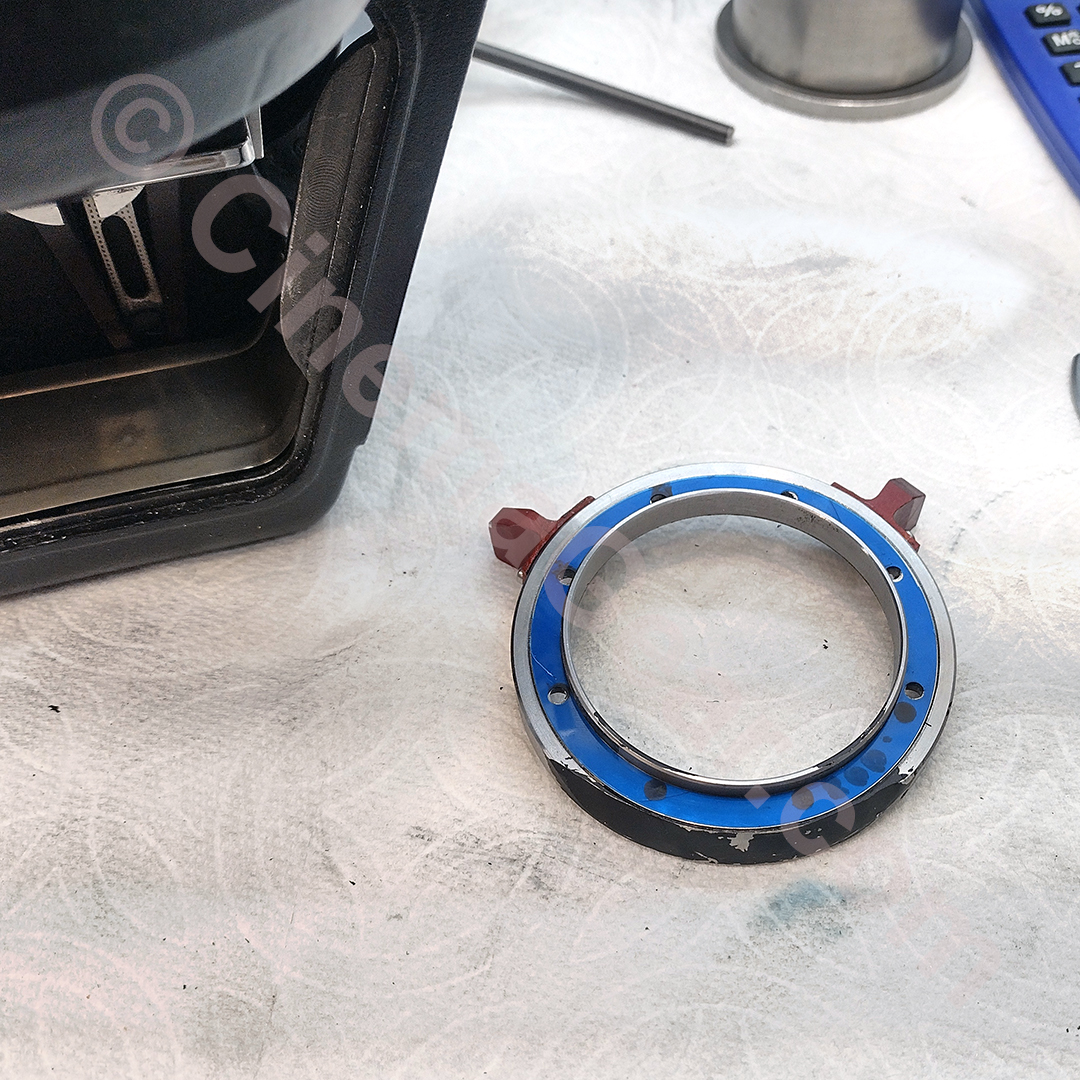
2. Remove the components that the shutter rides on. Thoroughly clean and degrease them.
3. Clean the mounting surface on the back of the mirrored shutter.
4. Mount the replacement shutter on the freshly cleaned shutter drive shaft.
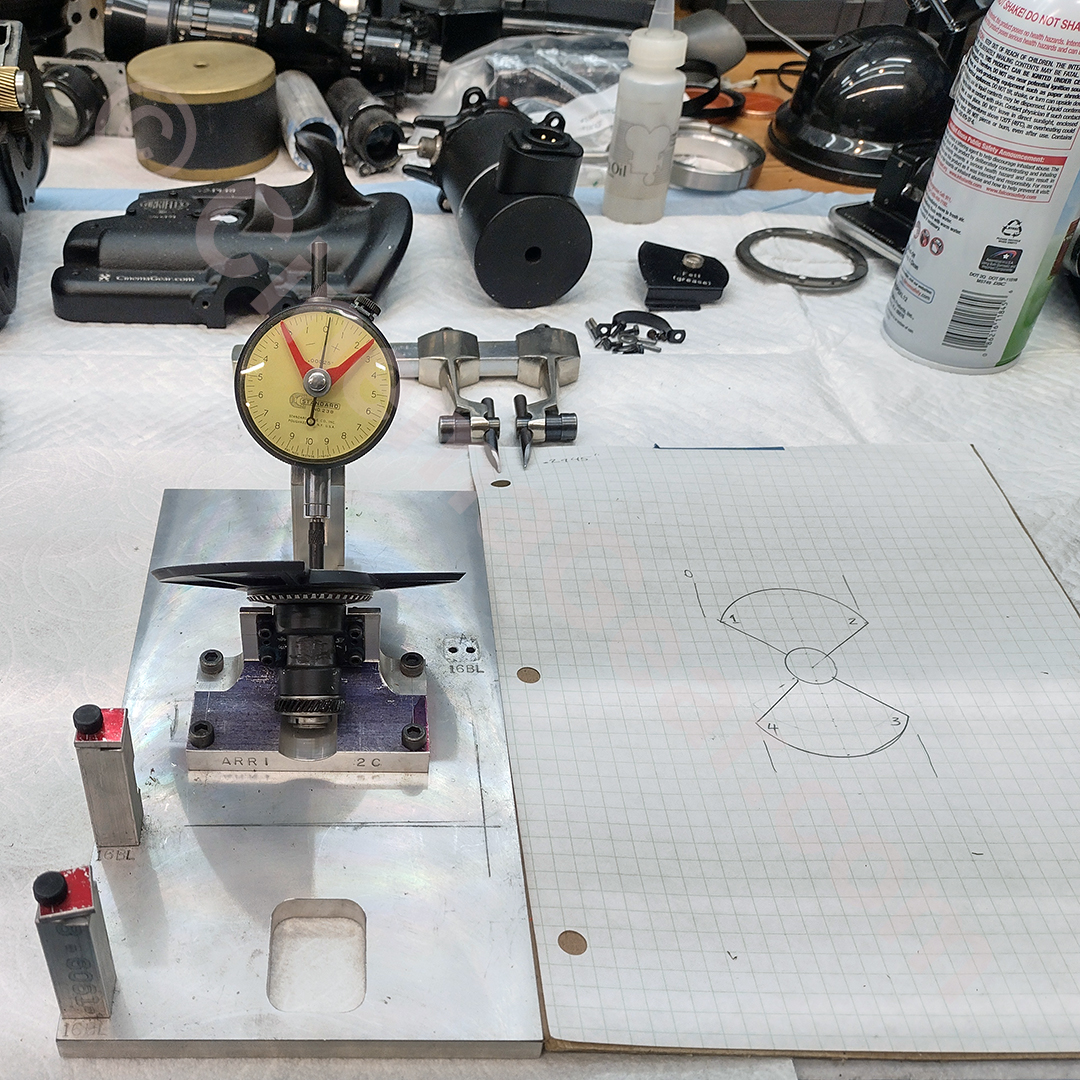
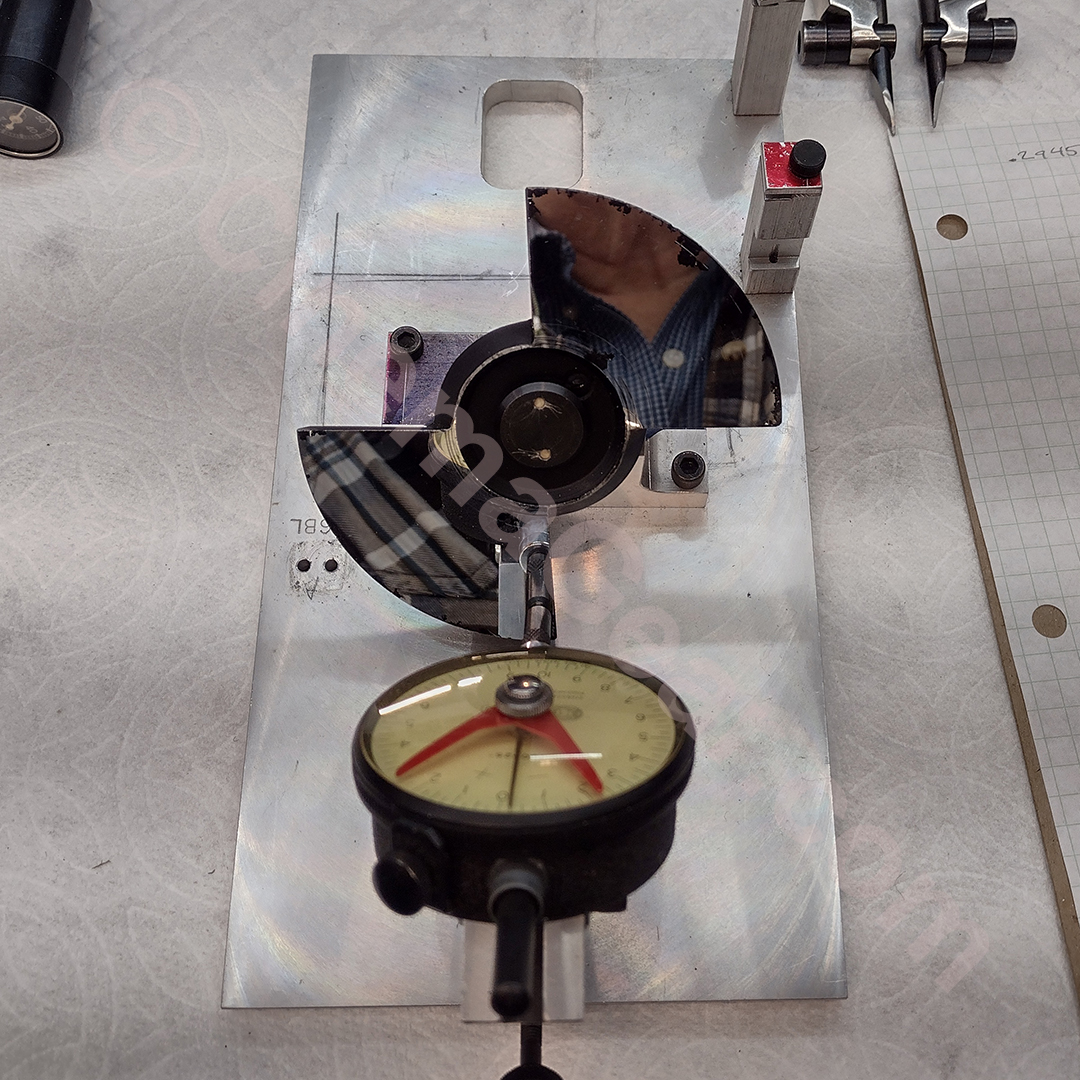
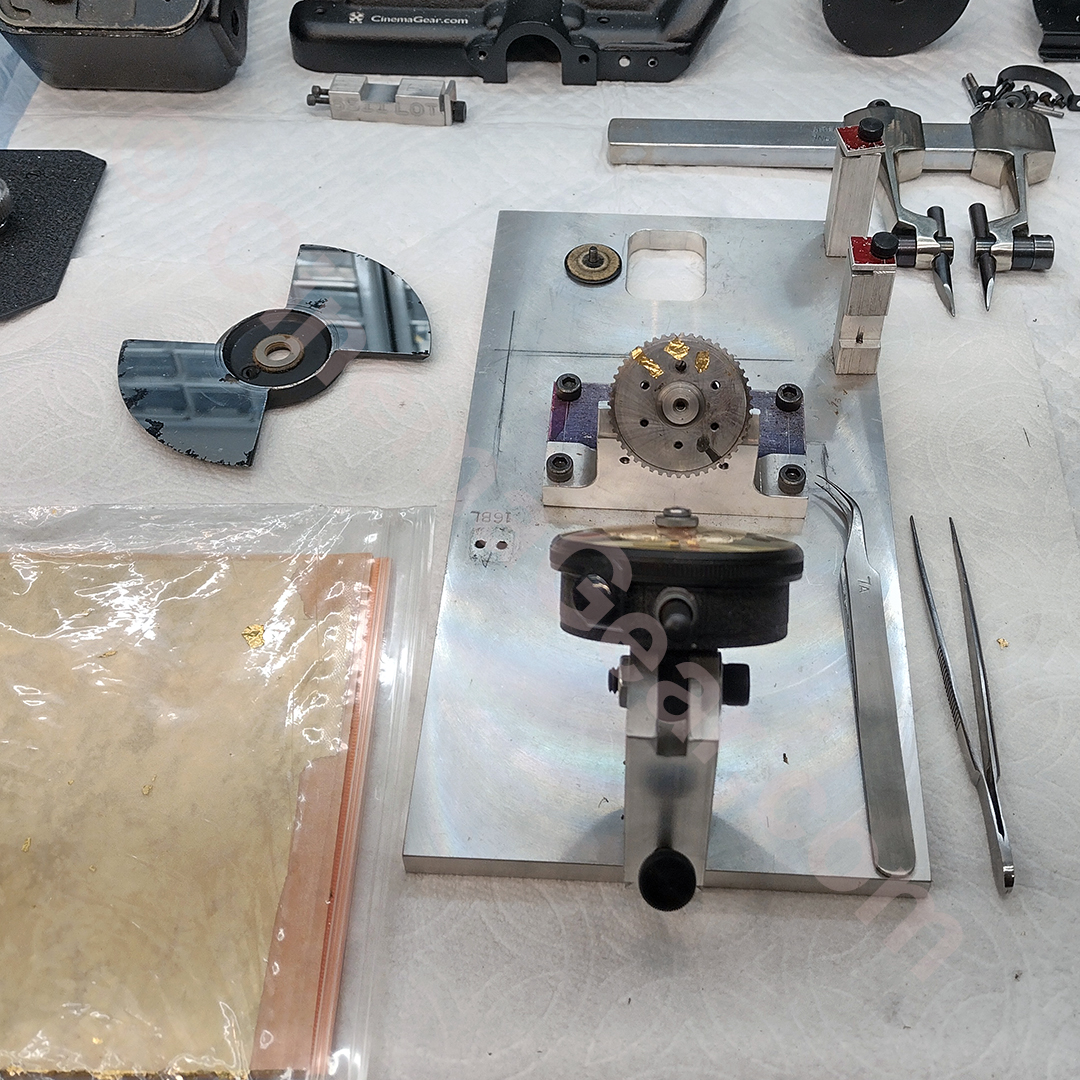
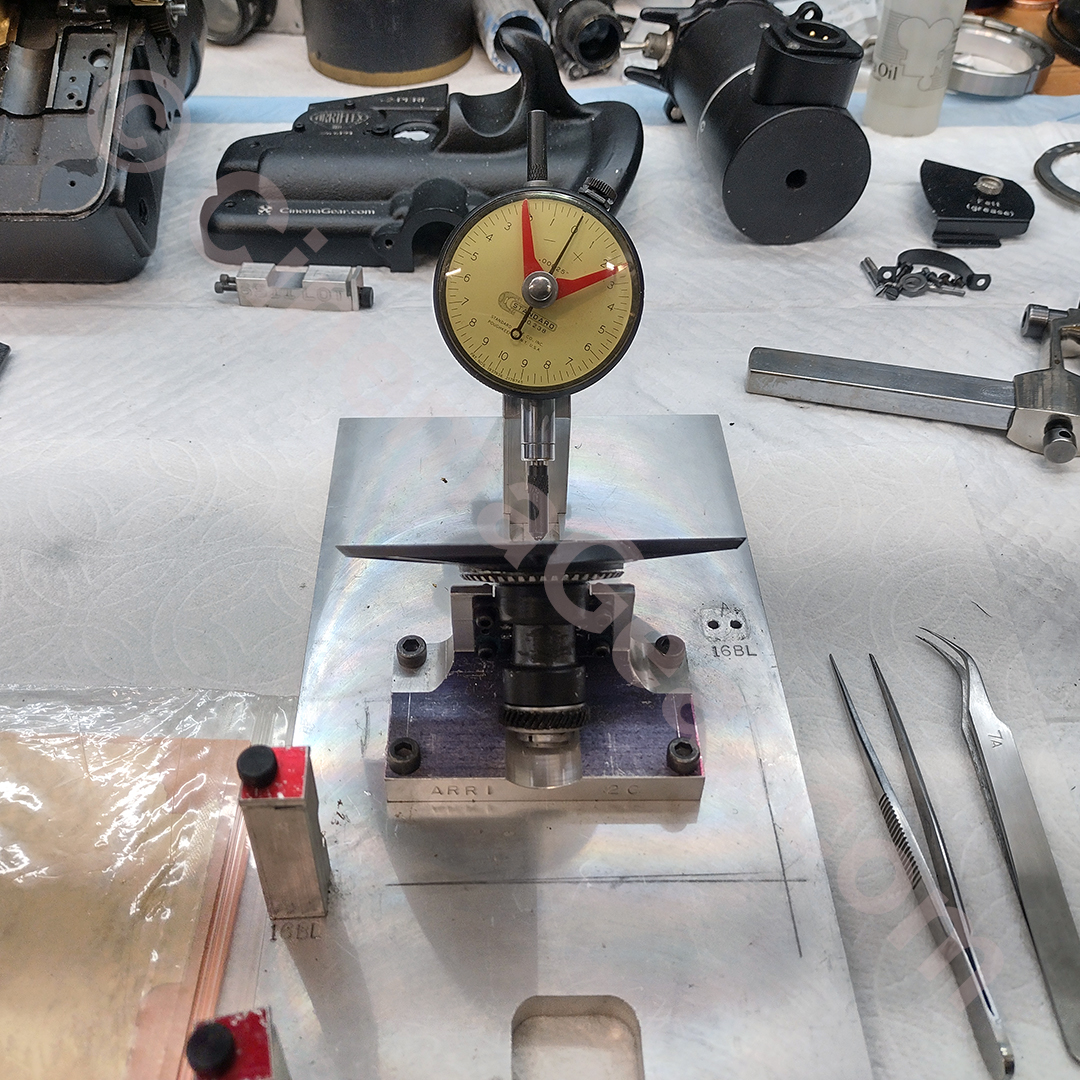
5. Mount the shutter drive shaft on the shutter balancing fixture.
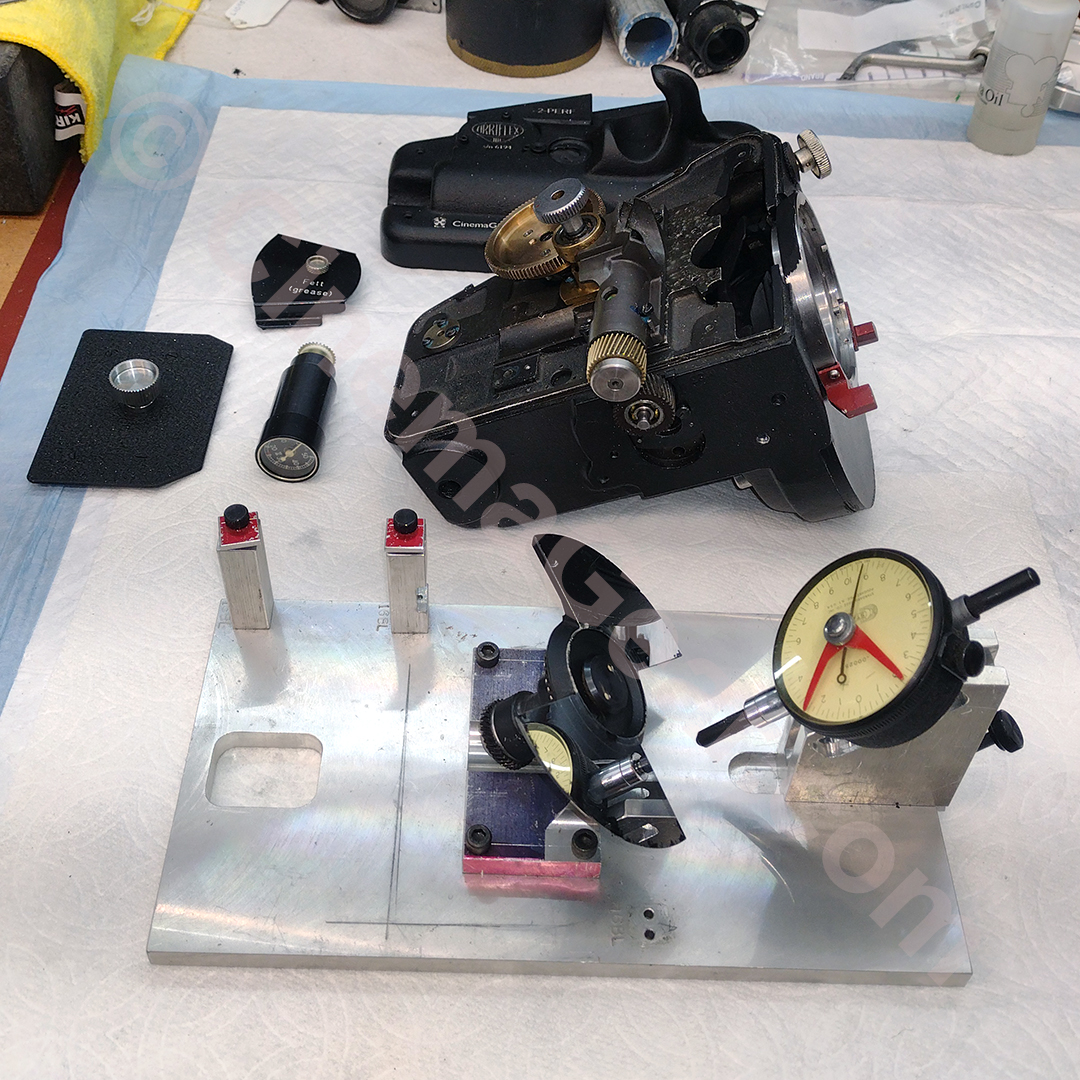

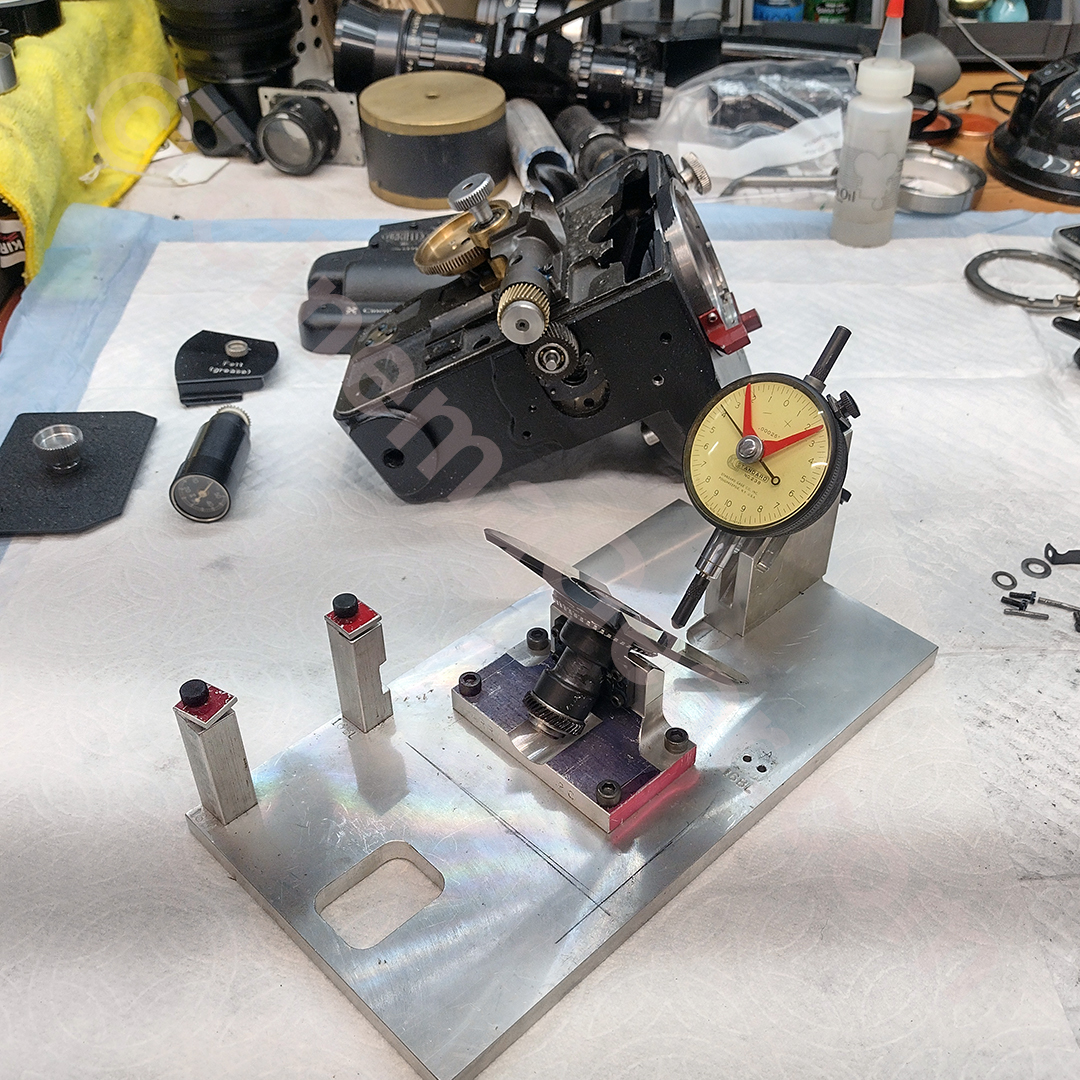
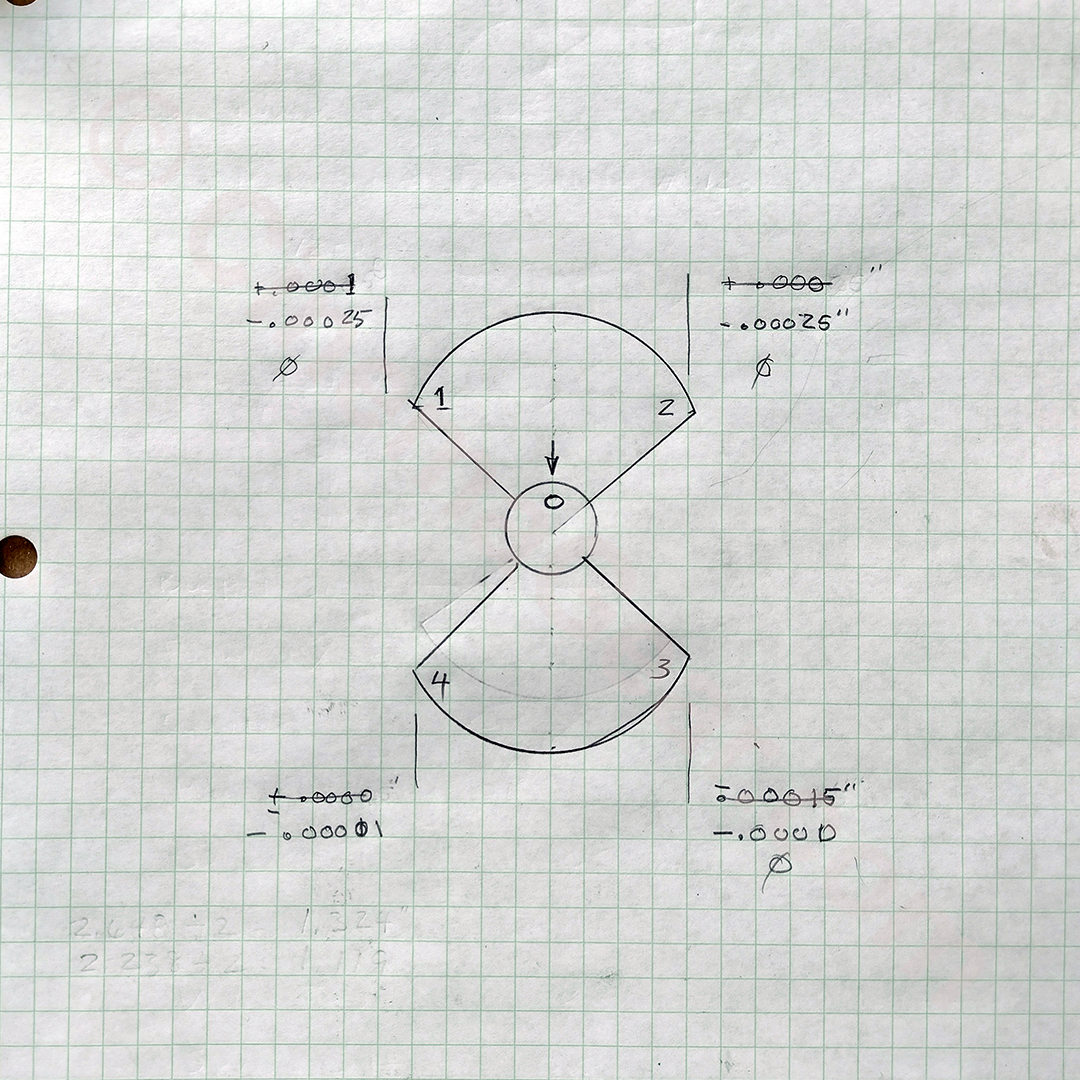
6. I used a dial indicator calibrated in .0002” increments to measure the flatness of the mirrored shutter. In this case, working on an Arri 2B with a bowtie shaped shutter, I used the shutter drive pin as my zero position and measured the 4 corners of the shutter to make a map of how flat or not the flat the shutter was sitting on the shutter drive shaft.
7. Remove the replacement shutter from the shutter drive shaft.
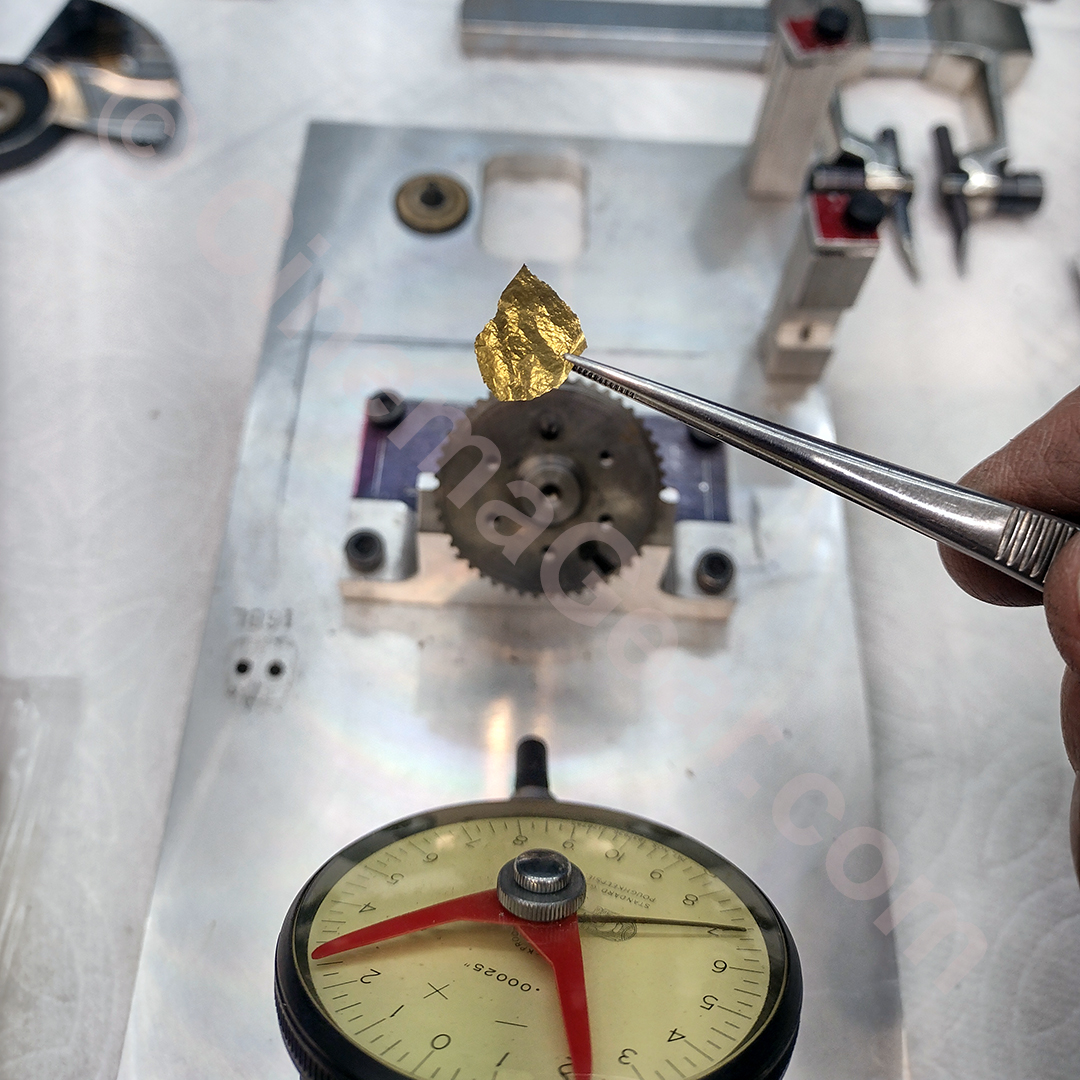
8. To make these minute precision adjustments, gold or silver leaf is generally used as the shims to correct any error in flatness. Gold leaf usually measures .0001” thick while most silver leaf measures .0002” thick. I used gold leaf in this case to shim between the shutter and the shutter drive shaft.
9. Using the map created in step 6, I assigned the highest point that the map showed as the area I was going to make the whole shutter flat to. By adding gold leaf to the areas that were lower than the highest point, I shimmed the flange on the shutter drive shaft to what should bring the shutter to zero on all corners.
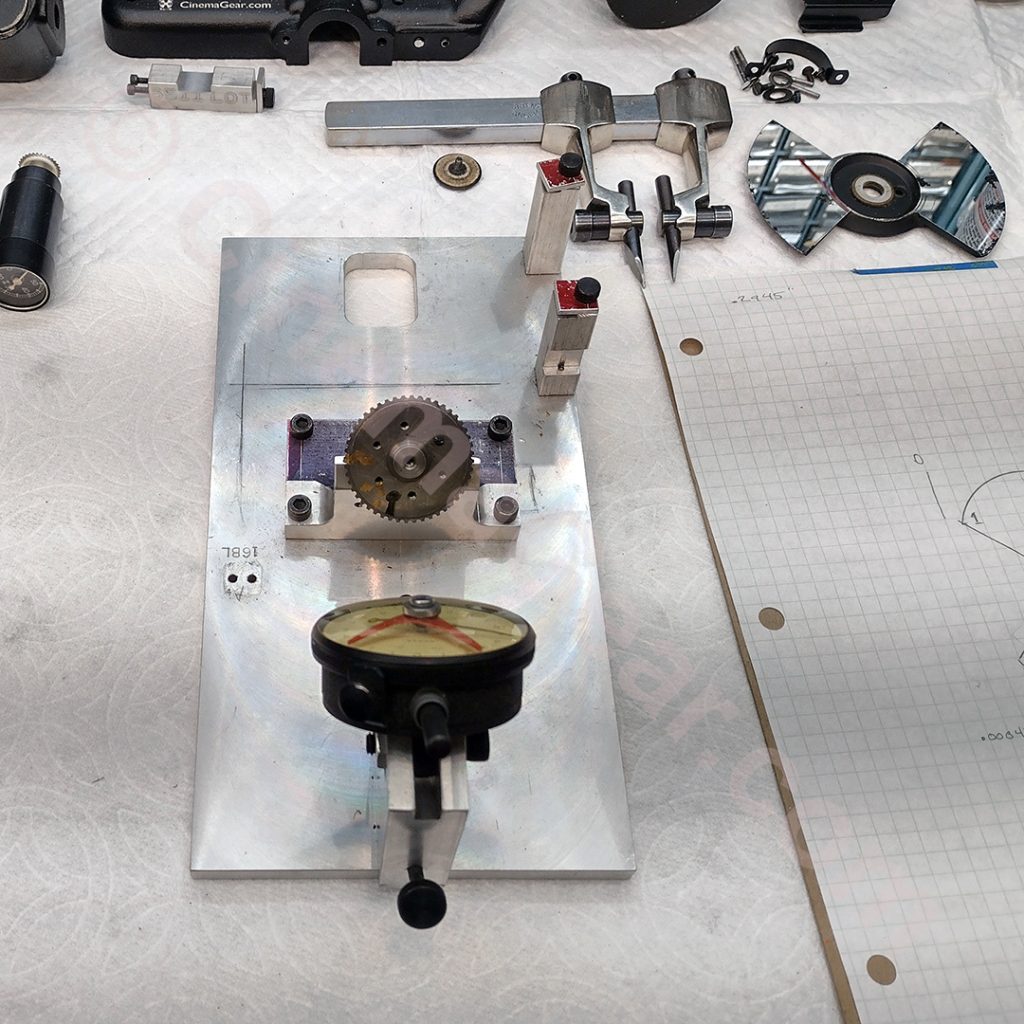
10. Remount the mirrored shutter to the shutter drive shaft and measure the 4 corners again. The goal here is to have the 4 corners read as close to zero on the dial indicator as possible. Three tries later, the shutter was finally flat within tolerance.
11. Clean the mirrored surface of the shutter.
12. Install the reassembled shutter drive unit back into the camera and begin timing the shutter to the film transport.
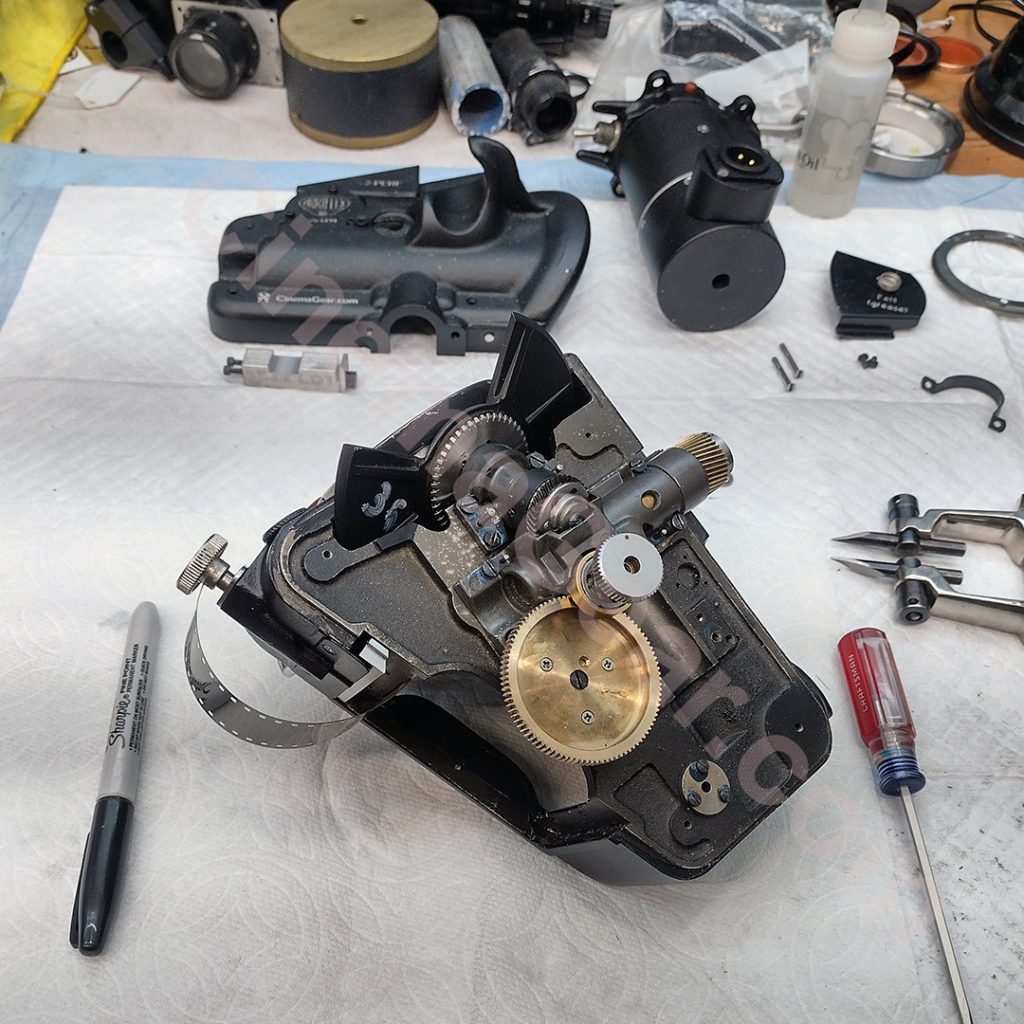
13. Once the timing is correct, double check and clean any debris that might have accumulated in the camera mechanism.
14. Put the rest of the camera back together by reversing the process in step 1.
15. Check the flange focal depth (the distance between the lens mounting surface and the film plane) and shim as needed.

With all of this work completed, the camera should now be ready for production.