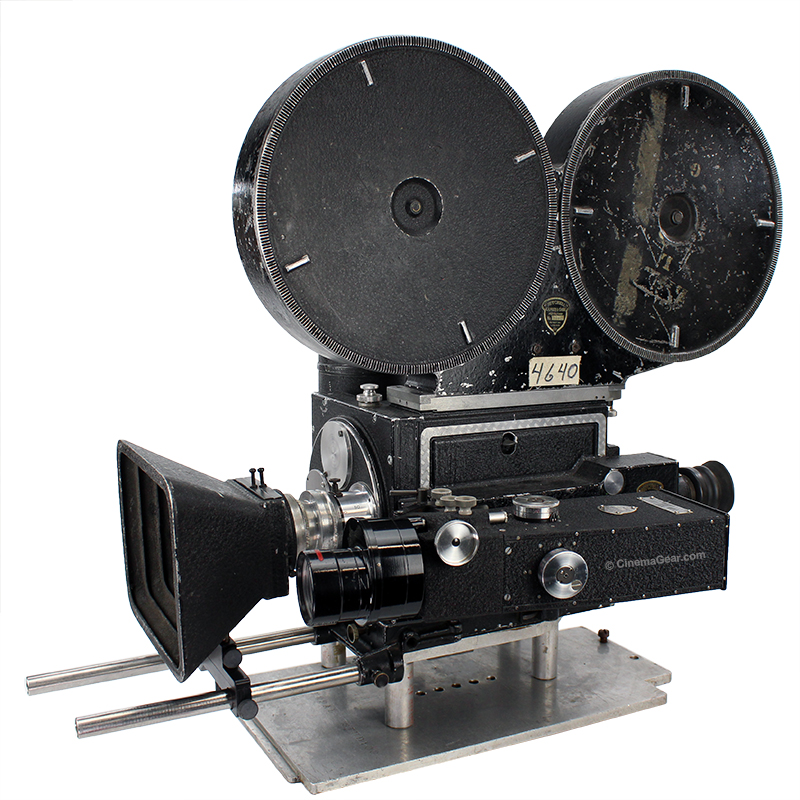
A few days ago, a new client called and asked if I had any ARRI Medical cameras in stock. As it happened, I had one left. During the course of our conversation, the client mentioned that he had seen a YouTube video in which someone had converted a medical ARRI into a film scanner. He wondered if I would be willing to do the necessary modifications to the film gate so that he can use the camera to build his own scanner. I was intrigued by the simplicity of this project and agreed to do the modifications for the client.
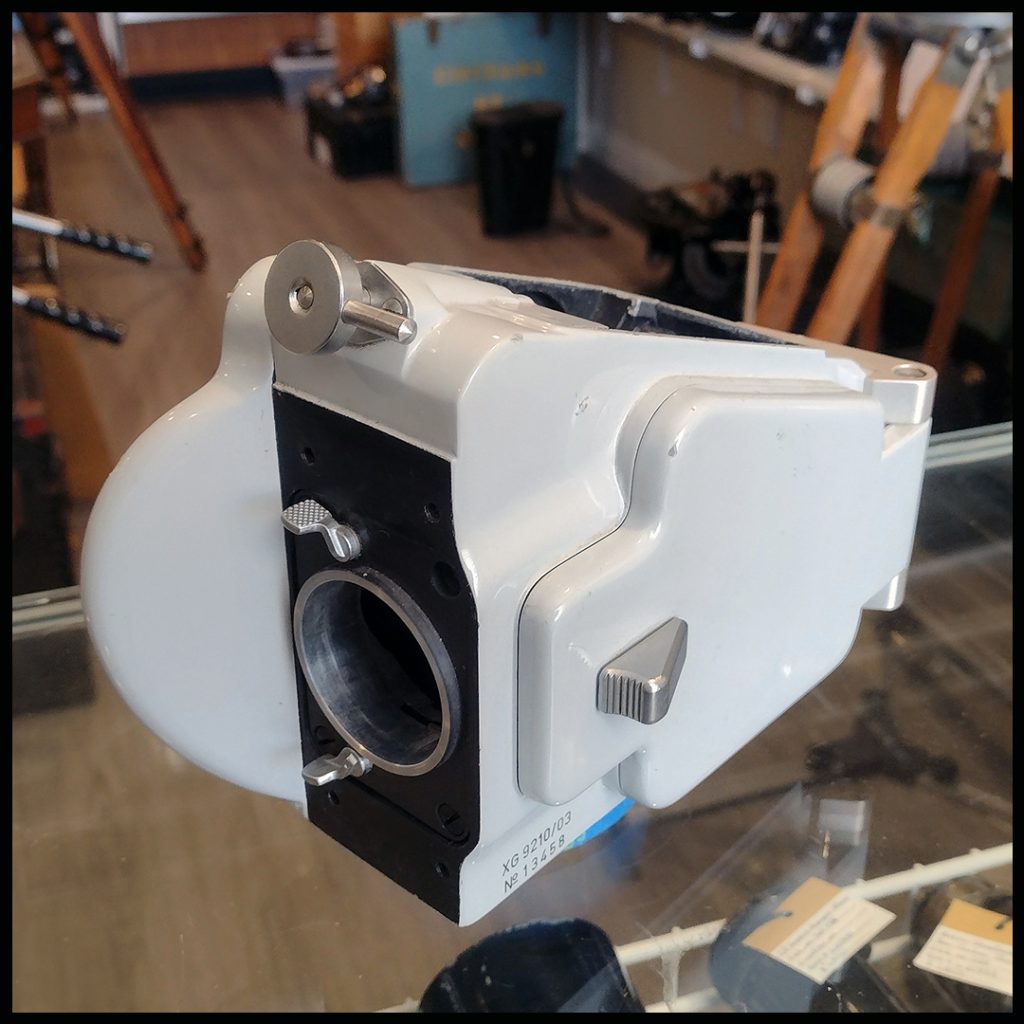
The concept for this project is simple: First, cut a hole in the back of the ARRI pressure plate assembly so that light can pass through it. Second, the ARRI’s shutter is no longer necessary because the digital camera will only shoot one image when the film is at rest, so the shutter can be removed. Third, set up a standard hi-def mirrorless digital camera and a lens assembly so you can photograph a 1:1 image of the film in the camera’s aperture. Fourth, load your print or negative in a standard ARRI 400’ magazine, thread the film in the camera, and shoot one frame at a time with the digital camera. All of that sounds simple until you start analyzing how you are going to machine these parts so light can get through and cover the full film frame while not scratching or damaging your print or negative as it runs through the camera.
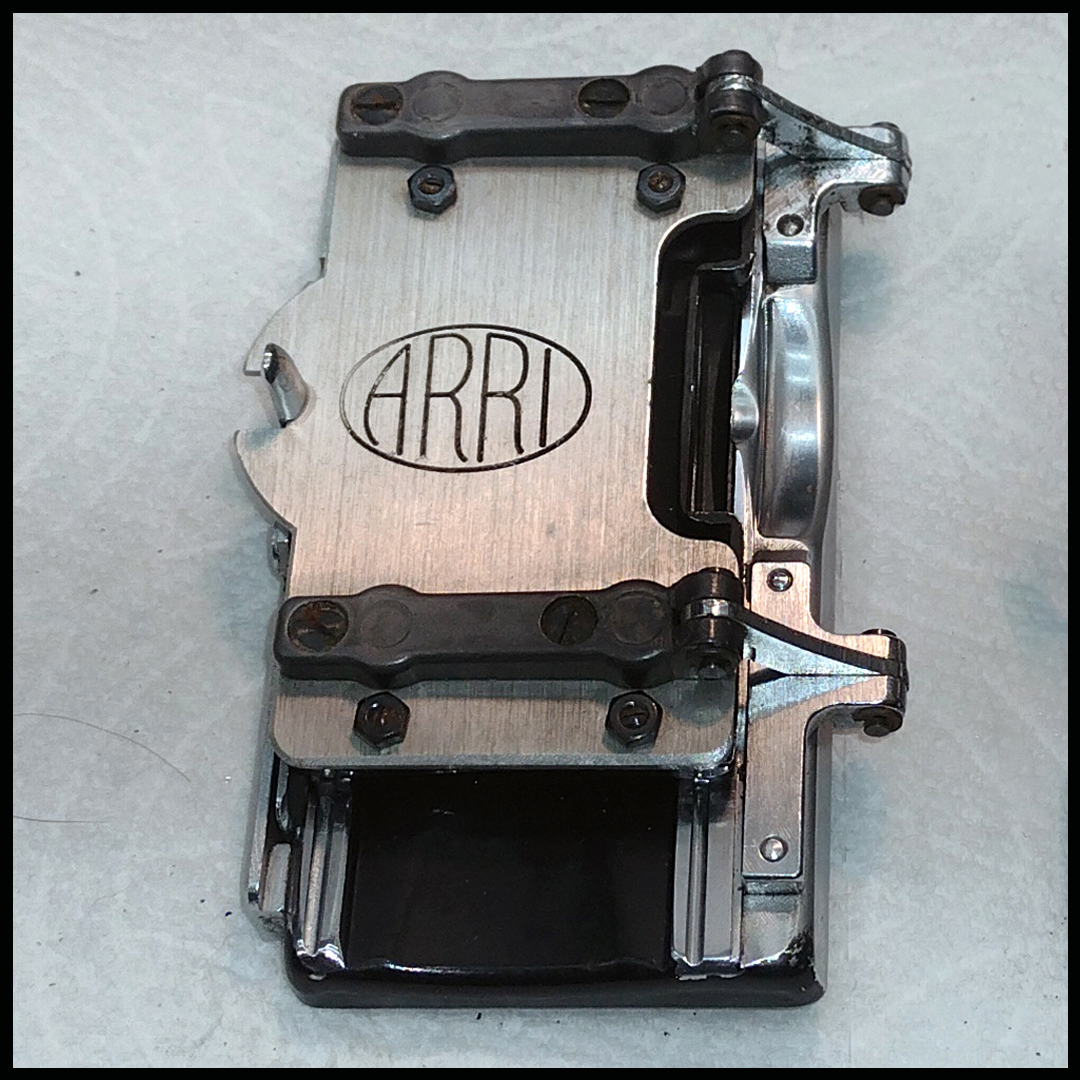
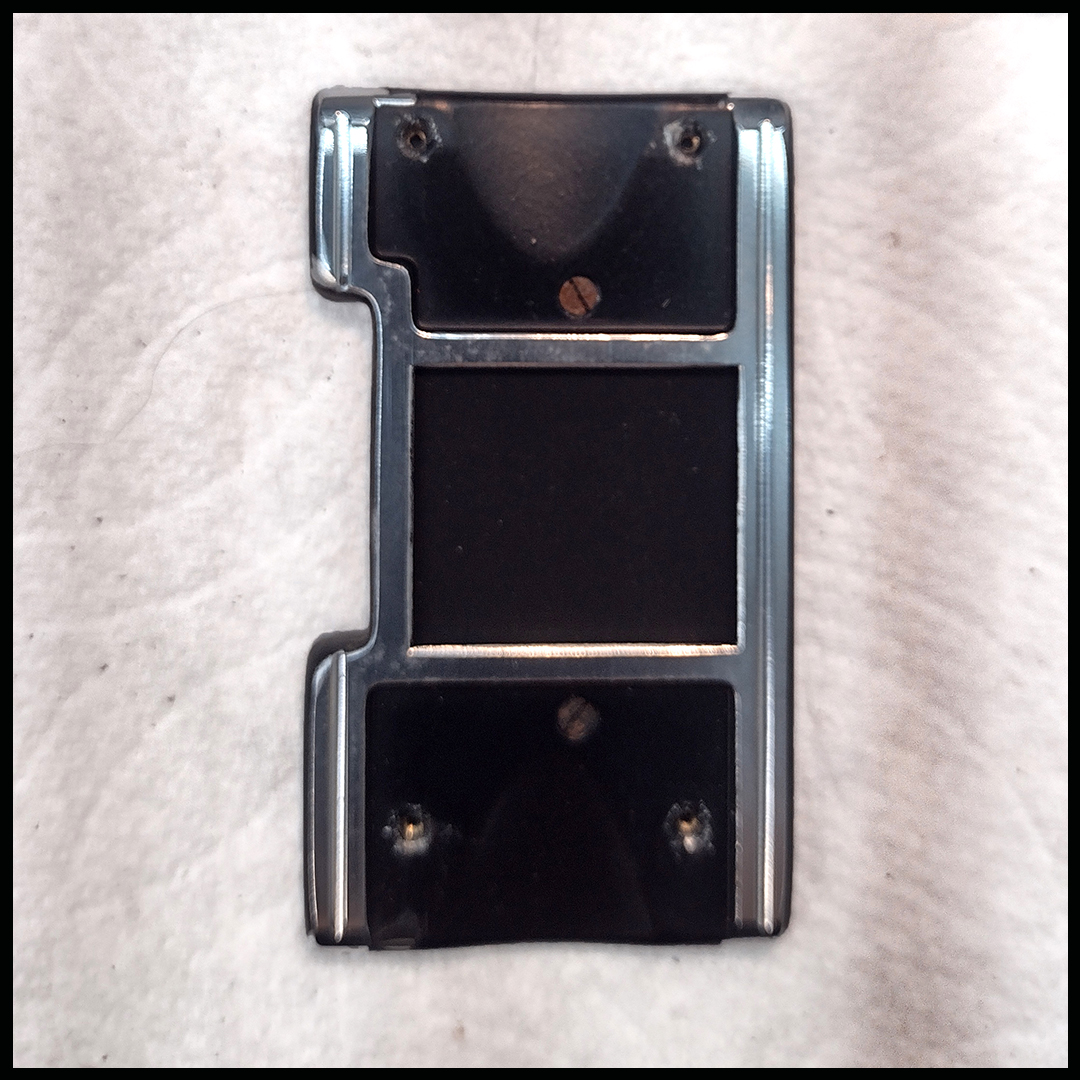
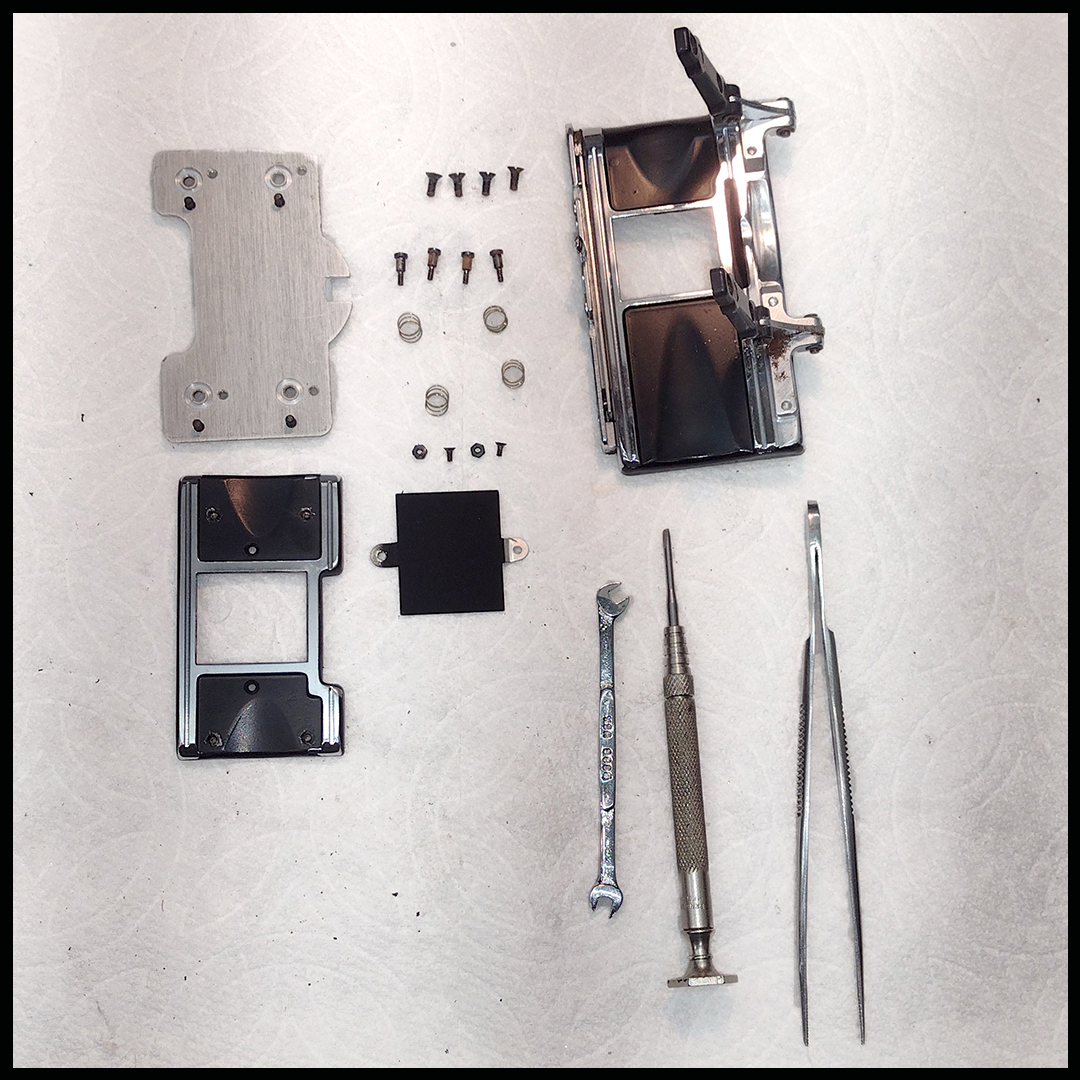
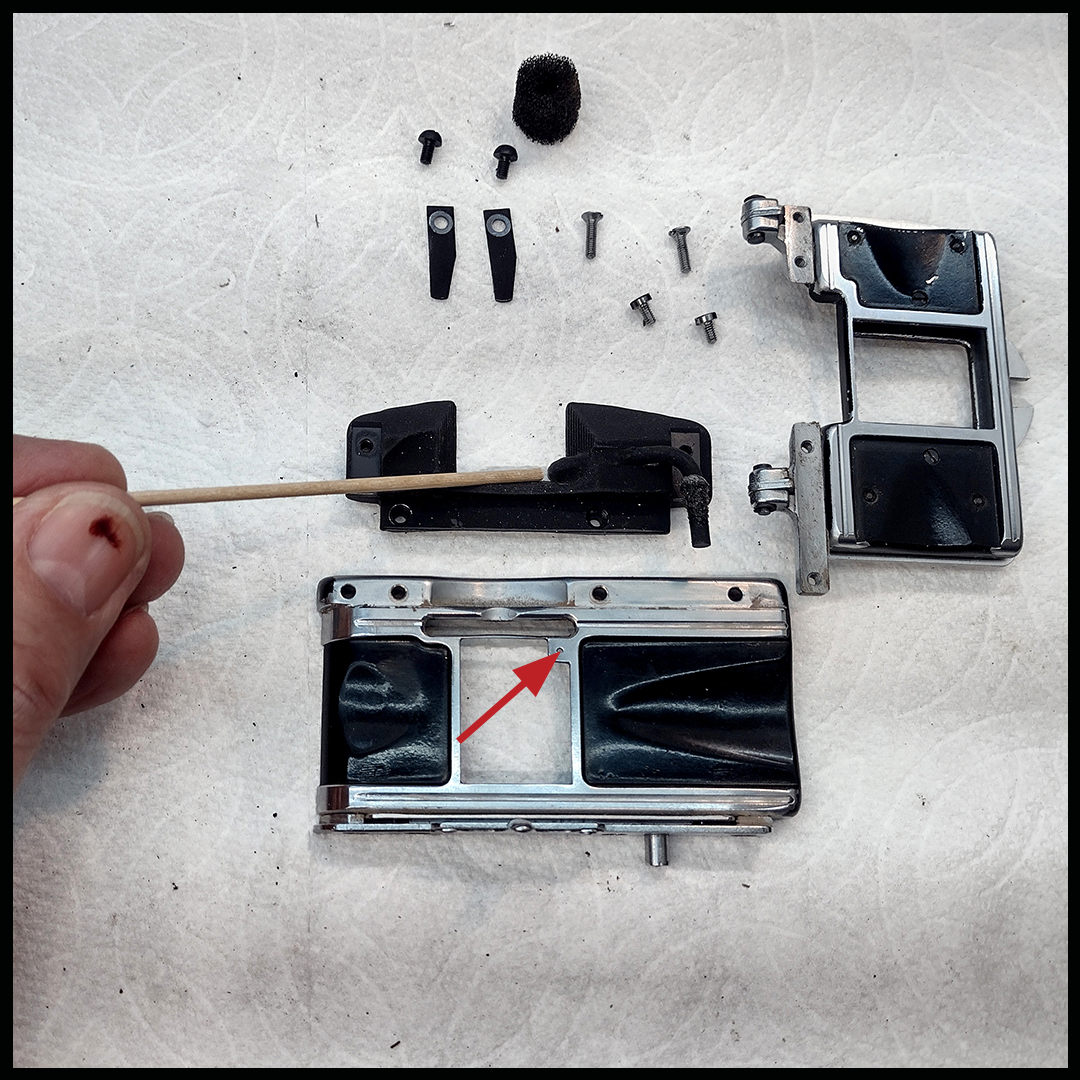
To begin, I removed the pressure plate assembly from the camera, disassembled it completely, and carefully measured the opening that represents the safe image area of the pressure plate. The pressure plate assembly is made up of several parts: an ultra flat black blanking insert, the pressure plate itself, and the door that holds and locks the pressure plate in place. The blanking insert was removed and I reinstalled the pressure plate on the pressure plate door. I mounted this assembly on a fixture plate, made a sketch of the area that needed to be machined, mounted the fixture plate on the milling machine, and used an indicator to center the pressure plate to the milling cutter. Then, I very carefully machined away the designated section of the pressure plate door, being very careful not to touch any of the surfaces that the film rides on.
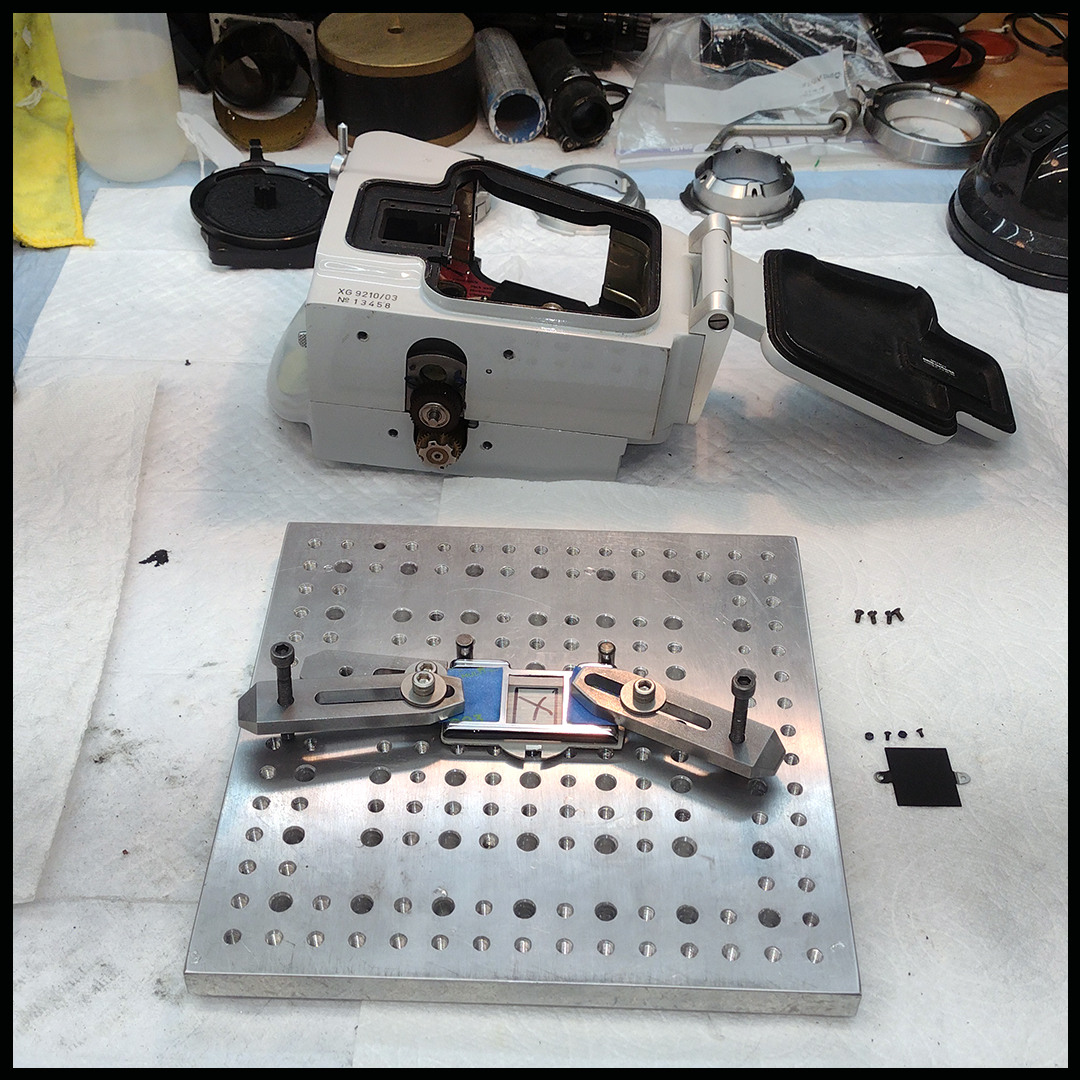
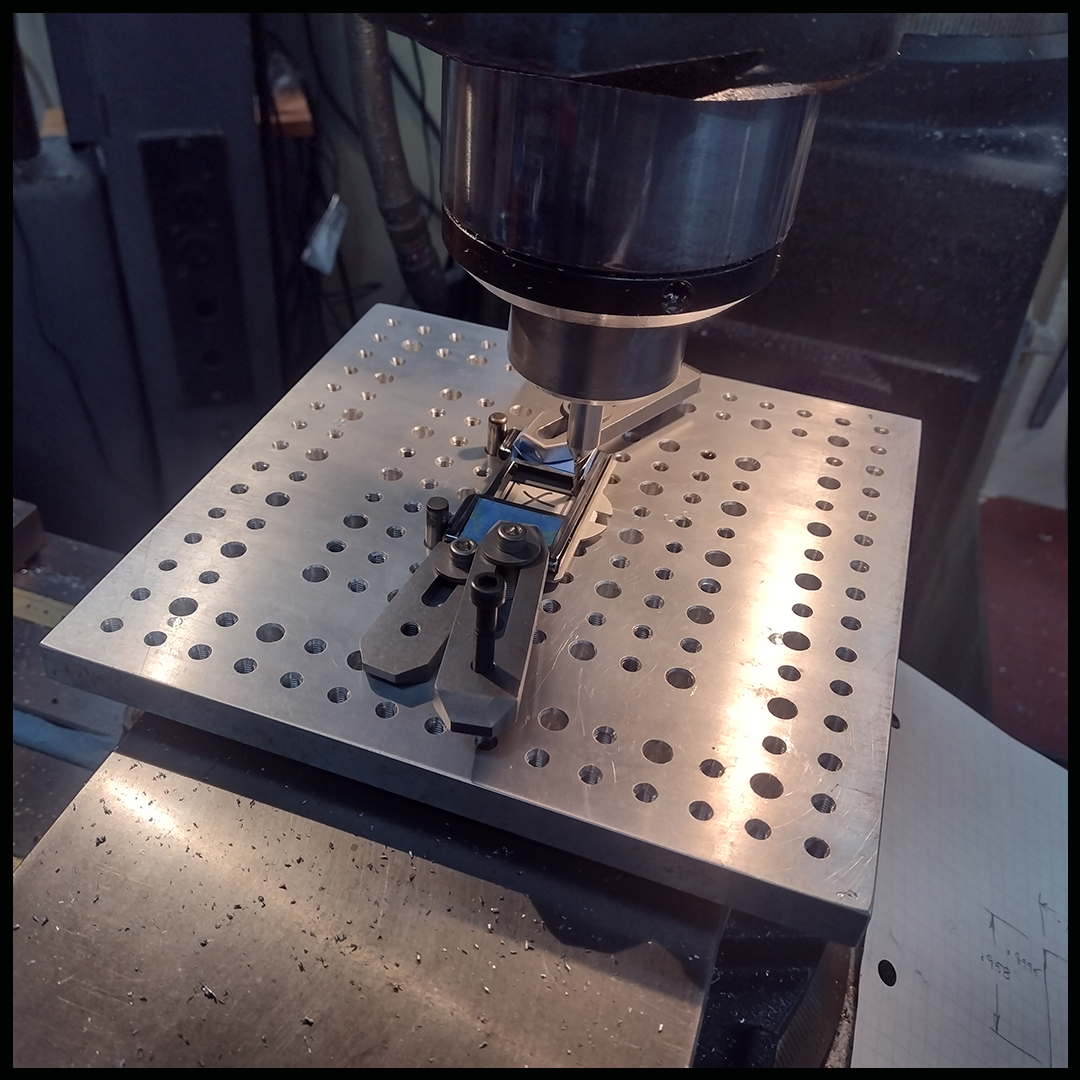
The next part I needed to address was the aperture plate. On many ARRI medical cameras, there is a fiber optic frame marker that puts a witness mark on one frame of film as a reference between takes. The fiber optic frame marker occupies a small area in the lower right-hand corner of the aperture. So, if you want to use this camera to shoot a full frame, that piece needs to be removed. After more careful calculations (note: one edge of this area is very thin and machining must be done with extreme care) the aperture plate was mounted on the fixture plate, set up and indicated on the milling machine, and the fiber optic marker was carefully machined away.
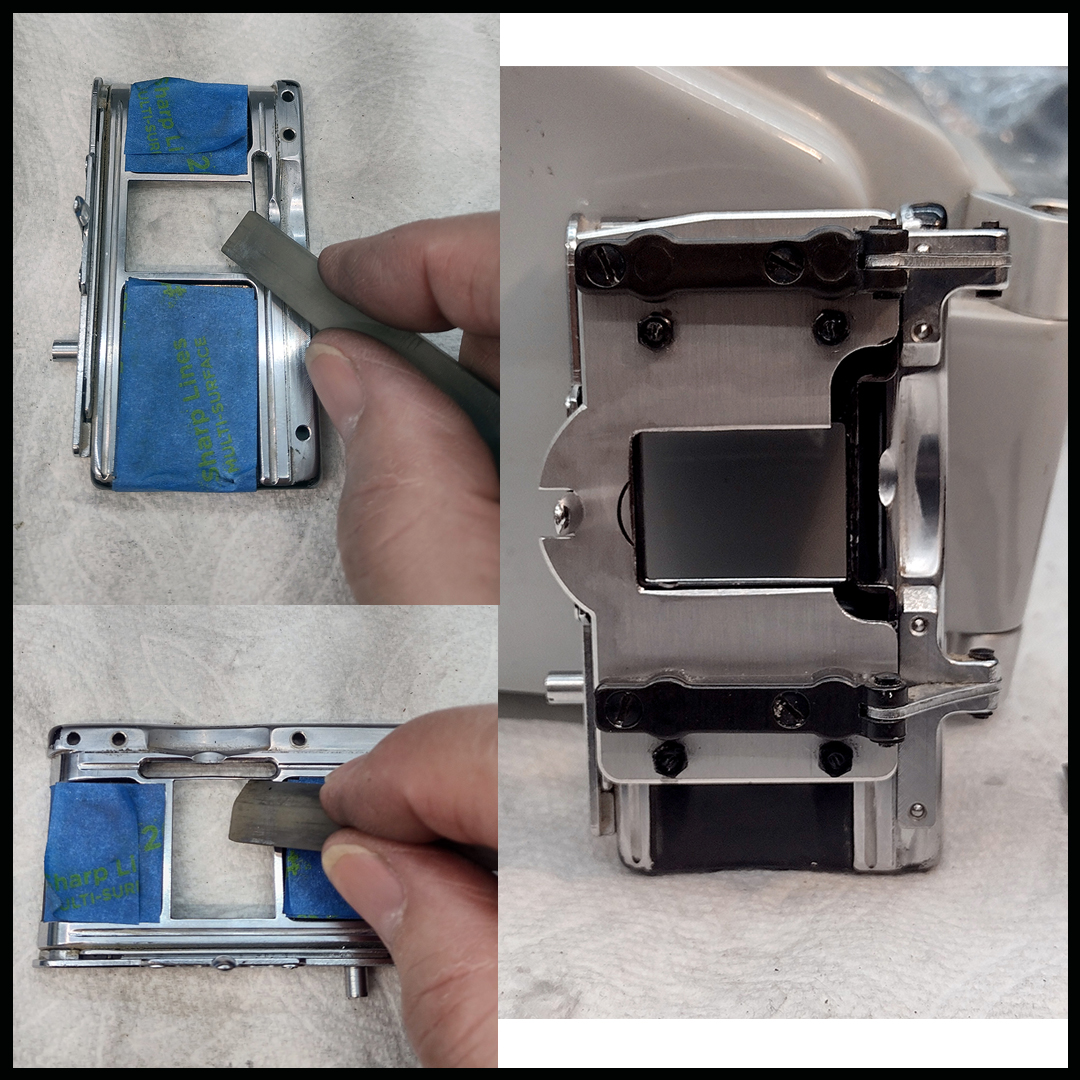
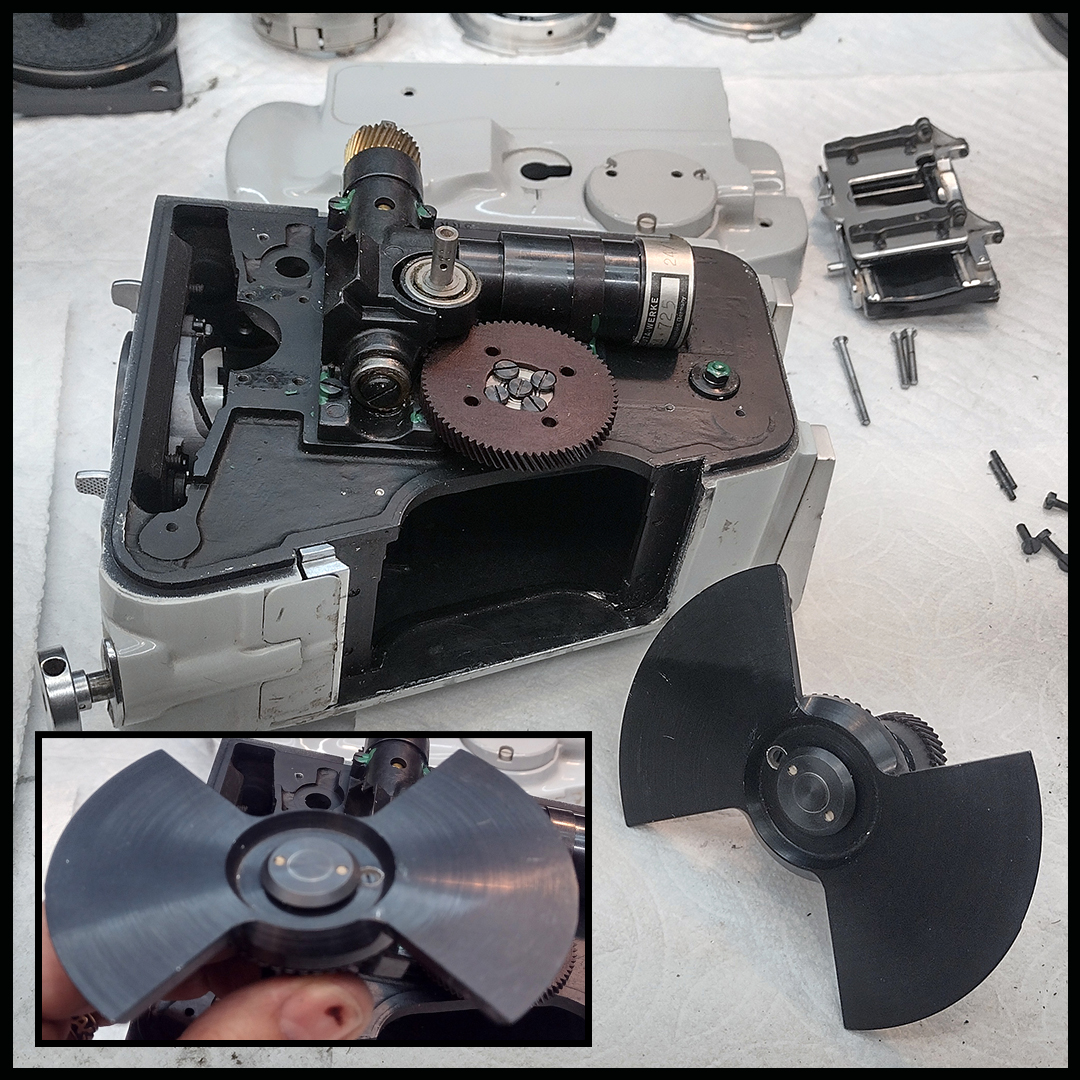
With the machining process completed, I moved onto stoning and polishing the machined sections of the aperture where the fiber optic marker once was. I checked the surface with a 10x eye loupe, ran my fingers over it a bunch of times to make sure everything was smooth, and once satisfied with the finish, I reassembled the aperture plate with the pressure plate assembly and reinstalled it in the camera. The last step was to remove the shutter. Another interesting fact about ARRI medical cameras is that some of them have regular mirrored shutters like you would find in an ARRI 2B or 2C that have just been painted black on the mirrored surface. Some cameras have a machined aluminum shutter that doesn’t have a mirrored surface. The mirrored shutters can be cleaned of paint and used as repair parts for 2B and 2C cameras. Sadly this camera had a metal shutter. To finish, some of the machined areas needed to be painted black before the back cover could be reinstalled. That done, the modifications were complete and the camera was ready to be sent to the client.