After the two weeks of motor recycling, I wanted to tackle something that only needed a final few things checked out before it was ready for adoption. Or so I thought . . . I acquired this marvelous ARRI 35 BL2 from the collection of MovieTech Studios where I got the chance to shoot with it a few times on three different feature films. This is a lovely camera, not quite as full featured as the BL 4S, but smaller, lighter, and worked really well on a Steadicam.

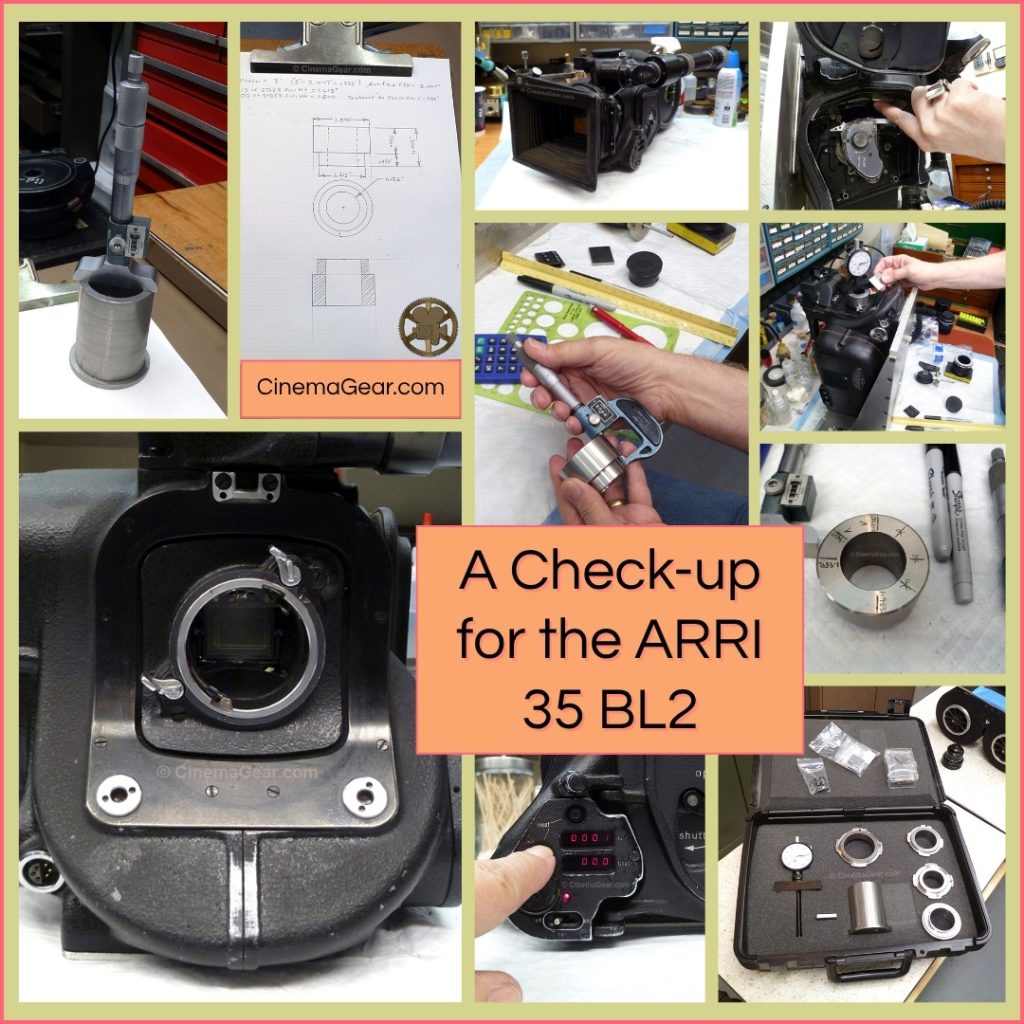
I forgot to take pictures of the process, but I started by checking the belts, checking that the camera was truly running at 24 fps (and the other frame rates this camera is capable of), and making sure the shutter was in time. After all that, I wanted to check the flange focal depth, but I discovered that my flange kit does not have an ARRI B mount fixture.

None of my depth micrometers have small enough bases that I can sweep the entire aperture, and as I have many 2B and 2C cameras that will soon require this same service, I decided to make the proper fixture. I have a Fries flange focal depth kit that came with Panavision, BNCR, and PL mount fixtures, but not the tried and true old Standard/B mount fixtures.

A quick measurement of the master that is part of the Fries kit, and some sketches, and off I went to the lathe to machine the new fixture. Most of what I do is made from aluminum, so I don’t stock much steel, and I didn’t have any oil hardening or hardenable materials in-house to make this from, so this is just made from mild steel. Not the perfect solution, but I think this will work fine for my purposes.

Once the basic machining process was done, I had left the precision surfaces with .003 inches of extra material so they can be lapped to the correct size within .0001 of an inch, which is as accurate as the measuring tools I have will go. I have not completed the lapping process yet, but I wanted to show what I have accomplished so far and how the fixture will be used once it is complete.

The fixture will pilot into the ARRI B mount and rest on a shoulder that was machined flat and true. I still have .0013 inches of material to lap down to the correct size so that the shoulder and the upper surface are true and parallel to each other. Once I have given my arms a chance to rest from all this lapping, I have a precision ground and hardened parallel that fits in the aperture on the movement so I can measure between the new fixture and the film plane to finally check the flange focal depth. I’ll let you know how that turned out next week.