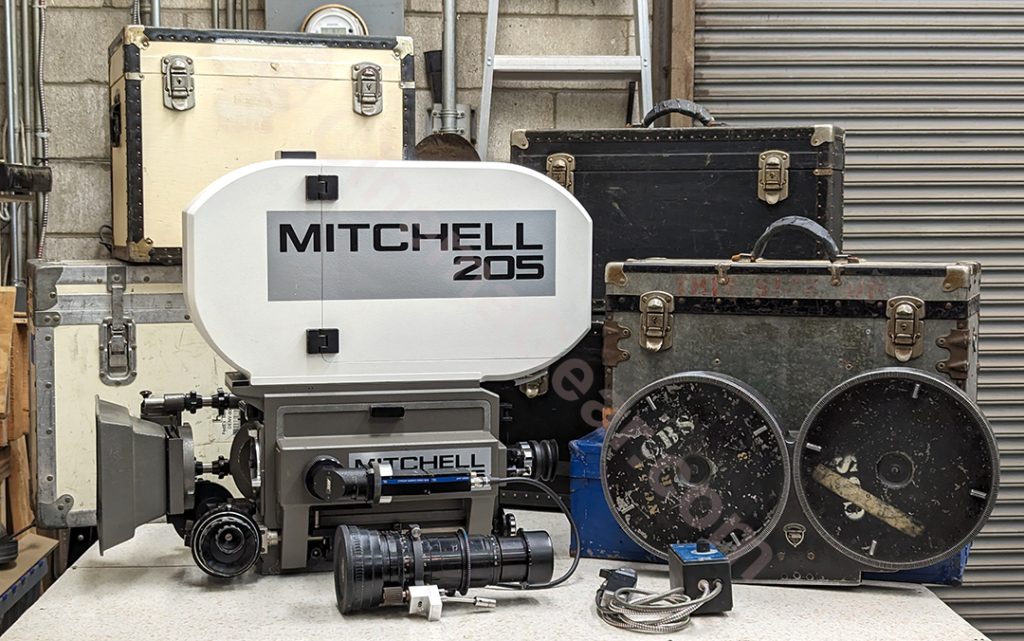
There is always a risk in selling something right after it comes into inventory, and the Mitchell 205 was a painful reminder of this. We put the camera on display right as it came in because it’s so pretty, and coincidentally a client came to visit a few days later and fell in love with this camera. As I try to find a good home for everything here, his enthusiasm convinced me to sell him the 205 before I had a chance to evaluate its condition. Any camera that has been in storage for an extended period of time needs to be thoroughly gone through, and any and all unexpected problems are bound to arise during this process. This Mitchell 205 had obviously been neglected for quite some time and had all the issues a camera has when it is not regularly maintained.
At my initial inspection, I found that the camera had not been lubricated for some time, so all the mechanical components had to be gently run by hand and cleaned and lubricated so everything was running smoothly. There was a fair amount of corrosion on all of the electrical connectors, hinges, and door latches. All of those components had to be removed, cleaned, and reinstalled. Next, I tested the electrical system on the blimp and found that the on-board heater was not working and the video assist pass-through was also not working. One part of the genius of the 205’s design was to consolidate as much of the wiring as possible to the motor side of the camera. This includes the 12V accessory connector, the video-out connector, and the motor power connector. All of the wiring for these components is inside a cavity that is between the bottom of the blimp and camera. In order to access this wiring, the whole blimp has to be turned upside down, and the entire bottom of the blimp removed. This exposed a myriad of wiring problems that all had to be tackled one by one. I installed a barrier strip, labeled all the pin-outs, and one system at a time, rewired all of the connectors. The heater in this camera is made up of a series of resistors that are screwed directly to the bottom of the camera casting. The idea is, once voltage is applied to the resistors, they will heat up and warm the camera casting. All of that wiring had to be cleaned up and insulated correctly, and the pilot light had to be repaired so that you knew when the heater was turned on. The next wiring bit that I tackled was the 12V accessory wiring. To begin, I cleaned corrosion and dirt from the 4-pin XLR connector, then checked the on/off switch and the power indicator light to see that they were working. The last electrical issue I tackled was to replace the light bulb that illuminates the footage counter. This was far more difficult than one would expect, as the socket where that bulb fits in is deep inside the back of the blimp and very difficult to get to. With the camera still upside down, and all of the wiring repaired, I tested everything, and once I was sure it was all working, I replaced some of the sound insulation and then reinstalled the bottom of the blimp.
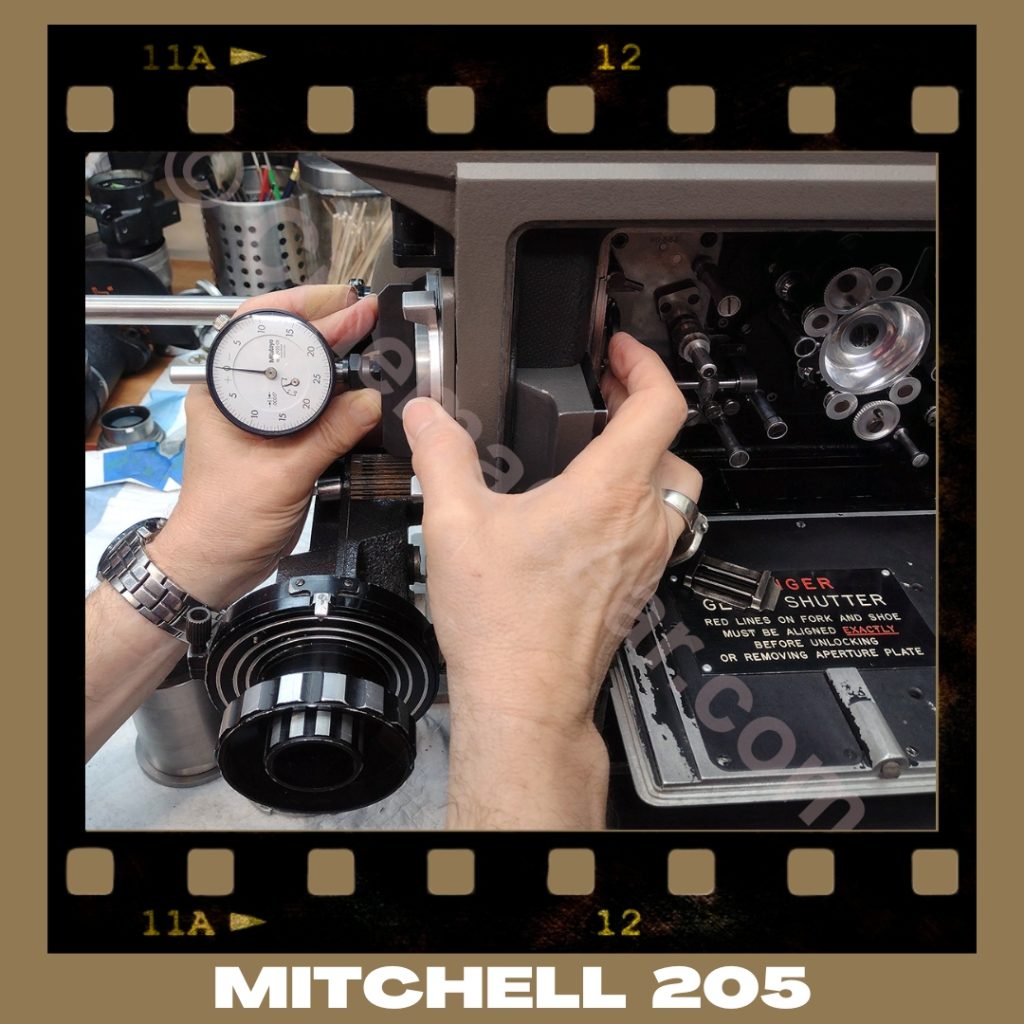
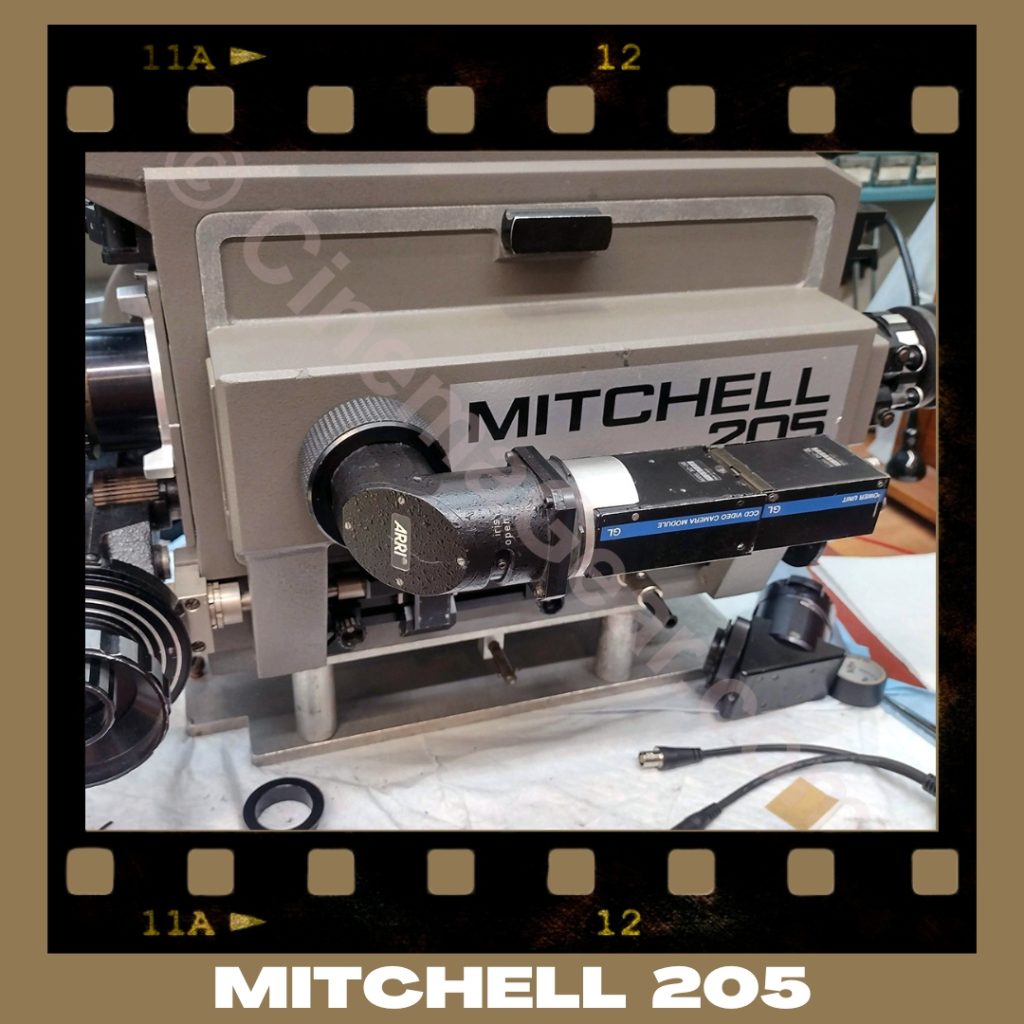
After running everything by hand and lubricating all of the vital parts of the 205, the camera was set up with all of its components and I ran down my usual checklist of things that need to be looked at. The first order of business was to look for corrosion and any obvious fractures in the camera or blimp. Fortunately the camera passed on that level. The next task was to check the flange focal depth and correct if necessary, check the timing, indicate the ground glass, set up with the motor and check to see that the camera was running at speed. After that I checked the video tap, which was unfortunately not working. You can see how I repaired the video tap in our previous post.
This camera package was provided with an Angenieux 25-250mm zoom lens and a J4 zoom control. Resurrecting the antique J4 zoom control was easy except for finding a replacement battery. It took me a while to find a place that could make me a custom battery at a reasonable price, but I was finally able to bring the J4 back to life. I have also previously shown the process of creating a custom lens support bracket, which you can read more about here. With everything checked at last, all of the wiring and mechanical repairs done, it was finally time to case everything up and get it ready to go to its new home. This led to one final problem: the camera arrived without any cases, except for the magazine blimp. While it took a lot of work, I was fortunately able to repurpose some empty cases to properly store the camera and all of its accessories. It was exciting to go through a camera I had never worked on before and see what innovations followed on the tail of the BNCR.